Cozy Studio Apartment Storage 2026: Your Complete Guide to Maximizing Tiny Spaces
Look, I get it — studio apartments are a blessing and a curse. You've got that sweet urban location, the lower rent, maybe a killer view. But then reality hits: where on earth do you put literally everything? Here's the thing about studio living in 2026 — we've come a long way from stacking plastic bins and hoping for the best. Storage solutions have actually gotten smarter, sleeker, and honestly? Way more affordable than they used to be.
I've spent the last few years helping friends (and myself, let's be real) transform cramped studios into spaces that actually feel livable. And I'm not talking about those depressing minimalist setups where you own three things and call it "intentional living." I mean genuinely cozy spaces where you can keep your stuff, enjoy your hobbies, and still have room to breathe. The secret isn't magic — it's strategy.
This guide walks you through everything you need to know about creating smart storage in a studio apartment. We're talking vertical thinking, hidden solutions, and products that actually look good. Because let's face it, if your storage system looks terrible, you're not going to use it, and then you're back to square one.
What You'll Need
Before we dive into the nitty-gritty, here's what we're working with. Some of these items you might already have, but I'm listing everything so you're not caught off-guard halfway through a project.
- Wall-mounted shelving unit — $80-150 (The The Home Depot has solid options)
- Under-bed storage containers (set of 2-3) — $40-80
- Over-the-door organizer — $15-30
- Floating corner shelf — $35-60
- Cabinet or credenza with storage — $200-400
- Shelf dividers and organizers — $20-40
- Hanging closet rod expanders — $12-25
- Vacuum storage bags (pack of 5) — $15-25
- Drawer dividers — $10-20
- Wall anchors and mounting hardware — $10-15
- Paint or wallpaper (optional but transformative) — $20-50
- Basket organizers (various sizes) — $30-70
Step-by-Step Guide
Step 1: Assess Your Current Space (and Actually Be Honest)
Before you buy a single thing, spend an afternoon just looking at your studio. Walk around. Open every cabinet. Check under the bed. Be brutally honest about what you actually use versus what you're keeping "just in case." Seriously — this step changes everything. I had a friend with a closet full of "fancy work clothes" she wore maybe twice a year, while her everyday stuff was crammed in a tiny corner. Once we redistributed, her whole apartment felt bigger.
Take measurements of your walls, your closet, under your bed — everything. And check your lease for any restrictions on wall anchors or permanent installations. Some landlords are chill about it; others, not so much.
Step 2: Go Vertical (Like, Aggressively Vertical)
Here's what most people get wrong with studio storage: they think horizontally. But in a small space, your walls are your secret weapon. Install wall-mounted shelving — this is non-negotiable. Look at Better Homes & Gardens & Gardens for inspiration on floating shelves that actually look intentional and chic, not like utilitarian dorm vibes.
Start with one wall, maybe above your desk or beside your bed. Install a shelving unit that goes up as high as you're comfortable reaching. You'd be shocked how much visual and functional difference this makes. Pro tip: don't fill every inch. Leave breathing room, or it'll feel claustrophobic instead of cozy.
Step 3: Master the Vertical Closet
Your closet is prime real estate, and most people waste it. Install hanging rod expanders — the kind that let you hang multiple items in the space of one. Use shelf dividers to stack items vertically instead of creating those impossible-to-access towers. Vacuum storage bags are your friend here for off-season stuff.
If you're feeling fancy, add a tension rod for scarves, belts, or lightweight items. The Home Depot has everything you need for this, and it takes literally twenty minutes.
Step 4: Maximize Under-Bed Storage
Under-bed real estate is gold in a studio. Invest in low-profile storage containers that slide easily. Store off-season clothes, extra bedding, books — whatever makes sense. Just make sure you can actually reach everything. I've seen too many people store stuff under the bed and then completely forget about it.
Label everything. I know it sounds extra, but trust me on this. Future-you will be grateful.
Step 5: Use Every Door and Awkward Corner
 Budget Apartment Renovation: DIY Hacks That Actually Work
Over-the-door organizers are underrated. Hang one on your bathroom door for cleaning supplies, one on your closet door for shoes or accessories. Corner shelves turn dead space into functional storage. These little touches add up to serious square footage.
Step 6: Choose a Statement Piece (That Also Functions)
A credenza, console table with drawers, or cabinet doesn't just look better than a plastic shelving unit — it actually feels intentional. This becomes your visual anchor, your "real furniture" moment. HGTV shows this constantly with small-space design, and they're onto something. You can store so much inside while keeping the surface clean and styled.
Step 7: Organize What You Keep
Once everything's installed, use baskets, drawer dividers, and small organizers to contain chaos. Everything should have a home. It sounds cliché, but it's the difference between a cozy studio and a cramped mess.
Pro Tips
Embrace clear containers: You can see what's inside without opening everything up. Game changer for off-season storage and pantry items.
Use vertical space in the shower: Tension rods, shelves, over-the-shower organizers. Your bathroom is probably tiny, so maximize it.
Style as you organize: This is honestly the difference between storage that feels intentional and storage that feels desperate. Add some dried flowers, a nice plant, a few books on a shelf. Make it look like you chose to live this way.
Invest in quality basics: Cheap storage containers break, look sad, and make everything feel temporary. Spend a little more on pieces that'll last and actually make your space feel good.
Keep a donation box going: Once a month, throw stuff in a box. When it's full, donate it. This prevents the slow creep of clutter that happens in tiny spaces.
Use mirrors strategically: Mirrors make spaces feel bigger. Pair them with good shelving and suddenly your studio feels airier. It's not just a decorating trick; it actually works.
Cost Breakdown
← Scroll to see full table →
| Item | Quantity | Unit Price | Total |
|---|---|---|---|
| Wall-mounted shelving unit | 1 | $115 | $115 |
| Under-bed storage containers | 3 | $25 | $75 |
| Over-the-door organizer | 2 | $22.50 | $45 |
| Floating corner shelf | 2 | $47.50 | $95 |
| Cabinet with storage | 1 | $300 | $300 |
| Shelf dividers and organizers | 2 | $25 | $50 |
| Hanging closet rod expanders | 2 | $18.50 | $37 |
| Vacuum storage bags | 1 | $20 | $20 |
| Drawer dividers | 2 | $15 | $30 |
| Wall anchors and hardware | 1 | $12.50 | $12.50 |
| Basket organizers | 4 | $15 | $60 |
| Paint (optional) | 1 | $35 | $35 |
| Total Investment | $874.50 | ||
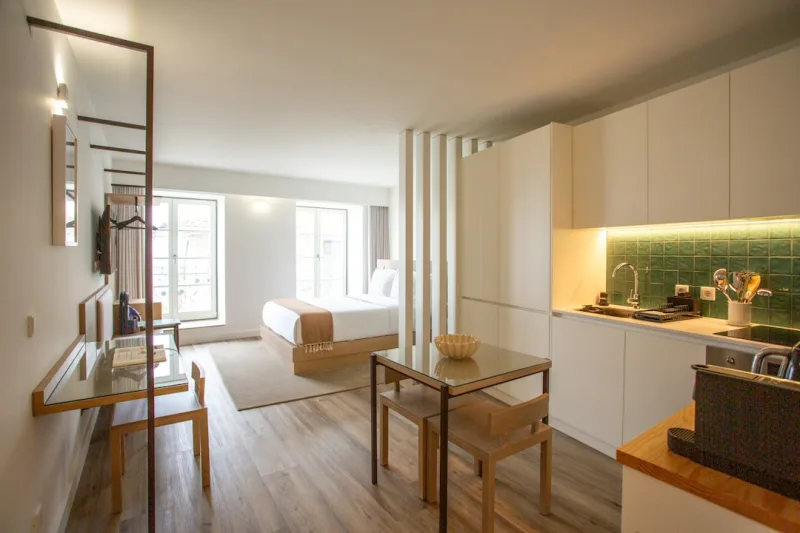
Note: You don't need everything on this list. Start with the shelving, under-bed storage, and cabinet — those three items will transform your space. Add 📷 Photo by Aquilion Property on Unsplash


