Look, I get it. You've got a studio apartment that's basically a shoebox, your bank account isn't exactly thriving, and you're scrolling through Instagram at 2 AM looking at these magazine-worthy spaces wondering how in the world you're supposed to pull that off. Here's the thing — you absolutely can. I've seen it happen countless times, and honestly, some of the most gorgeous spaces I've designed have been in studios where the budget was tighter than my jeans after Thanksgiving dinner.
The secret? It's not about having a ton of money. It's about being intentional. It's about understanding that every single item in your space needs to pull its weight and look good doing it. Studio apartments actually have this sneaky advantage — once you nail the design, the whole place transforms instantly because everything's visible at once. No hiding clutter in other rooms. No crutches. Just pure, intentional design.
I'm going to walk you through exactly how I'd tackle a studio apartment on a budget that's actually realistic. We're talking real numbers, real sources like The The Home Depot and Better Homes & Gardens & Gardens-approved strategies, and zero Pinterest lies that require a second mortgage to execute. Let's make your space something you actually want to come home to.
What You'll Need
Before we dive into the actual redesign, let's talk materials and what everything costs. I always recommend making a list first — it keeps you from impulse buying three throw pillows when you really need a better lighting situation. Here's what you're typically working with:
- Paint (1-2 gallons) — $25-$40 from The Home Depot. A fresh coat of paint is honestly the cheapest transformation you can make.
- Peel-and-stick wallpaper (accent wall) — $30-$60 for quality stuff. Removable, renter-friendly, and game-changing.
- Lighting fixtures (adjustable floor lamp or pendant) — $40-$80. Skip the basic overhead light situations.
- Storage baskets (2-3 woven) — $25-$50 total. These hide chaos and look intentional.
- Mirror (medium-sized, decorative frame) — $30-$70. Makes everything feel bigger and brighter.
- Throw pillows (2-3 quality ones) — $15-$35 each. Texture is your friend in small spaces.
- Throws or blankets — $20-$40. Functional and aesthetically crucial.
- Floating shelves (2) — $40-$80 installed. Or command strips version for renters ($30-$50).
- Curtains or sheer fabric — $20-$50. Better Homes & Gardens has solid affordable options.
- Plants and planters (3-4) — $30-$60 total. Thrift store finds work beautifully.
- Adhesive strips and mounting hardware — $15-$25. The unsung hero of studio living.
- Area rug (if budget allows) — $40-$100. Defines spaces and adds warmth.
Total estimated budget: $330-$730 depending on what you prioritize and where you shop.
Step-by-Step Guide
Step 1: Assess Your Space and Create Zones
First things first — walk around your studio and actually look at it. Not in a depressed way, but strategically. Where's your bed going to live? Where do you need to work? Where will guests actually sit? In a studio, everything serves double duty, so you need to create invisible zones without walls. I use furniture placement, color changes, and lighting to do this. Your bedroom corner might be defined by a tall bookshelf or a curtain rod with sheer fabric. Your living area might have a small sofa facing a small table. Your work area? Maybe it's a compact desk tucked into a corner with a focused light.
Step 2: Choose a Cohesive Color Palette
Here's where most people mess up. They paint one wall a bold color, add another bold color in textiles, throw in a third, and suddenly it looks chaotic instead of aesthetic. Pick three colors maximum. I'm a huge fan of — and hear me out — neutrals with one accent color. Maybe white walls, soft gray furniture, warm wood tones, and then pops of blush pink or sage green in accessories. This costs nothing to plan and saves you money because you're not repainting constantly.
If you want slightly more personality, go for an accent wall in your bedroom zone using that peel-and-stick wallpaper from The Home Depot. It's forgiving, it's renter-friendly, and it genuinely transforms a corner for under $50.
Step 3: Tackle Lighting (Seriously, Don't Skip This)
I cannot stress this enough — your studio apartment's lighting situation might be the single most important thing you fix. Overhead lights are harsh and unforgiving. They make everything look flat and kinda sad. Get a good adjustable floor lamp for your work area ($40-$60) and maybe a second softer lamp for the bedroom zone. Consider string lights or even LED strips behind floating shelves for ambient lighting. HGTV has tons of tutorials on this, and honestly, it's the cheapest way to make a space feel upscale.
Step 4: Smart Storage That Actually Looks Good
This is where you win at studio living. Open shelving with woven baskets underneath does two things: stores your stuff out of sight and looks intentionally designed. Floating shelves above your desk or bed provide visual interest and functional storage. Under-bed storage containers in a consistent color work wonders. The key is consistency — if your baskets match, if your storage containers coordinate, the whole space reads as "designer" instead of "I'm just trying to hide my stuff."
Step 5: Bring in Texture and Softness
 Budget Apartment Renovation: DIY Hacks That Actually Work
A studio can feel cold fast if everything's hard and flat. Quality throw pillows in different textures — linen, velvet, wool — make everything feel more expensive and lived-in. A chunky knit throw draped over a chair or bed. A textured area rug. Even the right curtain fabric matters. Sheer fabrics let in light and feel airy, while heavier fabrics create coziness. Mix them.
Step 6: Plants and Personal Items
This is the step that actually makes it your space. A few plants — even low-maintenance ones like pothos or snake plants — completely change the vibe. They're cheap, they clean the air, and they make everything feel fresher. Add a few items that are genuinely meaningful to you: a framed print you actually love, a ceramic piece from somewhere special, books stacked horizontally on a shelf. Thrift stores are goldmines for this, and Better Homes & Gardens often has affordable art prints that don't look like every other apartment.
Step 7: Final Styling and Editing
Walk through your space. If it feels cluttered, remove something. If it feels empty, add something small. The goal isn't to fill every inch — it's to be intentional about what stays. In a studio, every object is visible, so every object needs to earn its place.
Pro Tips
Maximize vertical space: Seriously, go up. Wall-mounted shelves, tall bookcases, floating plants on a high shelf. Your walls are real estate.
Use mirrors strategically: A large mirror opposite a window reflects light and makes the space feel double its size. This isn't a trick — it's geometry, and it works.
Invest in a few quality pieces: Don't buy five cheap throw pillows. Buy two really nice ones. Don't buy a flimsy bookcase. Save up for a solid one. Quality pieces last and look better.
Keep your color palette consistent: If you commit to neutrals with one accent color, everything you add automatically works together. It saves you from decision paralysis and impulse buys.
Lighting layers matter: Overhead (harsh), task lighting (focused), and ambient lighting (soft) all serve different purposes. Don't rely on just one.
Shop secondhand strategically: Thrift stores, Facebook Marketplace, and estate sales are goldmines for statement pieces at fraction-of-retail prices. Skip the cheap stuff online and invest in secondhand quality instead.
Cost Breakdown
← Scroll to see full table →
| Item | Low Budget | Mid Budget | Higher Budget |
|---|---|---|---|
| Paint/Wallpaper | $25 | $45 | $60 |
| Lighting | $40 | $65 | $100 |
| Storage/Baskets | $25 | $50 | $75 |
| Mirror | $30 | $50 | $75 |
| Textiles (Pillows/Throws) | $35 | $60 | $100 |
| Shelving | $40 | $70 | $100 |
| Curtains | $20 | $35 | $60 |
| Plants & Decor | $30 | $50 | $80 |
| Area Rug (optional) | $0 | $60 | $120 |
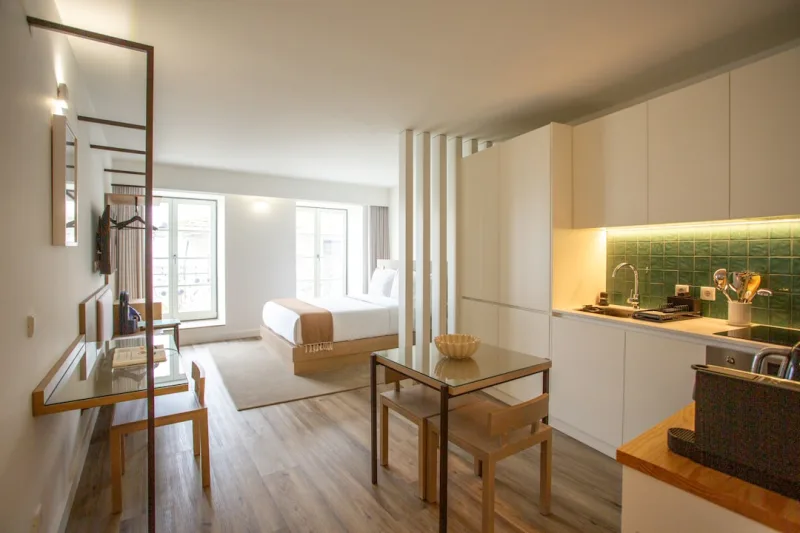
| TOTAL | $245 📷 Photo by Aquilion Property on Unsplash |


