
Designer Studio Apartment Storage on a Budget: Transform Your Small Space Without Breaking the Bank
Living in a studio apartment doesn't mean you have to sacrifice style or organization. If you're like me, you've probably stood in your tiny bedroom feeling overwhelmed by clutter, wishing you had a walk-in closet or that magical extra room. But here's the beautiful truth: with a little creativity and smart planning, you can create a designer-quality organized space that feels both spacious and intentional—without spending thousands of dollars. I've helped countless women transform their studio apartments into the cozy, organized sanctuaries of their Pinterest dreams, and I'm thrilled to share these practical, budget-friendly strategies with you. Whether you're a minimalist at heart or someone who loves their collections, there's a storage solution waiting for you that won't drain your bank account.
In this comprehensive guide, we'll explore everything you need to know about creating designer studio apartment storage solutions on a realistic budget. You'll discover how to maximize every inch of vertical space, learn the best products and styles that deliver luxury looks for less, and get a step-by-step implementation plan you can start today. We'll break down exactly where to spend your money for maximum impact, share expert secrets from interior designers, and answer all those questions keeping you up at night. By the end, you'll have a complete roadmap to transform your studio into an organized, beautiful space that makes you smile every single day.
Understanding Designer Studio Apartment Storage on a Budget
Designer studio apartment storage on a budget is the art and science of creating beautiful, functional organization in a compact living space without spending a fortune. It's about being intentional with every purchase, maximizing vertical space, and choosing multipurpose pieces that earn their spot in your home. The goal isn't just to hide your belongings—it's to create a curated, magazine-worthy space that reflects your personal style while maintaining order and calm.
Why does this matter so much? Studios are typically 300-500 square feet, meaning your bedroom, living room, kitchen, and dining area all share the same space. Without proper storage solutions, clutter takes over quickly, making your entire apartment feel smaller and more stressful. Strategic storage transforms this challenge into an opportunity to create a cohesive, intentional home that actually works for your lifestyle.
Many women make common mistakes when tackling studio storage. They buy storage solutions that don't match their aesthetic, leading to a mismatched, cluttered appearance. Others invest in pieces that don't fit their actual lifestyle—purchasing organizing systems for hobbies they rarely pursue, then abandoning the whole project when it feels too complicated. Some fall into the trap of buying storage first and sorting later, ending up with expensive containers full of items they don't even need.
The smartest approach combines three things: understanding your actual lifestyle and needs, choosing pieces that match your design style, and starting with free or very low-cost solutions before investing in anything major. Think vertical instead of horizontal. Embrace the power of seeing-through containers so you remember what you own. And remember that the most expensive storage solution isn't the one with the biggest price tag—it's the one you don't actually use because it doesn't fit your life or your space.
Planning Guide for Designer Studio Apartment Storage on a Budget
Before you spend a single dollar, you need a solid plan. The planning phase is where most people skip ahead, and it's exactly why their storage solutions fail. I want you to succeed, so let's do this right. Start by taking an honest inventory of what you actually own. Pull everything out of closets, drawers, and under the bed. Yes, everything. Categorize items into Keep, Donate, and Sell piles. This step alone often eliminates 30-40% of what you're trying to store, which means less furniture you actually need to buy.
Next, measure your space carefully. Know the dimensions of your closets, walls, under-bed clearance, and any awkward corners. Sketch your studio layout to scale on paper or use a free tool like Floorplanner. Take photos of your space from multiple angles. This might sound tedious, but I promise it prevents expensive mistakes like buying storage that doesn't fit or purchasing duplicates of things you already have.
Consider your daily routine and lifestyle honestly. Are you a reader with hundreds of books? A fitness enthusiast with equipment? A fashion lover with an extensive wardrobe? Do you work from home? Entertain frequently? Your storage solutions should serve your actual life, not some imaginary perfect version of yourself. This is where so many budget storage plans fail—they're designed for someone else's lifestyle.
Finally, identify your must-have design aesthetic. Are you minimalist modern? Warm farmhouse? Maximalist eclectic? Scandinavian cool? Bohemian collected? Your storage shouldn't fight against your style—it should enhance it. When everything matches your design vision, you're more likely to maintain the system and less likely to abandon it for something flashy that doesn't fit.
Pre-Shopping Checklist
- ☐ Completed inventory of everything you own in each category (clothing, books, kitchen items, etc.)
- ☐ Measured all closets, walls, and under-bed spaces with written dimensions
- ☐ Sketched your studio layout to scale with current furniture placement
- ☐ Took photos of your space from multiple angles and lighting conditions
- ☐ Identified your lifestyle priorities (work-from-home, entertaining, hobbies, fitness)
- ☐ Defined your design aesthetic with 5-10 Pinterest pins you love
- ☐ Decided on your total storage budget for the next 6 months
- ☐ Listed specific problem areas that cause the most daily frustration

Budget Breakdown
← Scroll to see full table →
| Price Range | Best Items & Products | Typical Prices |
|---|---|---|
| Under $50 | Over-the-door organizers, tension rods, floating shelves (basic), under-bed storage boxes, hanging hooks, wire basket sets, pegboards, door-mounted shoe racks, shelf dividers, command strips, wall-mounted magnetic strips | $8-$45 per item |
| $50-$200 | Tall narrow bookcases, under-bed storage drawers with wheels, wall-mounted filing cabinets, floating shelving sets (3-5 shelves), standing closet organizers, decorative storage benches, wire shelving units, rolling kitchen islands, wardrobe rods with hangers | $55-$195 per item |
| $200+ | Custom closet systems, built-in shelving units, quality dresser with deep drawers, room divider storage walls, murphy bed with integrated storage, professional closet organizer systems, custom cabinet installations | $200-$2,500+ per item |
Now let's talk money strategy because how you allocate your storage budget makes all the difference. I recommend the 30-30-40 rule: spend 30% on items under $50, 30% on items $50-$200, and 40% on one or two statement pieces that will transform your space. If your total budget is $1,000, that means $300 on small solutions, $300 on mid-range furniture, and $400 on one major piece like a beautiful tall bookcase or quality dresser.
Shop sales strategically. The The Home Depot runs storage promotions in January and August. IKEA's quarterly sales are worth waiting for. Amazon has daily deals on organizers. Target's storage section rotates seasonally, and you'll get better prices shopping off-season. Better Homes & Gardens and Gardens often has clearance items that rival designer quality. Don't feel pressured to buy everything at once—a phased approach spreads costs and prevents impulse purchases you'll regret.
Consider secondhand options for solid pieces like dressers, nightstands, and shelving units. Facebook Marketplace, Craigslist, and local thrift stores often have beautiful wooden furniture at 50-70% off retail. I've found incredible mid-century pieces for my studio that cost less than IKEA alternatives. Just inspect carefully for damage, measure before committing, and plan how you'll transport larger items.
Step-by-Step Guide
Step 1: Declutter Ruthlessly
Before you organize anything, you have to purge. This is the most important step and the one most people skip. For each item, ask yourself three questions: Do I use this? Do I love this? Would I buy this again today? If you answer no to all three, it goes. Be honest about clothes you haven't worn in a year, kitchen gadgets you never use, and books you'll never reread. This step often reduces storage needs by 30-40%, which means less furniture you need to buy and a more intentional home overall.
Step 2: Categorize Everything You're Keeping
Group similar items together. All your books in one pile, all your clothes by type (work, casual, athletic), all kitchen items by category. This visual sorting reveals how much space each category actually needs. You might realize you have 60 tops but rarely wear half of them, or three sets of mixing bowls when one would suffice. This natural downsizing happens during the categorization process.
Step 3: Map Your Vertical Space
 Budget Apartment Renovation: DIY Hacks That Actually Work
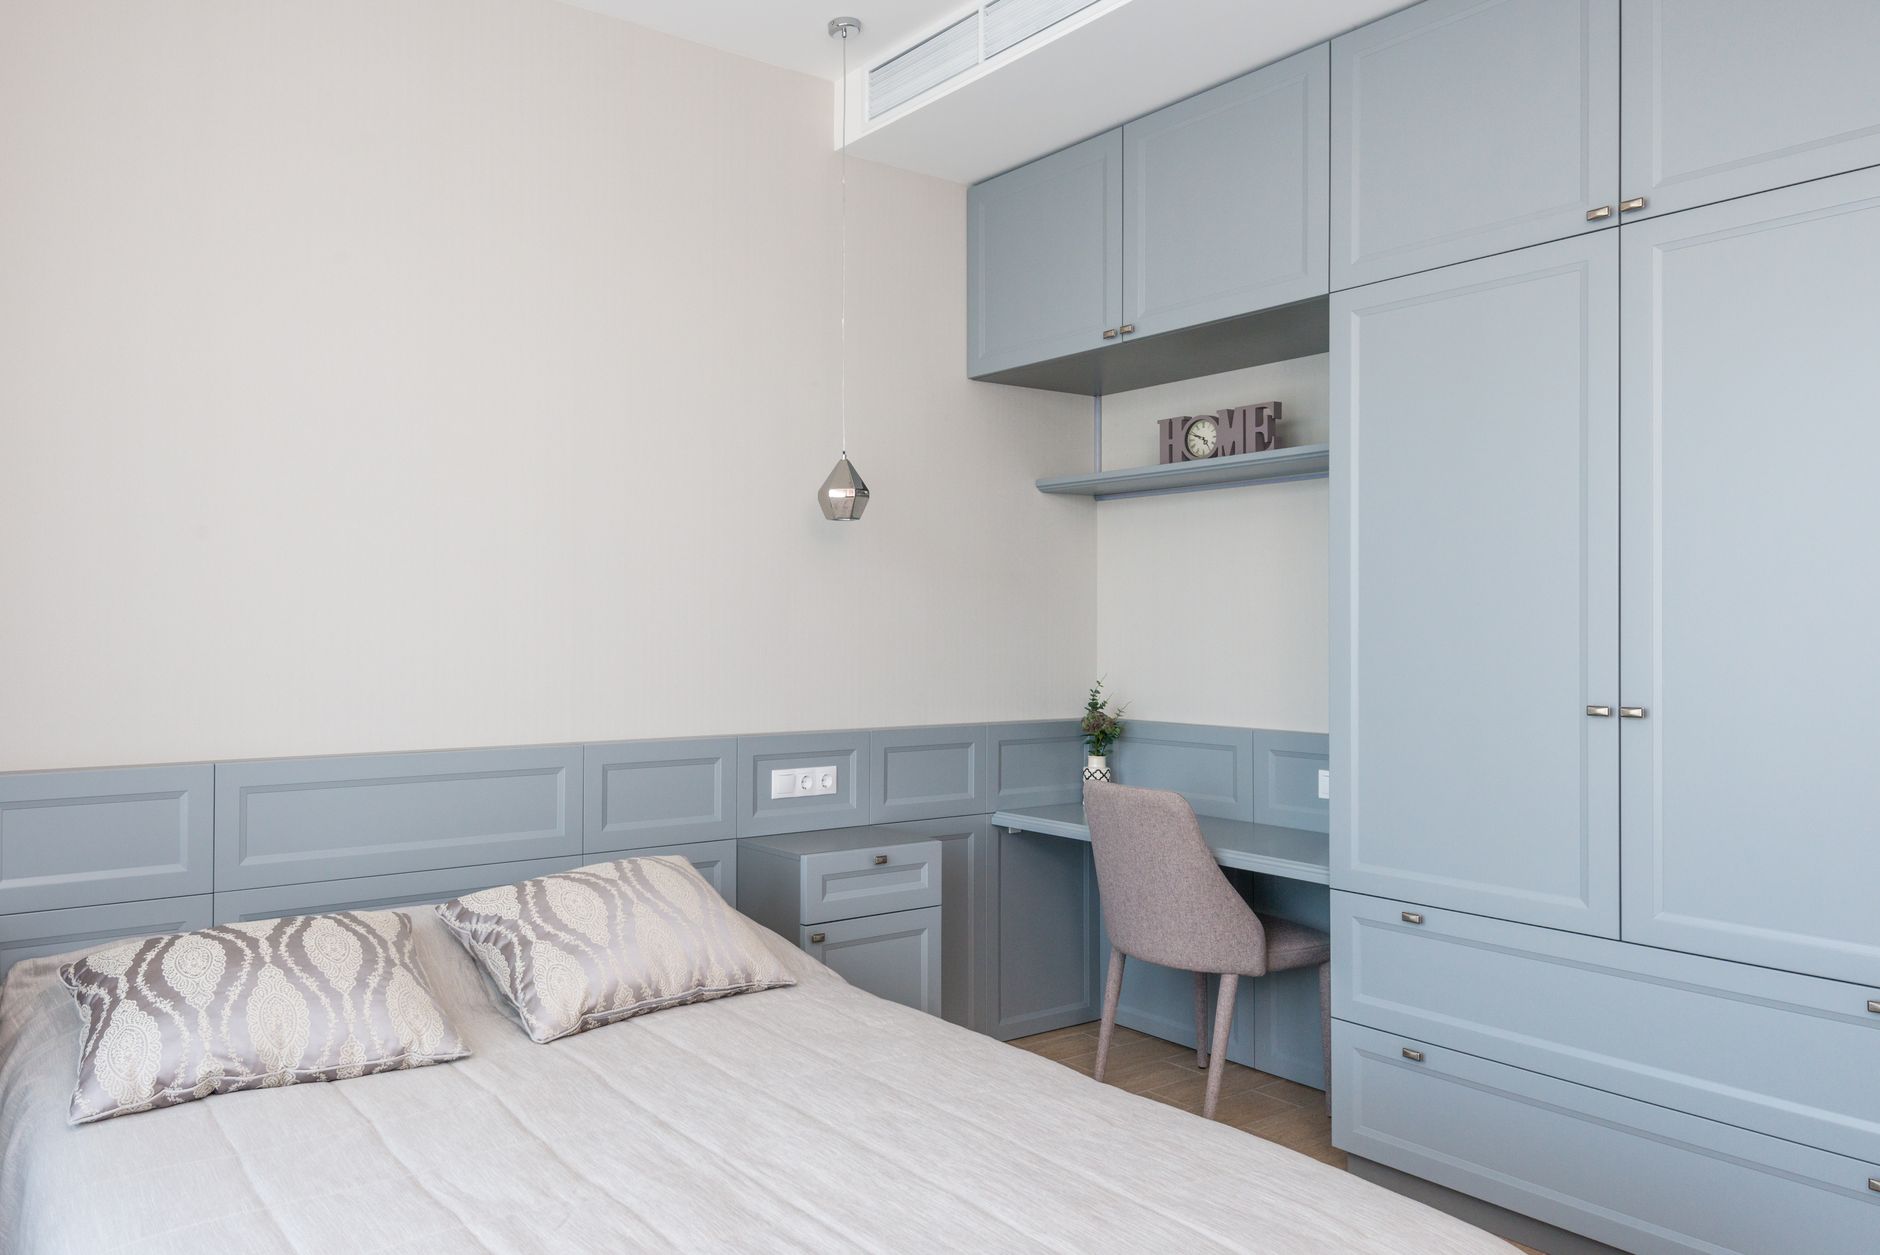
Studio apartments are all about vertical thinking. Look up, not out. Your walls are your storage goldmine. Identify spots for floating shelves above your desk or nightstand. Consider a tall, narrow bookcase that fits in corners. Wall-mounted organizers above your desk maximize work-from-home space. Tension rods between closet shelves create double the hanging space. The rule: every wall is a storage opportunity.
Step 4: Invest in Quality Under-Bed Storage
Under-bed storage is precious real estate in a studio. Invest in rolling underbed containers so you can access items easily—this changes everything compared to regular flat boxes. Keep seasonal clothing, extra bedding, and out-of-season items under there. Label containers clearly so you remember what's stored where. Measure your bed's clearance first; you need at least 4-5 inches of height for the containers to work.
Step 5: Maximize Closet Space with Strategic Tools
A single closet in a studio needs to work triple duty. Add a second hanging rod at different heights to create more space. Use non-slip hangers—they take up less space than bulky hangers and prevent clothes from sliding. Over-the-door organizers work beautifully for accessories, scarves, or belts. Shelf dividers prevent clothes from toppling. A tension rod across the closet door holds lightweight items. These small additions transform your closet capacity.
Step 6: Choose Transparent or Beautiful Containers
What you see is what you use. Transparent plastic containers or beautiful woven baskets in matching colors create a cohesive look while keeping items visible and accessible. Avoid mismatched boxes that look chaotic. Label everything—even if you think you'll remember, labels save time and create a professional appearance. When containers match your design aesthetic, they become décor rather than eyesores.
Step 7: Install Your Major Pieces and Layer in Small Solutions
Start with larger furniture like bookcases or dressers, then add smaller solutions around them. This prevents the scattered, chaotic look that happens when storage solutions are randomly distributed. Create zones in your studio: your sleep zone with closet storage, your work zone with desk organization, your living zone with display and storage furniture. When zones are intentional, the whole space feels more organized and designed.
Best Styles and Products
Designer Studio Storage Styles
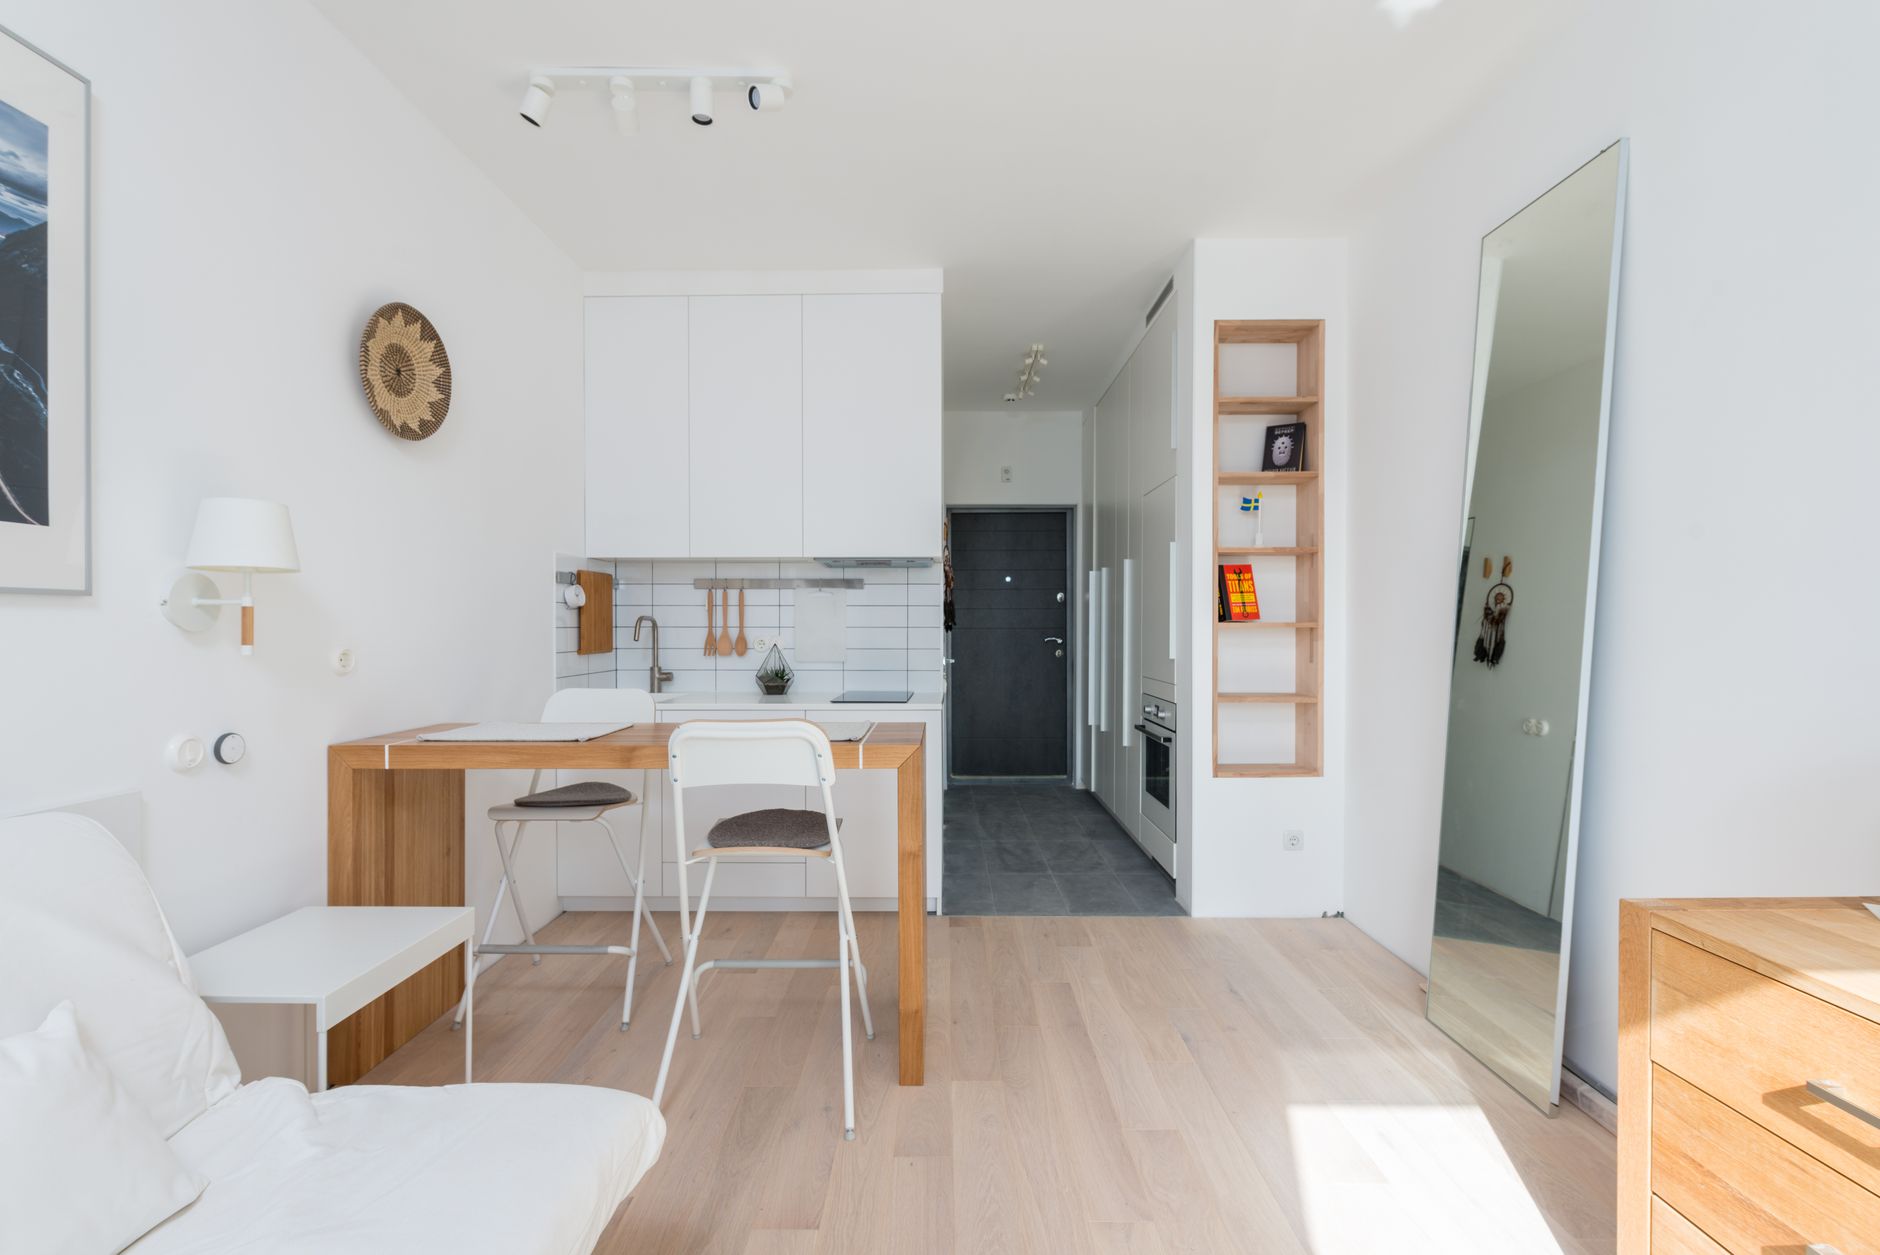
Modern Minimalist: Clean lines, neutral colors, hidden storage. Think white floating shelves, sleek filing cabinets, and monochromatic organizing systems. This style makes small spaces feel larger and calmer. Perfect if you find visual clutter stressful.
Warm Farmhouse: Wood tones, natural textures, open shelving with charm. Wooden bookcases, woven baskets, vintage metal organizers. This style feels cozy and collected while still organized. Ideal if you love warmth and personality in your home.
Scandinavian Modern: Light woods, functional beauty, minimalist mindset. Light birch bookcases, natural fiber baskets, simple metal hardware. This style bridges minimalism and warmth—organized but inviting. Great if you want calm elegance.
Eclectic Maximalist: Color, patterns, curated collections on display. Colorful storage boxes, gallery wall arrangements, mixed textures. This style celebrates what you love while still maintaining organization. Perfect if you have collections and enjoy visual interest.
Budget-Friendly Products with Prices
1. IKEA Billy Bookcase - $60-$90. The ultimate studio storage workhorse. Available in multiple finishes, narrow depths work in tight spaces, and they can be stacked for drama. I have three in my studio apartment, and they've transformed my storage capacity.
2. Amazon Basics Fabric Storage Bins - $20-$35 for a set. Beautiful, collapsible, available in tons of colors. These look intentional while keeping under-bed and closet items contained and accessible. The quality rivals containers three times the price.
3. The Home Depot Floating Shelves - $25-$60 per shelf. Simple wooden or metal options in various depths. These create display and storage simultaneously. Pair with beautiful objects and they become décor, not just storage.
4. Better Homes and Gardens Windowpane Cabinet - $150-$200. Looks like a designer piece but costs far less. Great for displaying and storing items with a curated feel. Perfect as a focal point in your studio.
5. Target Threshold Decorative Storage Bench - $100-$180. Functions as seating, storage, and a design element. Available in multiple styles from modern to farmhouse. This single piece serves triple duty in a studio.
Expert Tips
Tip 1: Use Vertical Space Like Your Life Depends on It - This is the single most important concept for studio living. Wall space is infinite compared to floor space. Install shelving up to the ceiling, use tall narrow bookcases instead of wide low ones, and embrace wall-mounted organizers. Every inch of wall should work for you. This one principle can double your effective storage capacity.
Tip 2: Everything Needs a Home - This is the difference between organized and chaotic. Before you bring anything into your apartment, decide exactly where it will live. Items without designated homes create clutter mountains. I use the label maker religiously and assign everything a specific spot. This prevents the daily "where did I put that?" frustration.
Tip 3: Let Your Closet Be Your Biggest Storage Investment - Your closet is where you spend the most time and


