Scandinavian Bathroom Design That Looks Expensive (Without Breaking the Bank)
You know that feeling when you walk into a bathroom that just feels... expensive? Like someone spent serious money making it feel calm, clean, and absolutely *effortless*? That's the magic of Scandinavian design. Honestly, it's become my go-to style recommendation for anyone wanting to transform their bathroom without maxing out their credit card. The best part? Scandinavian bathrooms actually *reward* minimalism — which means you're not buying a ton of stuff. You're buying the *right* stuff.
Here's the thing about Nordic design — it's all about that quiet luxury. We're talking clean lines, natural materials, soft lighting, and a color palette that whispers instead of shouts. It's the opposite of trendy bathroom designs that scream for attention. Instead, this approach creates a spa-like sanctuary that makes you feel like you've upgraded your entire life just by taking a shower.
I've renovated quite a few bathrooms using these principles, and the response is always the same: people are shocked at how "high-end" the result looks compared to what was actually spent. Let me walk you through exactly how to pull this off.
What You'll Need
← Scroll to see full table →
| Material/Item | Estimated Cost | Where to Buy |
|---|---|---|
| White subway tiles (for walls or accents) | $2-$5 per sq ft | The The Home Depot, Lowe's |
| Light wood vanity (or refinish existing) | $300-$600 | IKEA, Wayfair, The Home Depot |
| Matte black fixtures (faucet, hardware) | $100-$250 | Amazon, Overstock, local plumbing suppliers |
| Natural stone or concrete countertop | $400-$800 | Local fabricators, Home Depot |
| Large-scale mirror (frameless preferred) | $80-$200 | West Elm, CB2, The Home Depot |
| Soft LED pendant lights or sconces | $60-$150 each | Article, IKEA, Schoolhouse Electric |
| Neutral area rug (organic fiber) | $50-$150 | Rugs USA, West Elm, Better Homes & Gardens & Gardens |
| Floating shelves (birch or oak) | $30-$80 each | The Home Depot, IKEA |
| Paint (warm white or soft gray) | $30-$50 per gallon | Benjamin Moore, Sherwin-Williams, The Home Depot |
| Minimal accessories (soap dispensers, toothbrush holder) | $50-$100 | Muuto, Norm Architects, IKEA |
Step-by-Step Guide
Step 1: Start With a Neutral Base (The Foundation)
Before you touch anything else, paint your bathroom walls. And I mean actually invest in good paint — not the budget stuff. I recommend Benjamin Moore's "Chantilly Lace" or Sherwin-Williams "Alabaster." These aren't boring whites; they're warm, sophisticated, and they make everything else in the room pop without demanding attention themselves. Two coats, quality brush, and your entire bathroom instantly feels intentional. Skip the wallpaper. The Scandinavian approach is about letting materials do the talking, not patterns fighting for dominance.
Step 2: Introduce Natural Wood (The Warmth Factor)
This is where the "expensive" feeling really starts. A light wood vanity — whether you're installing new or refinishing what you have — brings warmth that pure white can't achieve alone. Look for birch, oak, or light ash finishes. The key is keeping it simple: straight lines, minimal hardware, and letting the wood grain show. If you're on a tighter budget, IKEA's Godmorgon line is actually solid (pun intended), and you can upgrade the countertop separately for maximum impact.
Step 3: Layer In Matte Black Fixtures (The Contrast)
Here's what elevates a Scandinavian bathroom from "nice" to "wow" — matte black hardware and fixtures. A matte black faucet, towel bars, and cabinet handles create the perfect contrast against light wood and white walls. It's architectural, it's intentional, and honestly, it looks way more expensive than shiny chrome. The contrast is everything. Don't skip this step.
Step 4: Choose Your Tile Strategy (The Visual Anchor)
You don't need to tile the entire bathroom — in fact, Scandinavian design often argues against it. Instead, consider a subway tile accent wall behind the vanity or a simple tiled shower surround. White subway tiles are timeless, but if you want something slightly more interesting, large-format tiles (12"x24") in light gray or soft stone tones feel more modern and sophisticated. Limit your grout to a match-the-tile color or minimal dark grout for clean lines.
Step 5: Add Strategic Lighting (The Ambiance)
 Boho DIY Room Makeover: Full Revamp Under $200
This might sound simple, but lighting is *everything* in creating that luxury feel. Overhead fluorescents? Absolutely not. Instead, install soft LED pendant lights or simple sconces on either side of the mirror. Think warm white (2700K), dimmable if possible. Pendant lights from Article or Schoolhouse Electric aren't cheap, but they're investments. The bathroom suddenly feels like a retreat, not a utility space.
Step 6: Introduce Texture With Accessories (The Finishing Details)
Once the bones are in place, add texture through natural fibers — a linen shower curtain, organic cotton towels in cream or soft gray, maybe a small area rug in jute or sisal. These elements add warmth without clutter. Minimalist soap dispensers, a simple wooden stool, perhaps one potted plant on a floating shelf. Each item should earn its place. Nothing is there just to fill space.
Pro Tips
Invest in the Mirror: Seriously, don't cheap out here. A large, frameless mirror with clean edges changes the entire perception of the room. It reflects light, makes the space feel bigger, and looks inherently expensive. Aim for at least 36 inches wide.
Go Big With Tile (If You Use It): Large-format tiles look more premium than small subway tiles. They also require fewer grout lines, which means easier cleaning and a more modern aesthetic. Win-win.
Floating Vanities Are Your Friend: If you're replacing your vanity anyway, choose one that mounts to the wall. It creates visual space underneath, makes the bathroom feel airier, and honestly looks more designed. This is a small detail with major impact.
Maximize Natural Light: If you have a window, keep it clear and unobstructed. Add a simple roller shade in white or light linen instead of heavy curtains. Scandinavian design loves natural light — it's free luxury.
The Power of Negative Space: This is the hardest part, but also the most important. Resist the urge to fill every surface. Empty countertops, minimal accessories, clean shelves — this actually makes spaces feel more curated and expensive, not sparse.
Cost Breakdown
← Scroll to see full table →
| Category | Low Budget | Mid Budget | High Budget |
|---|---|---|---|
| Paint & prep | $150 | $200 | $250 |
| Vanity/countertop | $400 | $700 | $1,200 |
| Fixtures & hardware | $150 | $250 | $400 |
| Tile (if applicable) | $200 | $400 | $600 |
| Lighting | $100 | $250 | $400 |
| Mirror | $80 | $150 | $300 |
| Shelving & accessories | $100 | $200 | $350 |
| Total | 05of 5 Related DIY Projects
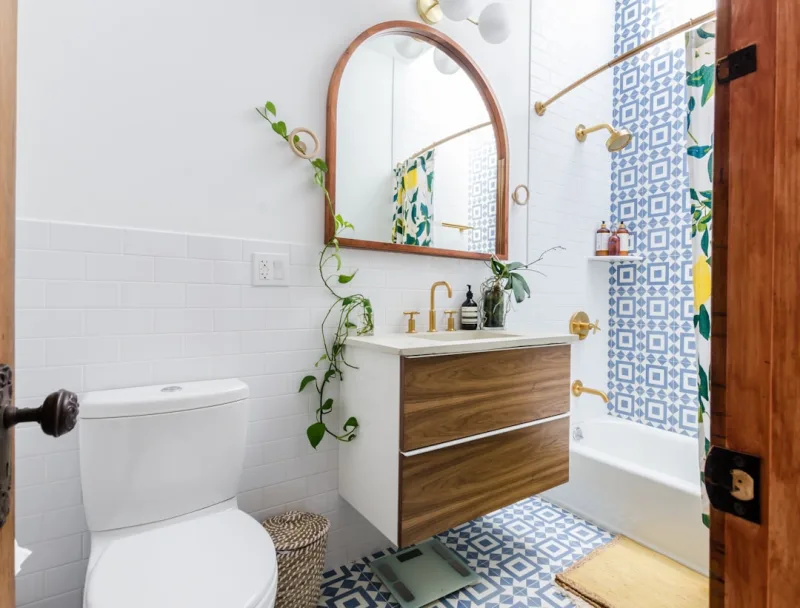
📷 Photo by Chastity Cortijo on Unsplash |


