Warm Garage Storage for Renters: Your Complete DIY Solution
Let's be real — garage storage is tough enough when you own your place. But when you're renting? It feels impossible. You've got limited wall space, you can't drill into the walls (hello, deposit drama), and honestly, a cold, damp garage basically turns into a season-specific nightmare where nothing survives winter. I get it. I've been there, standing in a freezing garage wondering why I even bother storing anything out here.
Here's the thing though: you don't need to accept that freezing, disorganized chaos. Whether you're storing holiday decorations, seasonal gear, or just need somewhere safe to keep your stuff, warm garage storage for renters is absolutely doable — and without sacrificing that security deposit. The key is thinking portable, flexible, and renter-friendly. We're talking solutions that work with your space, not against it.
I've put together this complete guide to help you create a warm, organized garage storage system that actually respects your rental agreement while keeping your belongings protected and accessible. Let's dive in.
What You'll Need
Before you start building anything, gather these materials. The beauty of this approach is that most of these items are available at The The Home Depot, and they won't damage your rental space.
- Freestanding Metal Shelving Units (2-3 units) — $80-$150 each
- Clear Plastic Storage Bins (various sizes, 10-15 bins) — $40-$80 total
- Heavy-Duty Magnetic Hooks (8-pack) — $15-$25
- Weatherstripping Tape — $8-$15
- Portable Space Heater (energy-efficient model) — $30-$80
- Thermal Garage Door Seal Kit — $25-$40
- Pegboard Panels and Hooks (renter-friendly mounting) — $30-$50
- Vacuum-Seal Storage Bags (pack of 6) — $15-$25
- Adhesive Shelf Liners — $10-$15
- LED Motion-Sensor Lights (battery-powered) — $20-$35 each
Step-by-Step Guide
Step 1: Assess Your Space and Create a Layout
Honestly, this is where most people fail. They just start throwing stuff up without thinking it through. Spend an afternoon measuring your garage — width, depth, height, door swing area, everything. Take photos of problem areas like water damage, cold spots, or dampness. Sketch out where your shelving will live. This doesn't need to be fancy; I literally used graph paper and a pencil last time I did this. The goal is understanding your space before you commit to anything permanent.
Step 2: Seal and Weatherproof
This is non-negotiable if you want actual warmth in there. Start by applying weatherstripping tape around your garage door — especially the bottom and sides where cold air sneaks in. A thermal garage door seal kit is your best friend here. If you've got gaps around windows or side doors, use adhesive weatherstripping. This step alone makes a shocking difference in temperature. You're basically creating an envelope of warmth.
Step 3: Set Up Your Shelving System
Install your freestanding metal shelving units — and yes, they're freestanding, which means zero damage to walls. Arrange them strategically to maximize space without blocking your ability to park or move around. Leave the back wall for taller items, and front areas for things you access regularly. Pro tip: stagger your units so you create a natural flow through the space.
Step 4: Organize with Clear Plastic Bins
Here's where your garage transforms from chaos to actually-usable storage. Invest in quality clear plastic bins — you want to see what's inside without opening them. Group items by category: holiday decorations, seasonal clothing, sports equipment, tools. Label everything with a label maker or even masking tape and a permanent marker. This sounds tedious, but future-you will be grateful when you're not hunting for the Christmas lights in July.
Step 5: Install Renter-Friendly Wall Storage
Use adhesive pegboard panels or magnetic hooks on metal studs and door frames — no drilling required. Heavy-duty magnetic hooks work great on metal garage doors and let you hang bikes, tools, or extension cords without any damage. These tiny additions free up so much floor and shelf space.
Step 6: Add Heating and Lighting
A portable space heater (the energy-efficient kind that auto-shutoff) keeps your garage warm enough to prevent moisture damage on stored items. Mount 2-3 battery-powered LED motion-sensor lights around your space. Trust me, nothing's worse than storing things in darkness and then not finding them six months later.
Step 7: Implement Moisture Control
 Boho DIY Room Makeover: Full Revamp Under $200
Store vacuum-seal bags throughout your shelving for seasonal items. Add a simple dehumidifier if your garage tends to be damp. Keep small packets of moisture absorbers on shelves where you store sensitive items. This prevents that musty smell and protects your belongings from mold or mildew.
Pro Tips
Vertical is Your Best Friend: Renters always have limited floor space. Think tall, not wide. Stack items vertically and use the full height of your shelves. Hanging storage above head height is absolute gold.
Label Everything Obsessively: I mean everything. Label the bins, label the shelves, label the hooks. Future-you won't remember where you put those camping supplies, and organized chaos beats total chaos every time.
Create Zones: Designate specific areas for different categories — seasonal, tools, sports equipment, vehicles. This sounds simple, but it genuinely changes how functional your space becomes. Better Homes & Gardens & Gardens actually emphasizes this principle for a reason.
Use Under-Shelf Space: Hang storage containers or hooks underneath your shelves. That wasted space is prime real estate for lighter items or hanging tools. I hang a tension rod under my lower shelves just for hanging lightweight stuff.
Invest in a Basic Thermometer: Keep a simple thermometer in your garage to monitor temperature. This helps you figure out if your heating and weatherproofing combo is actually working. It should stay above 50°F for most stored items.
Document Your Setup: Take photos of your organized garage when you move out. Why? If your landlord tries to claim damage you didn't cause, you've got visual proof of how you left the space. Boring but smart.
Cost Breakdown
← Scroll to see full table →
| Item | Quantity | Price Range | Total |
|---|---|---|---|
| Metal Shelving Units | 3 | $80-$150 each | $240-$450 |
| Clear Plastic Storage Bins | 15 bins | $40-$80 total | $40-$80 |
| Magnetic Hooks | 1 pack | $15-$25 | $15-$25 |
| Weatherstripping Tape | 1 | $8-$15 | $8-$15 |
| Portable Space Heater | 1 | $30-$80 | $30-$80 |
| Thermal Door Seal Kit | 1 | $25-$40 | $25-$40 |
| Pegboard Panels & Hooks | 1 set | $30-$50 | $30-$50 |
| Vacuum-Seal Storage Bags | 1 pack | $15-$25 | $15-$25 |
| Shelf Liners | 1 | $10-$15 | $10-$15 |
| LED Motion-Sensor Lights | 2 | $20-$35 each | $40-$70 |
| TOTAL INVESTMENT | $453-$850 | ||
FAQ
Can I use this system when I move to a new rental?
Absolutely — that's
- Diy Coffee Table Ideas Cheap
- Boho Home Decor Ideas Diy Budget
- Master Bedroom Makeover Ideas On A Budget
- cheap diy living room decor ideas
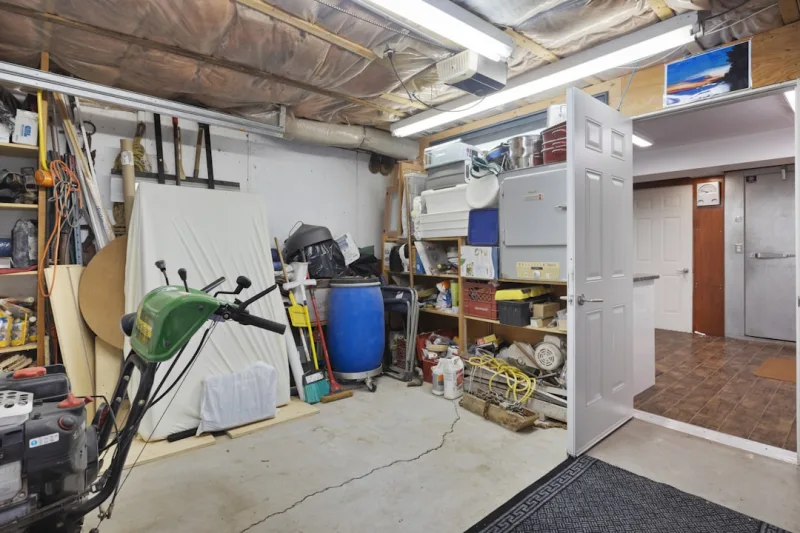
📷 Photo by Point3D Commercial Imaging Ltd. on Unsplash


