Elegant Patio Organization 2026: Transform Your Outdoor Space
Look, I get it. Your patio started out as this gorgeous blank canvas last spring, and now it's basically a graveyard of forgotten cushions, rusty tools, and that one chair that's been "temporarily" leaning against the fence since July. It happens to the best of us — but here's the thing, an organized patio doesn't just look better. It actually makes you want to spend time out there, which honestly? That's the whole point.
The good news is that elegant patio organization in 2026 is less about Marie Kondo-ing every terracotta pot and more about creating smart, beautiful systems that blend seamlessly with your outdoor aesthetic. We're talking sleek storage solutions, streamlined furniture arrangements, and organizational tools that look intentional rather than utilitarian. Think curated, not cluttered.
I've spent the last few years watching what actually works in outdoor spaces — and what just becomes another eyesore — so I'm excited to walk you through a system that'll have your patio looking like something straight out of Better Homes & Gardens & Gardens. Ready? Let's dig in.
What You'll Need
Before we jump into the organizing, let's talk materials. You don't need to break the bank here, but investing in the right pieces upfront saves you from replacing flimsy stuff every season.
- Weatherproof Storage Bench — $200-400 (The The Home Depot carries excellent mid-range options)
- Decorative Metal Storage Boxes (set of 2-3) — $80-150
- Hanging Wall Organizer or Pegboard — $40-80
- Outdoor Cushion Storage Bag (waterproof) — $50-90
- Bamboo or Wood Shelf Unit — $120-250
- Garden Tool Rack — $35-60
- Potting Station or Mobile Cart — $90-180
- String Lights or Lanterns (for ambiance) — $30-75
- Large Outdoor Planters (set of 3) — $60-120
- Weatherproof Labels and Markers — $15-25
Total estimated budget: $720-1,330 USD — but you can absolutely scale this up or down depending on your space and what you already have sitting around.
Step-by-Step Guide
Step 1: Do an Honest Audit
Seriously, pull everything out. I mean everything. Those spare cushions, the gardening gloves that are still wet from 2024, the mystery plastic bins. Lay it all out and be brutal about what stays. Ask yourself: "Have I used this in the last year?" If the answer's no, it goes. This isn't about being ruthless for sport — it's about creating a space that actually functions and looks intentional. HGTV always emphasizes this as the foundation step, and they're not wrong.
Step 2: Create Zones
Think of your patio like a room inside your house. You wouldn't put your bed in the kitchen, right? Same energy. I typically recommend dividing your patio into three zones: a seating area (for lounging and entertaining), a functional zone (for tools, potting, and supplies), and a plant display area (because apparently we all have too many plants). This mental separation makes everything easier to organize and keeps your space from feeling chaotic.
Step 3: Invest in Strategic Storage
Here's where the magic happens. A weatherproof storage bench is genuinely a game-changer — it provides seating, stores cushions and blankets, and looks intentional rather than hiding things away. Place this along one edge of your patio. Next, add a tiered shelf unit or wooden plant stand in your plant zone. These aren't just functional; they're design elements that add visual interest while keeping plants organized and elevated for better drainage.
Step 4: Install Wall-Mounted Solutions
Don't waste floor space when walls exist. A pegboard or wall-mounted organizer is perfect for hanging small tools, pruning shears, and twine. Mount it near your functional zone at eye level. This keeps frequently-used items accessible without cluttering surfaces. You can even paint the pegboard to match your patio's color scheme — honestly, it becomes part of your decor.
Step 5: Organize Supplies in Designated Containers
Use decorative metal boxes or woven storage baskets to corral smaller items like plant labels, fertilizer packets, and spare pots. Label everything clearly (trust me, future you will appreciate this). Keep like items together. All potting supplies in one spot, all seasonal decorations in another. It sounds basic, but this is what separates organized from merely organized-looking.
Step 6: Arrange Furniture Intentionally
 Boho DIY Room Makeover: Full Revamp Under $200
Your seating shouldn't face a blank wall if you can help it. Create conversations between pieces. A coffee table in the middle of chairs, or arrange seating to face your best garden view. Leave pathways clear — claustrophobic patios feel messy even when they're technically tidy. Space matters as much as organization does.
Step 7: Add Final Touches
String lights or lanterns aren't just pretty — they define zones and make the space feel intentional. A few large potted plants placed strategically add height and visual interest while corralling smaller pots nearby. Step back and look at your patio like you're a guest. Does it feel welcoming? Relaxing? If yes, you're done. If not, tweak until it does.
Pro Tips
Vertical thinking is your best friend. Small patio? Go UP. Wall-mounted organizers, tall planters, hanging baskets — they all take advantage of unused vertical space and make your patio feel bigger.
Invest in quality weatherproof storage. Cheap plastic breaks down in UV light, and rust happens faster than you'd think. Spend a bit more upfront on materials that'll actually last through the seasons.
Create a "landing zone" near your patio door. A small table or shelf near where you enter is perfect for daily items like keys, drinks, or a book. It prevents clutter from spreading throughout your space.
Don't forget about drainage in storage. Moisture is your enemy. Ensure any storage has ventilation holes or sits elevated so water doesn't pool underneath. Soggy storage is useless storage.
Use seasonal swaps to your advantage. Not everything needs to be out year-round. Summer cushions get stored when winter arrives. This natural rotation keeps your patio feeling fresh and prevents overcrowding.
Label everything, even if you think you'll remember. Weatherproof labels cost nothing and save hours of searching. Plus, if someone else needs to find something, they can actually find it.
Cost Breakdown
← Scroll to see full table →
| Item | Low Range | High Range |
|---|---|---|
| Weatherproof Storage Bench | $200 | $400 |
| Decorative Metal Storage Boxes (set) | $80 | $150 |
| Hanging Wall Organizer/Pegboard | $40 | $80 |
| Outdoor Cushion Storage Bag | $50 | $90 |
| Bamboo/Wood Shelf Unit | $120 | $250 |
| Garden Tool Rack | $35 | $60 |
| Potting Station/Mobile Cart | $90 | $180 |
| String Lights/Lanterns | $30 | $75 |
| Large Outdoor Planters (set of 3) | $60 | $120 |
| Labels and Markers | $15 | $25 |
| TOTAL | $720 | $1,330 |
FAQ
Q: Can I organize a small patio without expensive storage?Related DIY Projects
- Diy Coffee Table Ideas Cheap
- Boho Home Decor Ideas Diy Budget
- Master Bedroom Makeover Ideas On A Budget
- cheap diy living room decor ideas
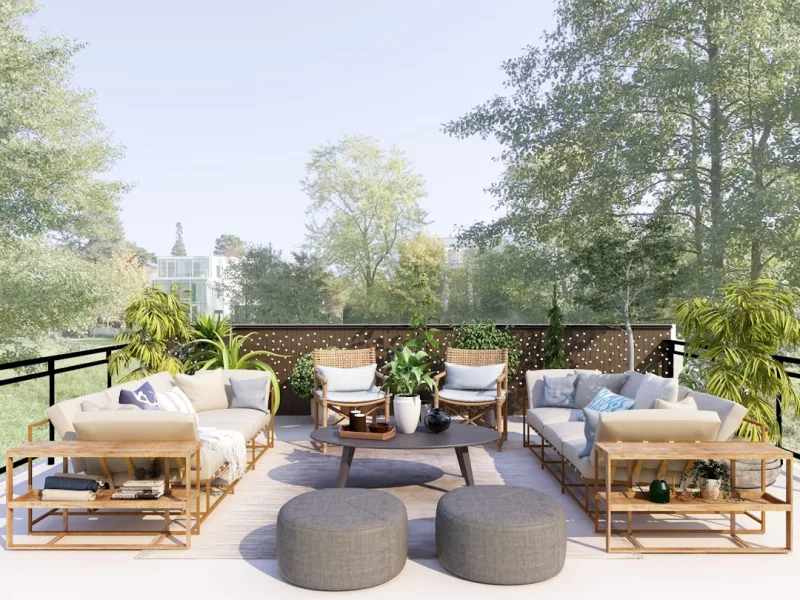
📷 Photo by Collov Home Design on Unsplash


