Smart Garage Organization on a Budget: Transform Your Chaos Into a Functional Space
Look, I get it. Your garage has basically become a black hole where things go to disappear. Holiday decorations, tools you swear you'll use someday, that exercise bike from 2019 — it's all just piled in there, right? Here's the thing: you don't need to drop thousands of dollars on custom built-ins and fancy storage systems to fix this. I've helped dozens of homeowners tackle garage chaos without breaking the bank, and honestly, some of my favorite solutions came from working with basic materials and a little creativity.
The secret isn't about having expensive organizational systems — it's about being intentional with what you have and making smart choices about what you actually need to buy. I'm going to walk you through everything I've learned about maximizing your garage space for under $300, and trust me, the feeling when you finally pull your car in without playing Tetris? Absolutely priceless.
Whether you're dealing with a cramped one-car garage or a sprawling two-car situation, these strategies work. We'll cover affordable storage solutions, smart shelving hacks, and the organizational psychology that keeps things tidy long-term. Let's get your garage back.
What You'll Need
Before we jump into the project, here's what I typically recommend grabbing. You don't need everything at once — this is more like a menu of options you can pick and choose from based on your specific situation.
- Heavy-Duty Wall Shelving Unit ($40-60) — Available at The The Home Depot, these 5-tier metal shelves hold serious weight and take up minimal floor space
- Clear Plastic Storage Bins ($1-3 each) — Grab a mix of sizes. I recommend at least 6-8 bins for seasonal items
- Pegboard Panels ($8-12 per panel) — Standard 4'x2' pegboard sheets are your best friend for wall space
- Pegboard Hooks Assortment ($10-15) — Various sizes so you're not forced into awkward workarounds
- Wall-Mounted Bike Hooks ($15-25) — Get those bikes off the ground and reclaim floor real estate
- Heavy-Duty Magnetic Labels ($8-12) — So you actually know what's in those bins
- Tension Rods ($10-15) — Brilliant for organizing long-handled tools and extension cords
- Stud Finder ($20-30) — Not glamorous, but absolutely necessary for safe installation
- Miscellaneous Hardware (bolts, washers, wall anchors) — $15-20 worth from The Home Depot
Total Budget Estimate: $150-250 depending on what you already have lying around
Step-by-Step Guide
Step 1: Do a Complete Purge (This Changes Everything)
Honestly, this is where most people want to skip ahead, but don't. Pull everything out. Everything. I know it feels chaotic, but you need to see what you're actually working with. As you go through items, be ruthless — and I mean really honest with yourself. That broken drill you've been meaning to fix? The paint cans from three renovations ago? The mystery box of hardware you can't identify? Make three piles: keep, donate, and trash.
This single step will probably give you back 30-40% of your floor space before you spend a dime on storage. Trust me on this. Better Homes & Gardens & Gardens did a study showing that decluttering is the most cost-effective organizational strategy, and I've seen it prove true every single time.
Step 2: Plan Your Layout Zones
Now that you can actually see your space, think about traffic patterns and frequency of use. Where do you enter the garage? What do you reach for most often? Create zones: a tool zone, a seasonal storage zone, a sports equipment zone, a gardening corner — whatever makes sense for your household.
Sketch this out on paper or your phone. Seriously, spend 10 minutes visualizing where things should go. Items you use constantly should be at eye level and easy to grab. Seasonal stuff can live higher up or in the back. This strategic thinking saves you from rearranging everything next month.
Step 3: Install Your Wall Storage System
Start with the stud finder to locate solid wood behind your drywall — this is non-negotiable for safety. Once you've marked your studs, install your shelving unit first. This is typically your biggest piece and deserves prime real estate.
Next, install pegboard panels on another wall. You can paint them first if you want them to match your space — adds maybe an hour and makes it feel less utilitarian. Arrange your hooks thoughtfully; heavy tools on the lower sections, lighter items up top. Use those magnetic labels as you hang things so you know where everything lives.
Step 4: Organize Vertical Storage
Those tension rods I mentioned? Stretch them across a wall section or mount them inside your shelving unit. String garden tools, hoses, and cords through them. It's incredibly space-efficient and looks surprisingly clean.
 Budget Apartment Renovation: DIY Hacks That Actually Work
Mount bike hooks at a comfortable height — you want to be able to lift bikes in without straining. Same philosophy applies to any wall-mounted storage: think about your actual reach and comfort, not just what looks good in pictures.
Step 5: Set Up Your Bin System
Clear bins are game-changers because you can see contents without opening them. Sort items into categories, then into bins. Label everything — and I mean everything. Use consistent labeling so your system doesn't collapse when other family members put things away.
Stack bins strategically on your shelving, keeping heavier items lower and frequently accessed items at eye level. Rotate seasonal bins to accessible spots when needed, then tuck them away when the season ends.
Step 6: Create a Tool Zone
Whatever tools you kept should have a designated home. A rolling cart works great if you have the space, or dedicate a shelf section with pegboard organization above it. The key is making it easy for yourself — if putting tools away requires a multi-step process, it won't happen.
Pro Tips
Embrace wall space like it's gold. Seriously, your walls are the most underutilized real estate in most garages. That vertical storage is what's going to make the difference between feeling cramped and feeling open. HGTV's garage organization features always emphasize vertical solutions, and it's because they work.
Use tension rods and magnetic strips everywhere. I've mounted magnetic strips for metal tools, stretched tension rods for cords and hoses, and honestly, these two things alone have solved more organizational headaches than the expensive systems ever did.
Label your bins — then label them again. It sounds excessive, but I put labels on the front and top of bins. This encourages people to actually return items to the right place. When returning things is friction-free, your system stays organized.
Donate or sell tools you genuinely won't use. That professional-grade equipment you bought "just in case"? If you haven't used it in a year, it's taking up valuable space. List it on Facebook Marketplace or Craigslist. Someone else will appreciate it more, and you'll feel better about your space.
Keep cleaning supplies accessible. One small shelf or bin dedicated to garage cleaning supplies makes a huge difference. When you can quickly wipe things down, your organized space stays organized.
Cost Breakdown
← Scroll to see full table →
| Item | Quantity | Price Per Unit | Total |
|---|---|---|---|
| Heavy-Duty Wall Shelving Unit | 1 | $50 | $50 |
| Clear Plastic Storage Bins (various sizes) | 8 | $2 | $16 |
| Pegboard Panels (4'x2') | 2 | $10 | $20 |
| Pegboard Hooks Assortment | 1 | $12 | $12 |
| Wall-Mounted Bike Hooks | 2 | $15 | $30 |
| Magnetic Labels | 1 | $10 | $10 |
| Tension Rods | 3 | $5 | $15 |
| Stud Finder | 1 | $25 | $25 |
| Hardware (bolts, anchors, etc.) | 1 | $18 | $18 |
| TOTAL | $196 | ||
Note: Prices vary by location and retailer. The Home Depot, Amazon, and local hardware stores frequently offer sales on organizational items — timing your purchase can save 15-20%.
Frequently Asked Questions
Q: Can I really do this for under $300 if I hire someone to help with installation?
A: Honestly, yes — if you do the installation
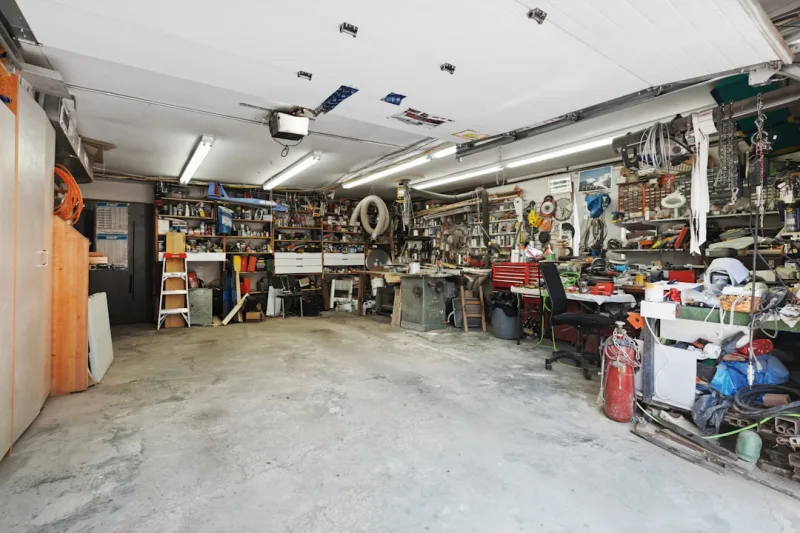
📷 Photo by Point3D Commercial Imaging Ltd. on Unsplash


