Designer Garage Storage with DIY Hacks: Transform Your Mess Into a Dream Space
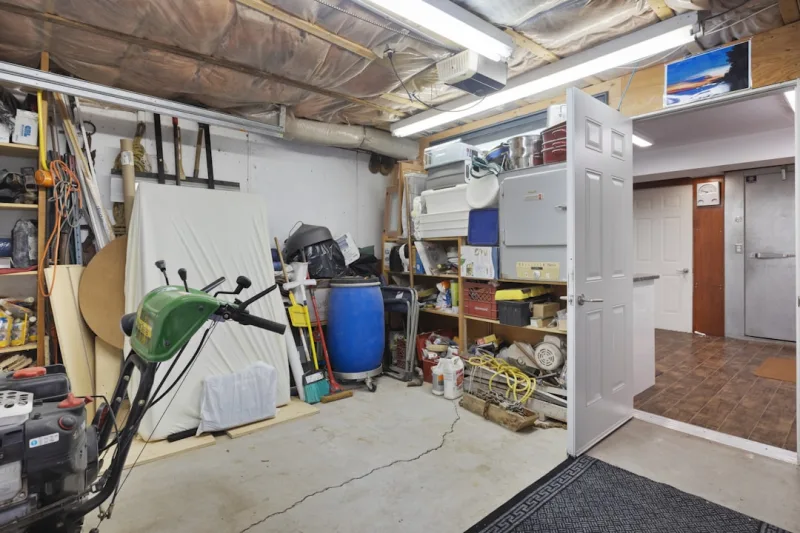
Look, I get it. Your garage has basically become a black hole for everything you don't know what to do with. There's that broken bicycle, the camping gear from 2019, mysterious boxes of who-knows-what, and somehow your actual cars barely fit. But here's the thing — you don't need to spend thousands of dollars hiring a professional organizer or buying some fancy custom system. With some smart DIY hacks and a designer's mindset, you can create a garage that actually looks intentional and organized.
I've been there, standing in my garage at 7 AM trying to find my drill, surrounded by chaos, wondering how it got this bad. That's when I realized: most designer spaces work because they follow simple principles of organization, visual balance, and functionality. The good news? You can absolutely replicate that aesthetic without breaking the bank. Whether you're storing seasonal items, tools, sports equipment, or just the general debris of modern life, I'm going to walk you through exactly how to do this.
The best part? You probably already have some of the materials lying around, and the rest are readily available at places like The The Home Depot. Let's get started.
What You'll Need
Before you dive in, grab these materials. I've included approximate costs, but honestly, you can hunt for sales and save even more:
- Wall-mounted pegboards (4' x 2') — $15-25 each
- Heavy-duty wall shelving units (metal, 48" wide) — $40-80 per unit
- Clear plastic bins with labels (variety pack) — $20-35
- Magnetic strips and hooks — $10-15 total
- Wood pallets (free or $5-10 if buying new)
- Paint or wood stain (if DIYing pallet storage) — $15-25
- Wall anchors and heavy-duty fasteners — $8-12
- Bike rack or wall mount — $20-40
- LED strip lighting (optional but game-changing) — $15-30
- Baskets or woven storage containers — $10-20 each
Step-by-Step Guide
Step 1: Declutter Like Your Life Depends On It
I know, I know — nobody gets excited about throwing things away. But this is genuinely the most important step. You cannot design a beautiful garage if it's full of stuff you don't use. Go through everything. Be honest. That treadmill you swore you'd use? Not happening. Those broken decorations? Gone. Create three piles: keep, donate, and trash.
According to Better Homes & Gardens & Gardens, the average household has about 300,000 items in it. Your garage probably holds at least a tenth of that. Once you've decluttered, you'll be amazed at how much space you actually have to work with. This step costs nothing but takes the most time — and it's worth every minute.
Step 2: Plan Your Zones
This is where the designer thinking comes in. Think about how you actually use your garage. Do you park cars there? Work on projects? Store seasonal items? Create distinct zones for each activity. Maybe the left wall is for tools, the right side for sports equipment, and the back corner for seasonal storage. Keep frequently used items at eye level and within arm's reach.
Sketch this out on paper — yes, actually draw it. It doesn't have to be fancy. Just map out where things will go. This prevents you from mounting shelves in terrible locations and saves you from doing work twice.
Step 3: Mount Your Pegboards
Pegboards are honest-to-goodness magic. They're flexible, customizable, and way more affordable than built-in solutions. Find studs in your wall with a stud finder — this matters because you're going to load them up and they need to be secure.
Mount your pegboards at a comfortable working height (usually 48-54 inches from the floor to the center). Use heavy-duty wall anchors rated for the weight you're planning to hang. Then add hooks, bins, and holders to match your tools and items. The best part? You can rearrange everything whenever you want.
Step 4: Build or Install Shelving
Wall-mounted shelving creates serious visual impact and storage capacity. I'm a fan of metal shelving units because they're durable and look intentional. Mount them securely — trust me, nothing's worse than a loaded shelf that decides to fall at 2 AM.
Here's a pro hack: if you're feeling crafty, grab some free or cheap wooden pallets from local businesses, sand them down, paint them a nice neutral color (whites, blacks, and grays photograph beautifully), and mount them horizontally. It gives you that designer-level aesthetic for minimal cost. HGTV has featured pallet storage projects for years — there's a reason people love them.
Step 5: Get Your Bins and Containers Organized
Clear plastic bins are your best friend here. You can see what's inside without opening them, and they stack beautifully. Label everything — and I mean everything. Use a label maker if you have one, or even hand-write labels on painter's tape. This sounds obsessive, but future-you will be so grateful when you're not digging through five bins looking for the Christmas lights.
 Budget Apartment Renovation: DIY Hacks That Actually Work
Group similar items together: all holiday decorations in one section, all sports gear in another, tools with tools. Create a visual hierarchy. Larger bins at the bottom, smaller ones stacked on top.
Step 6: Add Lighting (Trust Me On This)
This is the step people skip, and then they regret it. A dark garage makes everything look chaotic. Add some LED strip lighting along your shelves or under your pegboards. It's affordable, easy to install, and transforms the entire space. Suddenly your organized garage actually looks organized.
The The Home Depot has tons of options here. I'd go for bright white or cool white — it feels clean and modern.
Step 7: Final Touches and Styling
This is the fun part. Add a coat of paint to your concrete floor (yes, this matters), hang some artwork or motivational signs, and maybe throw down a small area rug in your work zone. These touches make it feel intentional and styled — not just functional.
Pro Tips
Vertical storage is your secret weapon. Wall space is free real estate in a garage. Use it obsessively. The more you go vertical, the less floor space you're taking up, and the more room you have for actual activities and cars.
Label everything with color coding if you're fancy. Different colored labels for different categories? Beautiful and functional. Your family will actually put things back where they belong because the system is clear.
Invest in proper tool storage. Tool caddies, magnetic strips, and wall-mounted organizers keep your most-used items accessible and protected. Nothing ruins a beautiful garage like seeing tools scattered all over.
Create a "donation station" in your garage. Keep a bin for items you're getting rid of. When it's full, drop everything off at your local charity. This prevents the clutter from creeping back in.
Don't go too minimalist. Some people get so excited about organization that they make their garage sterile and unusable. Remember — a garage should be functional first, beautiful second. Make sure everything you're storing is something you actually use or plan to use.
Cost Breakdown
← Scroll to see full table →
| Item | Quantity | Unit Cost | Total Cost |
|---|---|---|---|
| Pegboards | 2 | $20 | $40 |
| Wall Shelving Units | 2 | $60 | $120 |
| Clear Storage Bins | 10 | $3 | $30 |
| Magnetic Strips and Hooks | 1 | $12 | $12 |
| Paint/Wood Stain | 1 | $20 | $20 |
| Wall Anchors and Fasteners | 1 | $10 | $10 |
| LED Strip Lighting | 2 | $20 | $40 |
| Storage Baskets | 3 | $15 | $45 |
| TOTAL ESTIMATED COST | $317 | ||
Note: This assumes you already have basic tools like a drill and level. These prices are approximate and vary by region and specific products chosen.
FAQ
Q: How long does a project like this actually take?
A: If you're decluttering first, plan for a full weekend or even spreading it across two weekends. The actual installation of shelving and pegboards? Maybe
📷 Photo by Point3D Commercial Imaging Ltd. on Unsplash


