Transform Your Garage into a Cozy Retreat: DIY Renovation Hacks That Actually Work
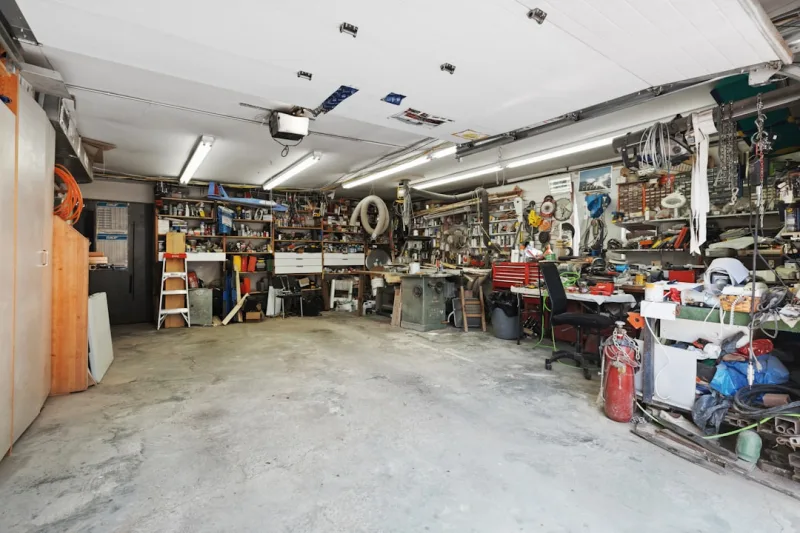
Look, I get it — your garage is basically a black hole for forgotten holiday decorations, broken tools, and mysterious boxes you haven't opened since 2019. But here's the thing: that neglected space has serious potential. I've watched so many homeowners completely transform their garages from dark, cold storage zones into inviting retreats they actually *want* to spend time in. And the best part? You don't need a contractor or a massive budget to pull it off.
Over the past few years, I've seen the garage renovation trend explode — and honestly, it makes total sense. Whether you're looking to create a workshop, a man cave, a creative studio, or just a space that doesn't feel like a dungeon, the right touches can make all the difference. The secret isn't complicated either. It's about smart lighting, a little paint, proper organization, and layers of warmth that make people actually want to hang out there.
I'm going to walk you through my favorite DIY hacks that'll transform your garage without draining your bank account. These are real solutions that work, tested by real people — not some Pinterest fantasy that requires a PhD in construction.
What You'll Need
Before you dive in, grab these materials. Most of this stuff is available at The The Home Depot, and honestly, you probably have some of it lying around already.
- Paint & Primer Combo (2-3 gallons for average garage) — $40-$60
- LED Panel Lights (4-6 panels) — $80-$150
- Pegboard Sections (8x4 ft sheets, 2-3 pieces) — $30-$50
- Wood Stain or Paint for shelving — $15-$25
- Weatherstripping Tape — $15-$20
- Area Rug (8x10 or similar) — $50-$120
- Rope Lighting or String Lights — $20-$40
- Storage Bins & Organizers — $40-$100
- Wall Shelving Units (if not building) — $60-$150
- Door Insulation Weatherstripping — $25-$35
- Paint Roller, Brushes & Drop Cloth — $20-$30
- Stud Finder & Basic Tools (if you don't have them) — $30-$50
Total Estimated Cost: $425-$830 (depending on what you already own)
Step-by-Step Guide
Step 1: Clear Out and Deep Clean
I know this sounds obvious, but seriously — empty everything out. Pull those boxes of Christmas lights off the shelves, move the bikes, haul out the old paint cans. This is your chance to actually see the space you're working with. Once it's empty, sweep, wipe down the walls, and check for any moisture issues or cracks. Better Homes & Gardens & Gardens always emphasizes this foundation step, and they're right. You can't build something cozy on top of a foundation of chaos.
Step 2: Assess Lighting & Install New Fixtures
This might be the single most important step — I'm not exaggerating. Garages are notoriously dark and depressing because they rely on a single overhead light that creates harsh shadows. Switch to LED panel lights instead. They're bright, energy-efficient, and cost way less to run than traditional fixtures. Mount 4-6 panels across the ceiling using simple brackets. You'll immediately feel the difference. Add some rope lighting or string lights along the walls for ambient warmth. Honestly, good lighting changes everything.
Step 3: Paint Everything
Pick a light, neutral color — think soft gray, warm white, or pale taupe. Avoid super dark colors unless you're going for a specific vibe; they'll make the space feel smaller and colder. Use primer-and-paint-in-one products to save time and money. Paint the walls, the ceiling, and even the concrete floor if you're feeling ambitious (concrete paint runs $25-$40 per gallon and is durable as hell). A fresh coat transforms the entire energy of the space. Trust me on this one.
Step 4: Address Temperature & Insulation
Cozy means warm. If your garage gets cold, add weatherstripping around the door and any gaps. These strips are cheap and make a genuine difference in temperature control. If you're serious about year-round comfort, consider adding insulation to the garage door itself — it's not as expensive as people think. Even without major work, weatherstripping takes the edge off.
Step 5: Install Wall Storage & Pegboard
Here's where organization meets style. Mount pegboard sections on your walls for visual interest and functionality. Paint them in a complementary color, or leave them natural. Add matching hooks, shelves, and baskets. Build or install some floating shelves for displaying items you actually like looking at — vintage tools, plants, collectibles, whatever speaks to you. The key is making storage beautiful, not just functional.
Step 6: Add Soft Elements
Layer in texture and warmth. A good area rug anchors the space and makes it feel less industrial. Add cushioned seating if there's room — even a simple folding chair makes a difference. Throw a blanket over it. Place some plants around. These soft touches are what transform a utilitarian space into somewhere you actually want to be. HGTV features this all the time in their garage makeovers, and there's a reason: it works.
Step 7: Create Zones
 Boho DIY Room Makeover: Full Revamp Under $200
If your garage is large enough, define different areas — a work zone, a relaxation zone, a storage zone. Use furniture arrangement, lighting changes, or rugs to visually separate these spaces. This psychological trick makes even smaller garages feel more intentional and inviting.
Pro Tips
Invest in quality paint. Seriously, don't cheap out here. Premium paint covers better, lasts longer, and looks way more professional. One expensive can beats two cheap cans every time.
Use vertical space obsessively. Walls are your best friend in a garage. The more you use vertical storage, the larger your space automatically feels.
Add a mirror or two. This reflects light and creates an illusion of more space. Bonus: it's actually useful.
Don't forget about the ceiling. Painting it a light color keeps the space feeling open rather than cave-like.
Think about your climate. If you live somewhere humid, add a dehumidifier. Cold climate? A small space heater makes it usable year-round.
Label everything obsessively. Clear storage bins with labels keep things organized and make your space feel intentional rather than chaotic.
Cost Breakdown
← Scroll to see full table →
| Item | Quantity | Unit Cost | Total |
|---|---|---|---|
| Paint & Primer Combo | 3 gallons | $20 | $60 |
| LED Panel Lights | 5 panels | $25 | $125 |
| Pegboard Sections | 2 sheets | $20 | $40 |
| Area Rug | 1 | $85 | $85 |
| Rope Lighting | 2 sets | $25 | $50 |
| Storage Bins & Organizers | Various | $60 | $60 |
| Wall Shelving Units | 3 units | $40 | $120 |
| Weatherstripping | 2 rolls | $20 | $40 |
| Paint Supplies (roller, brush, cloth) | 1 set | $25 | $25 |
| TOTAL | $605 | ||
Frequently Asked Questions
Q: Can I do this in a weekend?
A: Honestly? You can get most of it done in 2-3 days if you work efficiently. Painting takes the longest — plan 1-2 days for that depending on garage size. Lighting and storage installation move faster. The real timeline depends on your garage size and how detailed you want to get. Don't rush the paint job though; it's worth taking your time.
Q: My garage floods occasionally. Should I still do this?
A: Address the flooding first — seriously. Install proper drainage, seal cracks, and get a dehumidifier running. Moisture will destroy any renovation you do. Once you've fixed that problem, proceed with confidence. A dry garage is a prerequisite for coziness.
Q: Do I need to be handy to pull this off?
A: Not really. Painting and organizing require no special


