Designer Patio Transformation 2026: Your Complete DIY Guide
Look, I'm going to be honest with you — your patio has SO much potential. Whether it's been neglected for years or you're just ready for a serious glow-up, 2026 is the perfect time to transform your outdoor space into something genuinely design-forward. I'm talking about those picture-perfect patios you see scrolling through HGTV and Better Homes & Gardens & Gardens, except this time? You're actually going to build it yourself.
Here's the thing about patio transformations — they don't have to drain your bank account or require a contractor license. With some strategic planning, the right materials, and a weekend or two of work, you can create an outdoor space that makes your neighbors actually jealous. We're talking layered lighting, designer-level color schemes, built-in functionality, and those little finishing touches that separate a "nice patio" from a "why is your patio so incredible?" patio.
The trends for 2026 are all about mixing textures, embracing nature-inspired palettes, and creating zones within your space. Whether you've got a tiny balcony or a sprawling backyard, this guide will walk you through exactly how to pull off a designer patio transformation without needing a design degree.
What You'll Need
Before you grab your work gloves, let's talk materials. The good news? Most of this stuff is readily available at The The Home Depot, local landscaping suppliers, or online retailers.
- Outdoor Pavers or Decking Materials — $3-8 per square foot (600 sq ft area = $1,800-4,800)
- Gravel or Mulch Base — $40-80 per cubic yard
- String Lights or LED Strip Lighting — $35-150 per set
- Outdoor Paint (if refinishing existing surfaces) — $25-50 per gallon
- Outdoor Furniture — $200-800 depending on selections
- Large Planters and Plants — $100-400 total
- Outdoor Rug — $100-300
- Power Tools Rental (if needed) — $30-60 per day
- Concrete Sealer or Stain — $30-70
- Landscape Fabric — $20-40
- Hardware and Fasteners — $30-75
- Paint or Wood Stain Supplies — $15-40
Step-by-Step Guide
Step 1: Assess Your Space and Plan Your Layout
Start by really looking at what you're working with. Take measurements — I mean actual measurements, not just eyeballing it. Figure out your sun patterns throughout the day. Where does it get scorching at 2 PM? Where's the shade? This information is gold when you're planning furniture placement and what plants will actually thrive.
Sketch out a rough layout. Don't make it complicated — just grab some graph paper or use your phone to take overhead photos. Think about creating zones: a dining area, a lounging area, maybe a small reading nook. These distinct spaces make even small patios feel intentional and designer-curated.
Step 2: Clean and Prepare Your Existing Surface
I can't stress this enough — a clean slate is everything. If you've got concrete, scrub it down with a pressure washer. Remove debris, weeds, and any old stains. This might seem tedious, but honestly, it's the difference between a DIY-looking project and something that looks professionally installed.
If you're working with an old deck, do the same thing. Get those years of grime out of there. Once everything's clean and dry, you've got your foundation to work with.
Step 3: Add or Refresh Your Base Layer
This is where you decide: are you keeping your existing surface or creating a new one? If you're adding pavers over concrete, lay out landscape fabric first to prevent weeds. For a fresh deck or patio, proper gravel base is essential — usually 4 inches should do it.
If you're staining or painting concrete, now's your moment. Choose colors that feel modern and cohesive — think warm grays, terracotta, or even that trendy slate blue. Apply two coats with a quality exterior sealer. Trust me, this investment pays off in durability.
Step 4: Establish Your Lighting Plan
Here's where the magic happens. String lights instantly make any space feel elevated and sophisticated. We're not talking those cheap bulbs — go for Edison-style or globe lights. Position them overhead in a crisscross pattern or frame your space's edges.
Add LED strip lighting under railings or along planters for that hidden glow. Solar options keep your electric bill reasonable. Layer your lighting so you can control ambiance with different brightness levels.
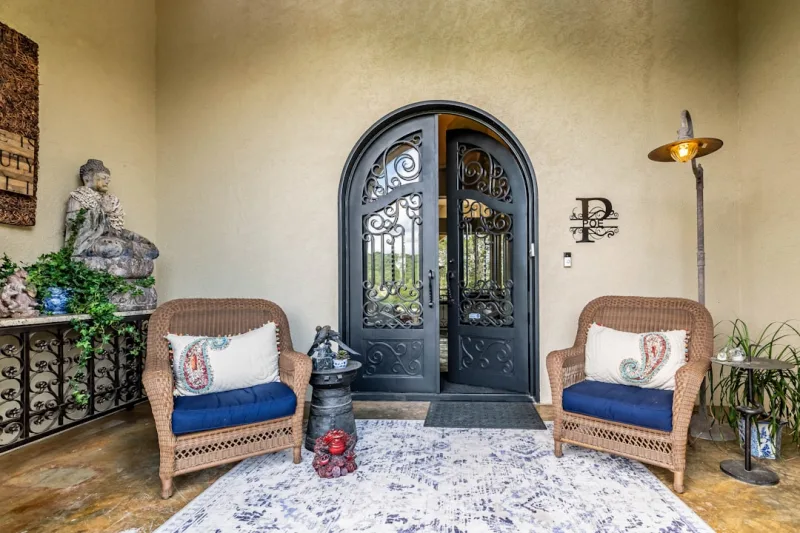
Step 5: Define Your Space with Hardscaping
Add larger planters, maybe a small fire pit table, or raised garden beds. These elements create visual interest and define different zones. Choose materials that complement your home — if you've got a modern aesthetic, go minimal and sleek. Farmhouse vibes? Mix wood and metal.
Install an outdoor rug to anchor your seating area. This ties everything together visually and makes the space feel intentional rather than random.
Step 6: Layer in Furniture and Accessories
 Budget Apartment Renovation: DIY Hacks That Actually Work
Select pieces that are both beautiful and functional. Look for weather-resistant materials like teak, aluminum, or quality synthetic wicker. Don't cram too much in — white space is part of good design.
Add throw pillows, an outdoor side table for drinks and books, maybe some outdoor wall art. These finishing touches are what transform it from "nice" to "seriously impressive."
Step 7: Greenery and Final Styling
Plants literally breathe life into your patio. Mix tall plants in the corners for privacy and structure, then add mid-level foliage and trailing plants in smaller containers. Think layering — it's a design principle for a reason.
Choose plants based on your climate and sunlight. If you're uncertain, your local nursery staff are genuinely helpful — way more so than you'd expect.
Pro Tips
Start with a color palette and stick to it. Choose three main colors maximum. This creates cohesion and that polished, designer-approved feel. Neutrals with one accent color is always winning.
Invest in good outdoor furniture over decorative pieces. You'll use it daily, and quality pays dividends. Cheaper furniture falls apart in weather — it's just not worth it.
Consider privacy screening. A simple wooden trellis with climbing ivy or a stylish fence adds depth and makes your space feel like a hidden sanctuary. Honestly, this is what separates amateur patios from designer ones.
Don't skip the sealing step. Whether it's concrete, wood, or stone, proper sealing extends the life of your investment significantly. Apply it annually for best results.
Plan for maintenance. Choose materials that won't require constant upkeep. Your future self will thank you. Check Better Homes & Gardens for seasonal patio maintenance guides.
Cost Breakdown
← Scroll to see full table →
| Category | Item | Cost Range |
|---|---|---|
| Surface | Pavers/Stain/Paint | $1,800-4,800 |
| Foundation | Gravel/Mulch Base | $150-250 |
| Lighting | String Lights & LEDs | $100-300 |
| Furniture | Seating & Tables | $400-1,200 |
| Textiles | Rug & Pillows | $150-400 |
| Landscaping | Planters & Plants | $150-500 |
| Accessories | Hardware & Misc | $100-200 |
| TOTAL | Complete Transformation | $2,850-7,650 |
FAQ
Q: Can I do a patio transformation on a smaller budget?
A: Absolutely. Start with what you've got and refresh it strategically. Paint concrete, add lighting, bring in affordable plants from a local nursery, and focus on one seating area. You can easily create impact spending $1,000-1,500. The key is prioritizing what matters most to you.
Q: What's the best time of year to tackle a patio transformation?
A: Spring and early fall are ideal. You've got moderate temperatures, good weather consistency, and plants are actively growing. Avoid peak summer heat if you're doing physical work, and skip winter when grounds might be frozen or wet.
Q: How long does a complete patio transformation typically take?
A: If you're refreshing an existing patio with new furniture, lighting, and plants, you're looking at a long weekend — maybe 8-12
📷 Photo by Mary Ann Wooten on Unsplash


