Boho Patio Storage with DIY Hacks: Create Stunning Outdoor Storage That Actually Works
So here's the thing — I absolutely love a good boho aesthetic, but let's be real, it can look pretty chaotic if you don't have your patio organized. I spent an entire summer watching my throw pillows, garden tools, and random plant pots multiply like rabbits on my back patio, and honestly, it was driving me crazy. That's when I realized I needed storage that didn't just *work* functionally, but actually looked intentional and beautiful. And that's exactly what I'm going to walk you through today.
The magic of boho patio storage is that you don't need to drop a ton of cash on fancy outdoor furniture or rigid metal shelving units. Instead, we're talking about mixing texture, embracing natural materials, and pulling together some seriously clever DIY hacks that'll make your patio feel like a curated escape. Think macramé, woven baskets, reclaimed wood, and a whole lot of personality.
I've tested these ideas myself, and I'm obsessed with how they turned out. Plus, the best part? You'll actually want to spend time in your outdoor space because it looks Instagram-worthy and functions like a dream. Let's dig in.
What You'll Need
Before you start, gather these materials. I'm giving you real prices because I think knowing the actual investment matters:
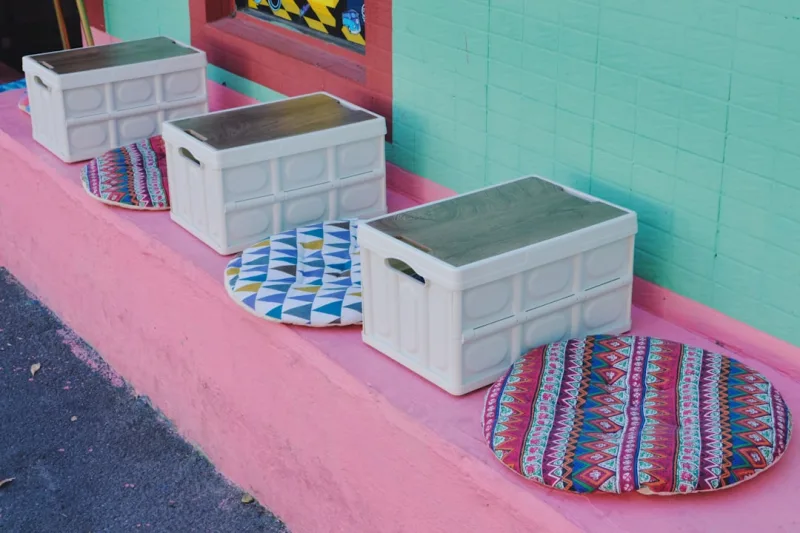
- Wooden crates (vintage or new) — $15-40 per crate at The The Home Depot
- Woven baskets (various sizes) — $20-60 each, depending on quality
- Reclaimed wood planks — $30-80 for a bundle
- L-brackets and screws — $15-25 for a hardware kit
- Rope (jute or macramé) — $10-20 per spool
- Paint or wood stain (optional) — $8-15 per can
- Sandpaper and wood sealant — $12-18 total
- Outdoor fabric for bin liners — $20-35 per yard
- Weatherproof sealant — $15-25 per bottle
- Drill and basic tools — $40-100 if you don't have them (but honestly, borrow them if you can)
Step-by-Step Guide
Step 1: Choose Your Base Structure
First things first — decide what you're working with. Are you building a shelf unit, stacking crates, or creating a storage bench? Honestly, I'd recommend starting with wooden crates or pallets because they're forgiving and naturally boho. You can stack them, secure them together, and have a functional storage solution in an afternoon. Head over to The Home Depot or check local Facebook Marketplace for reclaimed options that are already weathered and perfect.
Step 2: Prepare and Sand Your Materials
This step is easy but crucial. Take whatever wood you're using and sand it down with medium-grit sandpaper. I usually spend about 15-20 minutes per crate, hitting all the rough edges. It's not about making it perfectly smooth — boho *loves* a little texture — but you want to remove any splinters that'll catch on fabrics or hands.
Step 3: Apply Finish and Sealant
Here's where you add personality. You can leave the wood natural (my personal favorite), stain it a soft gray or honey tone, or even go with a whitewashed look. Apply one or two coats, let it dry completely, then seal it with a weatherproof sealant. This is non-negotiable if your storage sits outside year-round — the sealant keeps moisture out and extends the life of your pieces by years.
Step 4: Build Your Storage Configuration
Stack your crates or secure planks to create shelving. Use L-brackets on the back for stability — you'll want at least one bracket per shelf. If you're stacking crates, drill pilot holes and use wood screws to lock them together. Nothing worse than a wobbly storage unit filled with your favorite things, trust me on this.
Step 5: Add Baskets and Bin Liners
This is where boho magic happens. Line each shelf or crate section with woven baskets in varying sizes. For extra sophistication, line the baskets with outdoor fabric in complementary patterns — think cream linen, soft earth tones, or subtle patterns. This keeps items contained, adds visual interest, and makes everything feel intentional rather than haphazard.
Step 6: Incorporate Rope and Macramé Details
Wrap jute rope around shelf edges or create simple handles for baskets. You can even weave rope between crate slats for added texture. If you're feeling ambitious, make a simple macramé plant hanger to dangle from the top — it costs almost nothing and elevates the entire look instantly.
Step 7: Organize and Style
Once everything's built, arrange your items thoughtfully. Keep frequently used garden tools on lower shelves, seasonal items higher up, and display pretty pieces — vintage watering cans, terracotta pots, decorative planters — prominently. The key is mixing functional storage with decorative elements so it doesn't feel purely utilitarian.
Pro Tips
Embrace vertical space: Don't just go wide — go up. Wall-mounted shelving saves floor space and makes your patio feel bigger while giving you serious storage capacity.
 Boho DIY Room Makeover: Full Revamp Under $200
Mix materials intentionally: Combine wood with metal, rope with fabric, ceramic with woven elements. This layered approach is what makes boho spaces feel curated instead of cluttered. Check out HGTV for inspiration on material combinations.
Use waterproof containers for off-season items: Not everything needs to be visible. Keep sealed plastic bins in your boho storage for winter decorations, extra cushions, and items you don't use regularly.
Plan for drainage: If your storage sits directly on the ground, elevate it slightly with small feet or blocks. This prevents moisture damage and keeps wood from rotting prematurely.
Label your baskets subtly: Hang small tags or use chalk markers on fabric labels. It keeps everything organized without ruining the aesthetic.
Rotate seasonal decorations: Switch out your basket contents seasonally. Summer plants and bright textiles in warm months, cozy blankets and holiday décor when temperature drops.
Cost Breakdown
← Scroll to see full table →
| Item | Unit Cost | Quantity | Total |
|---|---|---|---|
| Wooden crates | $25 | 4 | $100 |
| Woven baskets | $40 | 6 | $240 |
| Reclaimed wood planks | $50 | 1 bundle | $50 |
| Hardware kit (brackets, screws) | $20 | 1 | $20 |
| Rope and macramé supplies | $15 | 1 | $15 |
| Wood stain and sealant | $20 | 1 | $20 |
| Outdoor fabric for liners | $28 | 1 yard | $28 |
| Sandpaper and finishing supplies | $15 | 1 | $15 |
| TOTAL (without tools) | $488 | ||
Note: Prices vary by region and quality. Shop around — The Home Depot often has sales, and local thrift stores are goldmines for vintage finds.
FAQ
Q: Will this storage hold up in bad weather?
A: Yes, if you use weatherproof sealant and elevate your storage off the ground. However, if you live somewhere with intense rain or snow, consider covering it with a weatherproof tarp during harsh seasons. Woven baskets can eventually weaken in extreme moisture, so rotate them out every couple of years if needed.
Q: Can I do this project if I don't have power tools?
A: Absolutely. You can stack crates without screwing them together, use shelf risers instead of brackets, and rope things in place. It takes a bit longer, but it's totally doable. Hand tools only — no power drill required. Check Better Homes & Gardens & Gardens for low-tech building methods.
Q: How do I prevent my boho storage from looking cluttered?
A: Keep your color palette consistent — stick to 3-4 main colors max. Store items you don't want visible in opaque baskets, and regularly declutter. Sometimes boho can veer into chaotic, so intentional curation is your friend. Edit ruthlessly.
Final Thoughts
Creating boho patio storage that actually functions isn't complicated — it just requires a little intention and willingness to mix materials in ways that feel organic. What I love most about these DIY hacks is that you end up with something completely unique to your space and style. Your patio storage won't look like anyone else's, and honestly, that's the whole point of boho design.
Start small if you're nervous. Build one simple crate unit, style it beautifully, and go from there. You'll gain confidence quickly, and before you know it, you'll have a patio that's both stunning and seriously functional. Your garden tools will be organized, your plants will have a


