DIY Bathroom Mirror Ideas That Won't Break the Bank
Look, I get it — you're standing in your bathroom, staring at that boring builder's mirror, and thinking there has to be something better. The good news? There absolutely is, and you don't need to drop a ton of cash to transform your space. I've been there, done that, and trust me, some of my favorite bathroom upgrades have come from DIY projects that cost less than a decent dinner out.
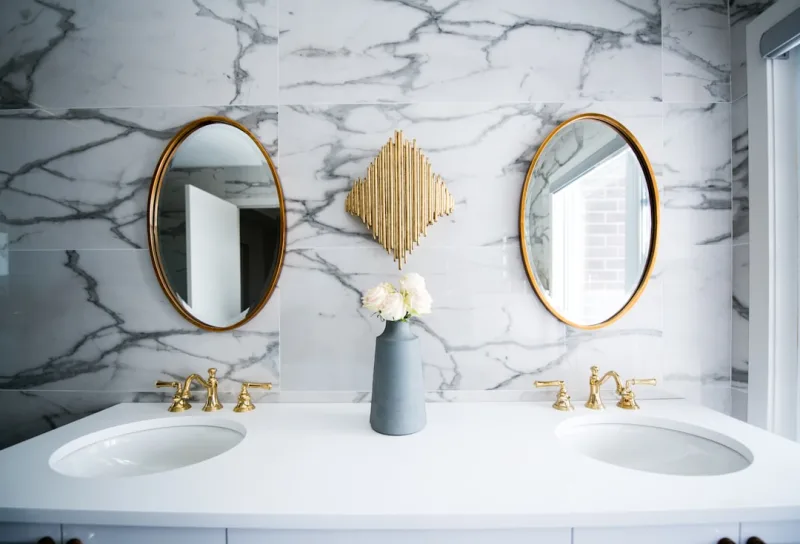
Here's the thing about bathroom mirrors — they're like the jewelry of your bathroom. They catch light, they set the tone, and they can completely change how the whole room feels. Whether you're renting (hello, no permanent changes allowed) or you own and just want to refresh things on a budget, I've got some solid ideas that actually work.
We're talking everything from frame makeovers to creating statement mirrors from scratch — and honestly, most of these projects take an afternoon and require just basic tools. Let's dive in and get your bathroom looking like you actually care about it.
What You'll Need
Before we jump into the fun stuff, here's what you might grab for these projects. Depending on which idea calls to you, you won't need everything on this list:
- Wood frame kit or pallet wood — $15-40 (The Home Depot has budget-friendly options)
- Spray paint or wood stain — $5-12 per can
- Adhesive mirror sheets — $10-25 for a pack
- Rope or jute twine — $6-15
- Metal corner brackets — $8-12
- Screws and wall anchors — $5-10
- Decorative paint or mosaic tiles — $10-30
- Sandpaper (various grits) — $5-8
- Wood glue — $4-6
- Drill with bits — probably have this already, but $20-50 if not
- Level — $8-15
- Circular saw (optional, can rent) — $20-40 to rent for a day
Step-by-Step Guide
Step 1: Choose Your Mirror Base
First things first — you need a mirror. You've got options here. You can grab an inexpensive vanity mirror from The Home Depot (honestly, they've got some decent frameless options for $20-40), or if you're feeling resourceful, snag a mirror from a thrift store for even less. I once found a gorgeous mirror at a flea market for $8 that just needed a little TLC.
Step 2: Prep Your Work Area
Lay out a drop cloth or old sheet — you'll want to protect your floor. If you're working with a wooden frame that's already on the mirror, you'll be sanding and potentially staining, so ventilation matters. Open a window if you can. This isn't just about fumes; it's about keeping your space comfortable while you work.
Step 3: Sand and Prime (If Needed)
Got an old frame? Sand it down with medium-grit sandpaper first, then finish with fine-grit. This takes about 10-15 minutes and makes a huge difference for paint adhesion. If you're working with raw wood, definitely prime before painting — cheap primer from Home Depot runs about $6-8 and saves you headaches later.
Step 4: Paint or Stain Your Frame
This is where the magic happens. Spray paint is your friend here — it goes on smoother than brush-on paint and dries faster. Pick a color that speaks to your bathroom's vibe. Matte black is timeless, white feels clean, and gold or copper adds a touch of luxe without the luxury price tag. Two coats usually does it. Let it dry completely between coats — usually 2-4 hours depending on the product.
Step 5: Add Embellishments (Optional But Fun)
Want to get fancy? Wrap rope around the frame for a coastal feel, add mosaic tiles for texture, or glue on decorative trim from a craft store. This step is totally optional, but it's where you can really personalize things. Some people hot-glue small tiles in a pattern around the frame's edge — looks super intentional and costs maybe $15 total.
Step 6: Install Hardware and Mount
 Budget Apartment Renovation: DIY Hacks That Actually Work
Use a level to mark where your mirror's going. Seriously, don't skip this step — a crooked mirror drives me crazy every time I see it. Install wall anchors appropriate to your wall type (drywall vs. tile), then secure the mirror with heavy-duty adhesive strips or brackets. If you're renting, adhesive mirror strips are your best friend — they come off cleanly and don't damage walls.
Step 7: Step Back and Admire
You did that. That's actually pretty cool when you think about it.
Pro Tips
- Shop thrift stores first. Seriously. Better Homes & Gardens & Gardens has a whole segment about upcycling, and thrift store finds are where it's at. You'll spend $5-15 instead of $40+ at retail.
- Measure twice, drill once. Classic advice, but I've made mistakes. Get a stud finder if you're mounting anything substantial — they're like $15 at Home Depot.
- Use painter's tape on mirrors. If you're painting a frame that's attached to the mirror, tape around the edges to keep paint off the reflective surface. You'll thank yourself.
- Don't cheap out on mounting hardware. This is one place where budget options can be sketchy. Spend a few extra dollars on quality brackets or adhesive strips that actually hold.
- Consider your bathroom's moisture. Humid bathrooms need specific paint (bathroom-grade semi-gloss works great). Regular paint might peel or mildew over time.
- lighting changes everything. Once your mirror's up, add some good lighting around it. It doesn't have to be expensive — even a simple LED strip from HGTV recommendations can transform how your mirror looks.
Cost Breakdown
← Scroll to see full table →
| Item | Low Cost | Mid Range | Higher End |
|---|---|---|---|
| Mirror (new or thrifted) | $8 | $30 | $60 |
| Frame materials | $15 | $35 | $75 |
| Paint/stain | $5 | $12 | $25 |
| Decorative elements | $0 | $15 | $40 |
| Hardware and adhesive | $8 | $15 | $30 |
| TOTAL | $36 | $107 | $230 |
FAQ
Q: Can I do this if I'm renting?
Absolutely. Use adhesive strips or command strips rated for heavy items instead of drilling into walls. You can also go with a leaning mirror propped against the wall — no installation required. Just make sure it's stable and secure.
Q: What if I have a tile wall behind my mirror?
Tile is trickier than drywall, but not impossible. Use a drill with a tile bit (get one at Home Depot for like $10), then use heavy-duty toggle anchors. Or, honestly, just go the adhesive route — tile is smooth and perfect for adhesive strips. No holes, no stress.
Q: How long does a DIY bathroom mirror last?
If you use quality materials and do it right? Years. I've had a spray-painted mirror frame in my bathroom for five years, and it still looks great. The paint can wear around high-traffic edges, but a touch-up takes 20 minutes.
Conclusion
Transforming your bathroom mirror doesn't require a contractor or a massive budget. It just requires a little creativity, an afternoon, and the willingness to try something. Some of my best home decor moments have come from these kinds of projects — the ones that make you go "I actually made that look good."
Start small if you're nervous. Maybe just paint a frame. See how it feels. Then next time, get bolder. That's how you build confidence in your DIY skills, and honestly, that's worth way more than saving a few bucks.
Ready to give it a shot? Head to The Home Depot this weekend, grab your supplies, and get started. Your bathroom is waiting for its glow-up, and it's going to feel amazing when you're done.


