Aesthetic Small Apartment Storage with DIY Hacks
Look, I get it — living in a small apartment feels like solving a 3D puzzle where nothing quite fits together perfectly. You've got clothes piling up, kitchen gadgets taking over every surface, and books stacked in corners like miniature skylines. But here's the thing: small spaces don't mean you have to sacrifice style for storage.
I've spent the last five years helping friends (and honestly, myself) transform cramped apartments into organized sanctuaries that actually look good. The secret? It's not about buying expensive custom closet systems or knocking down walls — it's about being strategic and intentional with DIY solutions that are both functional and Instagram-worthy.
Whether you're renting and can't make permanent changes, or you just want to maximize your space without breaking the bank, these aesthetic storage hacks will transform your apartment from cluttered chaos to Pinterest-approved perfection. And the best part? Most of these projects take a weekend afternoon and cost less than a decent takeout haul.
What You'll Need
Before diving in, let's talk materials. You don't need anything fancy, but having the right basics on hand makes the difference between a project that looks polished and one that looks... well, DIY in the bad way.
- Floating shelves (from The The Home Depot) — $15-40 per shelf
- Wooden crates or boxes — $10-25 each
- Decorative baskets (woven, metal, or fabric) — $12-45 per basket
- Pegboard sheets — $10-30 per sheet
- Wall-mounted organizers — $8-20 each
- Tension rods — $5-15 per rod
- Labels and label maker — $15-35 for a decent label maker
- Paint or wood stain (optional) — $8-20 per can
- Command hooks and strips (renter-friendly) — $5-15 per pack
- Under-bed storage containers — $20-50 per set
- Vintage mirrors (for visual expansion) — $15-60 each
- Basic tools (drill, level, screwdriver) — $40-100 if starting from scratch
Estimated Total Budget: $150-300 for a complete small apartment transformation
Step-by-Step Guide
Step 1: Assess Your Space and Define Storage Zones
Before you buy anything or drill a single hole, spend an hour just walking around your apartment. I'm serious — grab a coffee and really look at the dead space. That wall above your bed? That awkward corner behind your door? The space between your fridge and the wall? These are your hidden goldmines.
Take photos and jot down measurements. Honestly, the biggest mistake people make is impulse-buying storage solutions that don't actually fit their space. Pro tip: measure twice, buy once.
Step 2: Install Floating Shelves for Vertical Storage
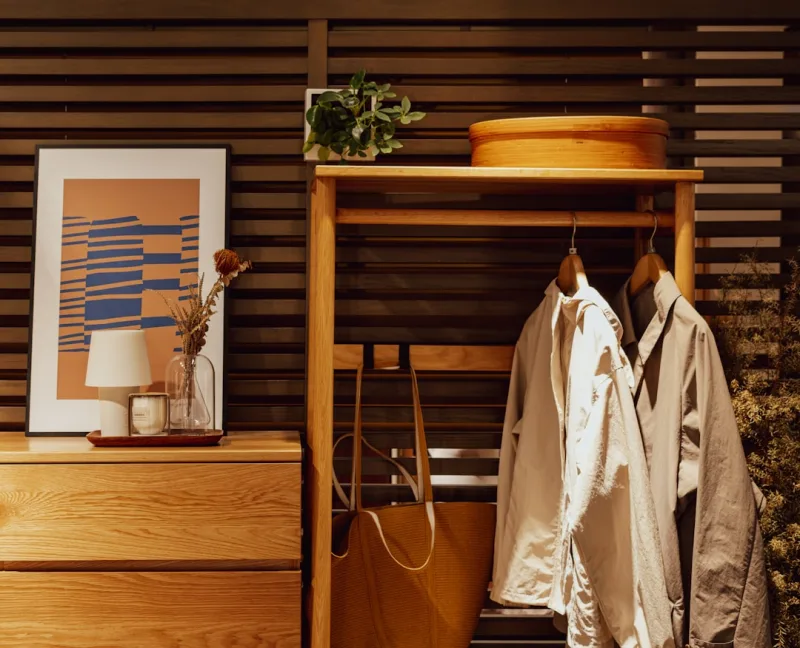
This is my go-to move for small apartments because it's a complete game-changer. Floating shelves don't eat floor space — they go up, up, up. I typically install them at varying heights to create visual interest while maximizing that wall real estate.
Here's your process: Use a level to mark your wall (seriously, use a level — your shelf will look wonky otherwise). Drill pilot holes where your brackets will go, install your wall anchors or studs, and secure those brackets. Slide your shelf on and admire your handiwork. Check out Better Homes & Gardens & Gardens for installation guidance if you're nervous.
Style them with a mix of books, decorative boxes, and small plants. The key is layering — don't just line up identical items like a showroom.
Step 3: Create a Pegboard Command Center
Pegboards are underrated, honestly. Most people think they're just for garages, but when you paint them and style them intentionally, they become functional art. I painted mine a soft sage green to match my aesthetic, then added hooks, baskets, and shelves to create a customized storage system.
Mount it above a desk, in your entryway, or on a bedroom wall. Use it to hang bags, scarves, headphones, or kitchen utensils. The modular nature means you can rearrange whenever you need to.
Step 4: Maximize Closet Space with Tension Rods and Double Hangers
 Budget Apartment Renovation: DIY Hacks That Actually Work
If you've got a closet (even a tiny one), tension rods are your secret weapon. Install a second rod below your main hanging rod — suddenly you've doubled your hanging space. Add some velvet hangers instead of plastic ones, and you'll fit even more while everything looks cohesive.
For items that don't hang, use clear storage boxes on shelves. Label everything. It looks cleaner and you'll actually know what's in there.
Step 5: Utilize Under-Bed and Under-Couch Storage
This is the storage method nobody talks about but everybody needs. Flat, wheeled storage containers slide perfectly under beds and under couches. Use them for off-season clothes, extra blankets, or items you need but don't access daily. The wheels make them super accessible, and because they're hidden, your room stays visually calm.
Step 6: Style Decorative Baskets Strategically
Baskets aren't just storage — they're décor. Place them in corners, on shelves, or under console tables. They corral clutter while adding texture and warmth to your space. I'm particular about color coordination; I usually pick three tones that match my overall apartment vibe and stick with those.
Step 7: Add Mirrors to Amplify Light and Space
Here's a trick that's not strictly storage but absolutely affects how spacious your apartment feels: strategically place mirrors. A large mirror opposite a window bounces light around and makes everything feel bigger. This psychological shift makes storage solutions feel less cramped.
Pro Tips
Label Everything. I cannot stress this enough. Invest in a label maker — it's the difference between storage that looks intentional and storage that looks like disaster preparedness. Plus, when everything has a home and a label, you actually maintain the system.
Use Vertical Space Aggressively. Small apartments demand upward thinking. Your walls are your secret storage weapons. Think tall — shelves going near the ceiling, hooks on the back of doors, wall-mounted organizers. The more you use walls, the more floor space remains open, making everything feel larger.
Invest in Clear Storage for Visual Continuity. When you can see what's inside storage containers, two things happen: you remember what you own, and it looks less visually chaotic. Clear storage containers create visual breathing room in small spaces.
Color Coordinate Your Storage Aesthetic. Don't mix five different basket colors, wood stains, and paint shades. Pick a cohesive palette — maybe natural wood, white, and blush, or sage, cream, and charcoal. This makes your storage solutions feel intentional rather than hodgepodge.
Embrace Multifunctional Furniture. Ottoman with storage? Coffee table with shelves? Bed with drawers? When your furniture does double duty, you free up space for actual storage solutions.
Go Renter-Friendly When Possible. Not everyone owns their space. Command strips, removable adhesive hooks, and freestanding pegboards mean you can create gorgeous storage without losing your security deposit. Check out HGTV's guide on renter-friendly décor for more ideas.
Cost Breakdown
← Scroll to see full table →
| Item | Quantity | Unit Price | Total |
|---|---|---|---|
| Floating Shelves (3-pack) | 2 | $35 | $70 |
| Pegboard with Accessories | 1 | $45 | $45 |
| Decorative Baskets | 4 | $25 | $100 |
| Tension Rods | 2 | $10 | $20 |
| Under-Bed Storage Containers | 2 sets | $35 | $70 |
| Label Maker | 1 | $25 | $25 |
| Paint/Stain (optional) | 1 | $15 | $15 |
| TOTAL | $345 | ||


