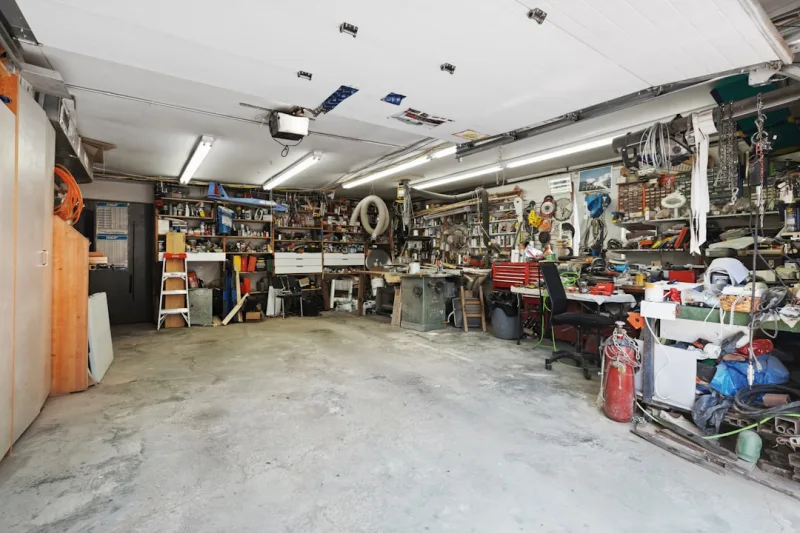
High-End Garage Organization for Beginners: The Complete Guide
Look, I get it — your garage has slowly turned into that "I'll organize it someday" space where everything just piles up. But here's the thing: achieving that sleek, magazine-worthy garage organization isn't as complicated as you might think, and you definitely don't need to be an expert to start. Whether you've got old tools scattered everywhere, boxes stacked haphazardly, or you just moved in and want to prevent the chaos, this guide is for you.
The beauty of high-end garage organization is that it's not actually about spending thousands of dollars — it's about being intentional with your space and choosing quality systems that'll actually last. I'm talking about creating zones, investing in durable storage solutions, and setting up a system you'll actually maintain. Honestly, once you see how satisfying an organized garage looks, you'll wonder why you didn't do this sooner.
So let's walk through how to transform your garage from cluttered chaos to that envy-worthy space your neighbors keep asking about. We'll cover everything from what materials you'll need to the exact steps for setting it all up.
What You'll Need
Before you dive into organizing, let's talk about the essentials. You don't need a ton of fancy stuff, but investing in quality pieces upfront will save you headaches down the road.
- Wall-Mounted Pegboards or Track Systems — $80-$200 per unit. These are the foundation of any solid garage setup. I recommend starting with aluminum track systems rather than basic pegboards because they're sturdier and more versatile.
- Heavy-Duty Shelving Units — $150-$400. Look for steel shelving with at least a 600-pound capacity per shelf. Three to four shelves should give you plenty of room without overwhelming the space.
- Clear Storage Bins or Containers — $40-$100 for a set. Seriously, clear containers are a game-changer. You can actually see what's inside without opening them — revolutionary, I know.
- Cabinet System (Optional but Recommended) — $300-$800. Wall-mounted cabinets keep things looking high-end and dust-free. Brands like those at The The Home Depot have solid options.
- Hooks, Hangers, and Brackets — $30-$70. Heavy-duty hooks ($2-5 each) are perfect for bikes, cords, and extension ladders.
- Label Maker — $15-$30. This sounds small, but labels are what separate organized people from those who just have neat-looking piles. It keeps everyone in the household accountable.
- Magnetic Wall Strips or Pegboard Accessories — $25-$50. These hold small tools and keep them visible and accessible.
Step-by-Step Guide
Alright, let's get into the actual process. The beauty of this approach is that you can do it gradually or all at once — whatever works for your schedule.
Step 1: Declutter and Assess Your Space
First things first — you've got to pull everything out and be honest about what you actually use. I know this sounds tedious, but trust me, it's worth it. Go through everything and ask yourself: "Do I actually use this? Have I touched it in the last year?" Be ruthless. Donate, sell, or recycle anything that doesn't earn its spot in your garage.
While you're doing this, measure your garage walls and take photos. This helps you visualize what systems will work best. Also note any moisture issues, temperature fluctuations, or natural light — this affects your organization choices.
Step 2: Plan Your Zones
Think about how you actually use your garage. Do you have vehicles? Tools? Sports equipment? Create designated zones for each category. For example: tool zone, seasonal storage zone, equipment zone, and a work zone. This might sound obvious, but you'd be surprised how many people skip this and end up with a scattered mess.
A good rule of thumb — items you use frequently should be at eye level and easily accessible. Seasonal stuff can go higher or deeper into storage. Things you rarely touch? Keep those in the back or overhead.
Step 3: Install Your Wall Systems
Start with your pegboards or track systems. Aluminum track systems (like those from The Home Depot) are my personal favorite because they're adjustable and can accommodate different hook sizes. Mark your studs with a stud finder — seriously, don't skip this — and use appropriate anchors or bolts to secure everything.
Install your track or pegboard at a comfortable working height, typically around 48 inches from the ground to the center. Leave at least 12 inches between parallel tracks for accessibility.
Step 4: Add Shelving and Storage Cabinets
 Boho DIY Room Makeover: Full Revamp Under $200
Next, install your heavy-duty shelving. Make sure it's level — use a leveler tool, don't just eyeball it. Position shelves about 12-18 inches apart to accommodate most items. Shelving units work best along walls that don't interfere with vehicle movement.
If you're adding wall cabinets (and honestly, I recommend at least one unit), position them above your work surface or along a wall. This creates a cleaner, more polished look and protects contents from dust and moisture.
Step 5: Organize by Category
Now comes the fun part — putting everything back strategically. Group similar items together. All your power tools in one area, hand tools in another, automotive supplies grouped logically, and so on. This is where those clear bins come in handy.
Use your label maker generously. Label every shelf, bin, and storage area. This isn't just for you — it's for anyone else using the space. Clear labels mean things actually stay organized.
Step 6: Create a Maintenance System
Here's the secret that separates organized garages from messy ones: a simple maintenance routine. Spend 10 minutes every Friday evening returning items to their zones. That's it. This prevents the slow slide back into chaos.
Pro Tips
Invest in vertical space. Your walls are real estate, and they're currently going to waste if you're not using them. Vertical storage is what makes garages look professionally organized.
Inspired by design advice from HGTV, I'd suggest creating a feature wall — maybe with a workbench and pegboard setup. It's not just functional; it looks amazing and actually makes you want to spend time in your garage.
Go lighter with colors. White or light gray storage units make a space feel larger and more premium. Plus, they show dirt, which keeps you accountable (again, the accountability thing).
Add task lighting. Seriously underrated. A couple of LED shop lights or strip lights ($30-$60) instantly transforms how the space feels and functions. You'll actually be able to see what you're doing.
Consider moisture control. A simple dehumidifier ($40-$100) prevents rust and keeps your space feeling fresher. Especially if you're storing anything remotely valuable.
Create an inventory. Take photos of your organized garage and keep a simple spreadsheet of what's stored where. Sounds excessive? It's not. When someone asks, "Where's the extension ladder?" you actually know.
- Diy Coffee Table Ideas Cheap
- Boho Home Decor Ideas Diy Budget
- Master Bedroom Makeover Ideas On A Budget
- cheap diy living room decor ideas
📷 Photo by Point3D Commercial Imaging Ltd. on Unsplash


