
Elegant Garage Transformation for Beginners: Your Complete Guide to a Stunning Space
I'll never forget the day I finally looked at my garage—really looked at it—and realized it had become a dumping ground for everything I didn't want to deal with. Boxes piled haphazardly, cobwebs in every corner, and a concrete floor stained with years of neglect. It was supposed to be part of my home, but honestly? It felt more like a storage unit I was ashamed to open. If you're nodding along right now, sweet friend, I see you. Your garage has so much potential to become something beautiful, functional, and yes—elegant. You deserve a space that makes you smile when you pull in at the end of a long day, not one that makes you want to keep the door closed. The best part? You don't need a massive budget or professional contractor to make it happen.
In this guide, I'm going to walk you through everything you need to know about creating an elegant garage transformation, even if you're a complete beginner. We'll cover practical planning steps that won't overwhelm you, realistic budget breakdowns for every price point, and simple design secrets that the pros use. You'll discover which products actually deliver results (I've tested plenty that don't!), how to avoid the most common mistakes that waste time and money, and most importantly, how to create a garage space that reflects your personal style while staying totally functional for your family's needs.

What Is Elegant Garage Transformation for Beginners and Why It Transforms Your Space
An elegant garage transformation is all about taking your garage from a chaotic catch-all space to a beautifully organized, aesthetically pleasing area that actually enhances your home's value and your daily life. Unlike industrial or purely functional garage makeovers, an elegant transformation focuses on creating a space that feels intentional, clean, and surprisingly stylish—think more "Pinterest-worthy mudroom" and less "automotive workshop."
The beginner-friendly approach means you don't need special skills, expensive tools, or weeks of your life. Instead, you're using smart storage solutions, strategic paint choices, proper lighting, and thoughtful touches that elevate the space without requiring a construction degree. I've seen garages go from embarrassing to Instagram-worthy in a single weekend, and it's honestly one of the most satisfying home projects you can tackle.
Why does this matter so much? Your garage is often the entrance you actually use every single day. It's the first thing you see when you come home and the last thing you see when you leave. When that space is chaotic, it affects your mood more than you realize. Studies from Better Homes & Gardens & Gardens show that organized spaces genuinely reduce stress and increase productivity. Plus, a well-designed garage can add serious value to your home—real estate experts estimate anywhere from 10-20% increased home value with proper garage improvements.
The biggest mistakes I see beginners make? First, trying to organize before decluttering—you'll just create prettier chaos. Second, skipping the cleaning phase and trying to beautify a dirty space (it never works, trust me). Third, buying random storage solutions without measuring or planning, which leads to wasted money and a garage that still doesn't function well. And finally, thinking "elegant" means expensive—some of my favorite transformations have been done on shoestring budgets using creativity instead of cash. The key is understanding that elegant doesn't mean fancy; it means thoughtful, cohesive, and intentionally designed for both beauty and purpose.
Planning Your Elegant Garage Transformation for Beginners: Complete Checklist
Before you buy a single storage bin or paint sample, let's talk planning. I know it's tempting to just dive in (I'm guilty of this myself!), but spending an hour or two on proper planning will save you days of frustration and hundreds of dollars in mistakes. Grab your favorite notebook, make yourself a cup of coffee, and let's think through this transformation strategically.
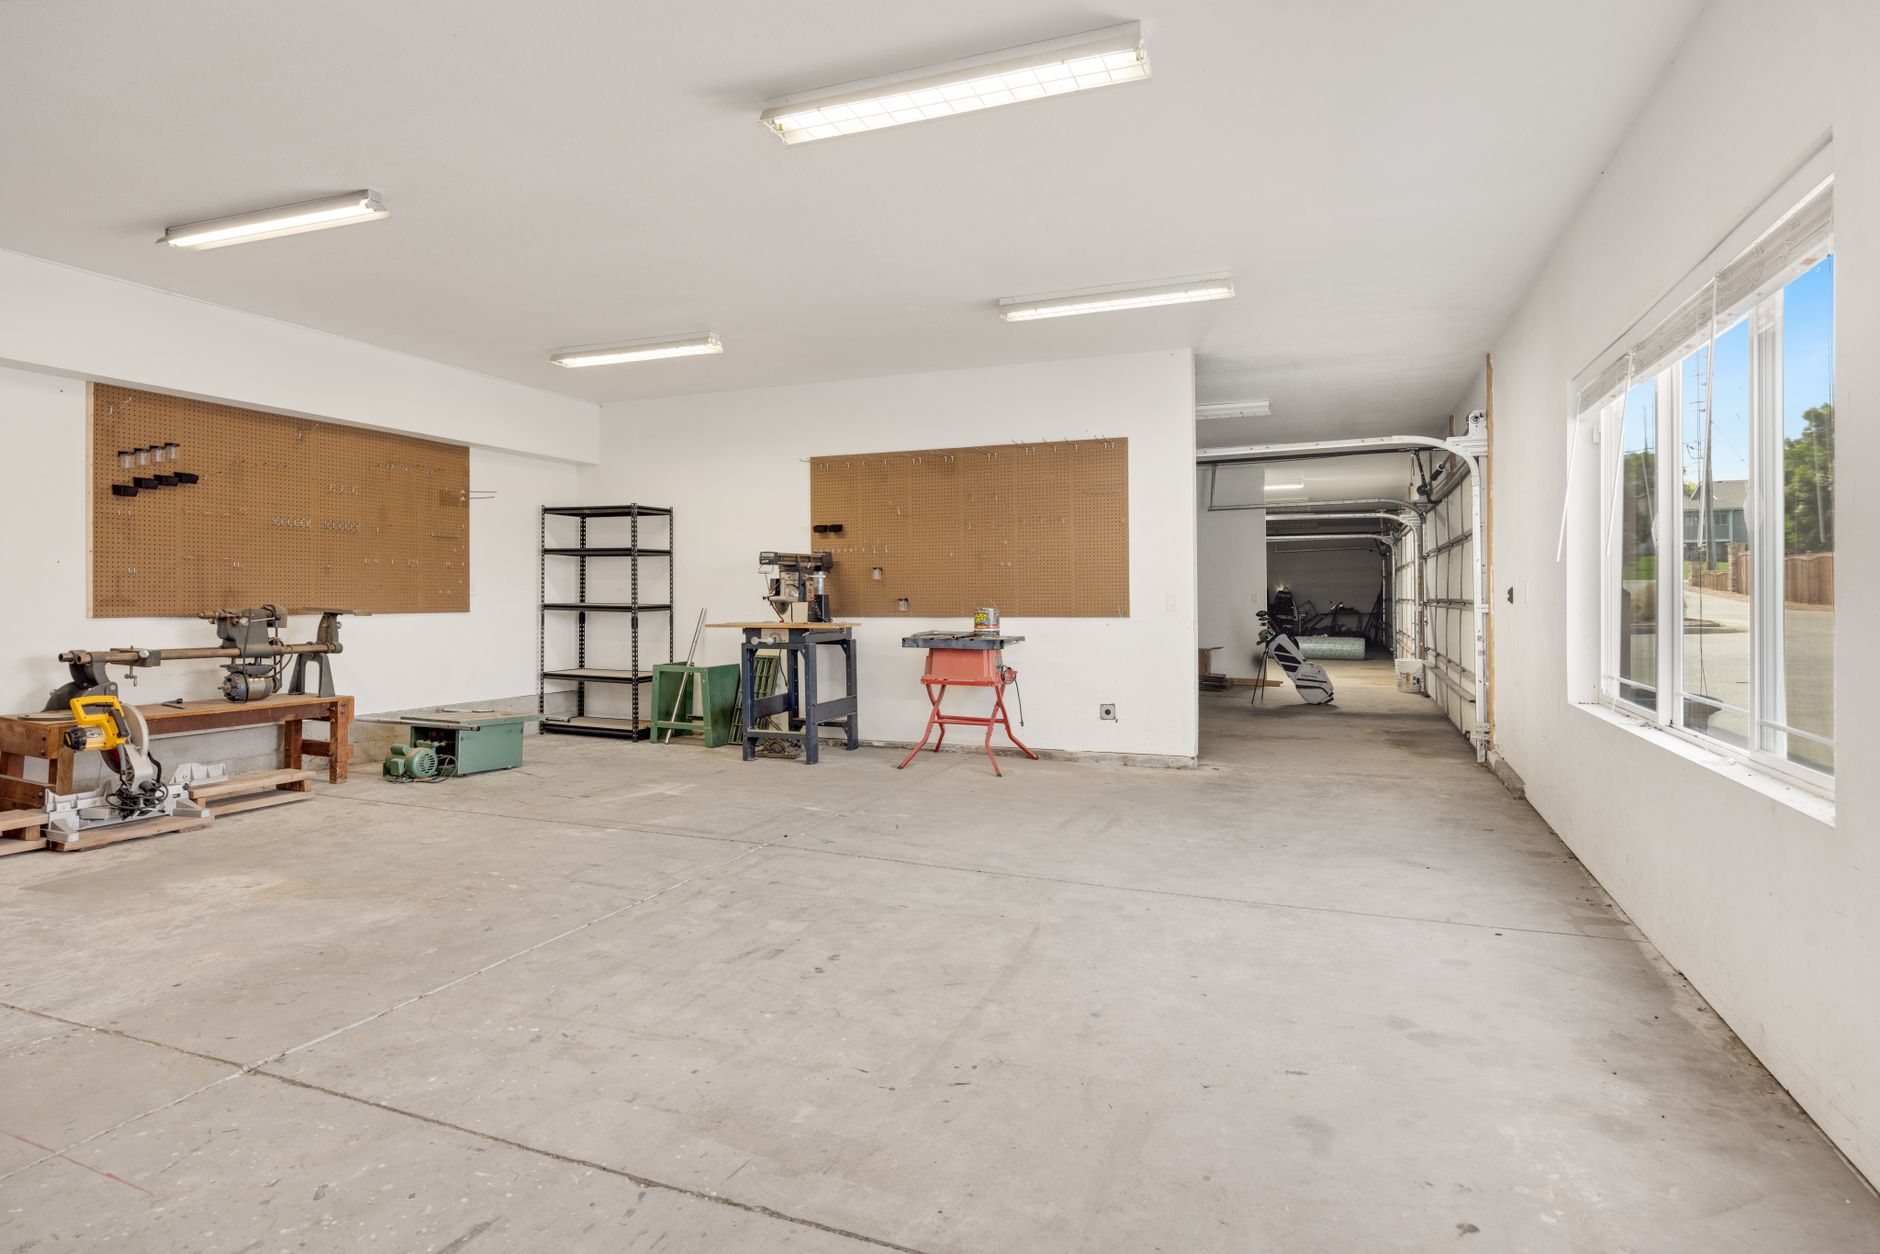
Start by really assessing what you currently have and what you need. Take everything out of your garage if possible, or at least create a detailed inventory. What are you actually storing? How often do you use these items? What would make your daily routine smoother? Maybe you need a dedicated sports equipment zone for the kids, or perhaps you're dreaming of a workshop area where you can finally tackle those DIY projects. Understanding your lifestyle and actual needs—not just what looks pretty on Pinterest—is the foundation of a successful transformation.
Your complete planning checklist should include:
- Measure your entire garage space including height, width, depth, and any obstacles like water heaters or electrical panels that you'll need to work around
- Photograph your garage from all angles in its current state so you can track your progress and plan your layout digitally if you'd like
- Create activity zones by listing everything you want to store and grouping similar items together (lawn care, sports equipment, holiday decorations, tools, etc.)
- Identify your must-haves versus nice-to-haves so you can prioritize your budget and efforts on what matters most to your family
- Check your garage's condition for any repairs needed—cracks in the floor, water damage, electrical issues—that should be addressed before beautifying
- Determine your style direction by collecting inspiration images that resonate with you, noting common elements like color schemes or storage types
- Set a realistic timeline that accounts for your actual schedule, breaking the project into manageable phases if needed
- Establish your total budget and allocate it across different categories like flooring, storage, lighting, and decorative elements based on your priorities
I recommend creating a simple sketch of your garage layout, even if you're not artistic. Just basic rectangles showing where major items will go helps you visualize the space and shop more effectively. The The Home Depot offers free layout planning tools online that can be incredibly helpful for beginners.
Budget Breakdown for Elegant Garage Transformation for Beginners
← Scroll to see full table →
| Budget Level | Under $50 | $50-$200 | $200+ |
|---|---|---|---|
| Flooring | Deep cleaning, concrete paint ($30) | Interlocking floor tiles ($120), epoxy coating kit ($150) | Professional epoxy ($400-800), rubber flooring ($300-600) |
| Storage | Pegboard system ($25), basic shelving ($40) | Wall-mounted cabinets ($150), track systems ($100-180) | Custom cabinet systems ($500+), overhead storage ($300-500) |
| Lighting | LED shop lights ($30-45) | Multiple LED fixtures ($80), motion sensor lights ($120) | Recessed lighting installation ($400+), designer fixtures ($250+) |
| Organization | Clear bins ($20), labels and hooks ($15) | Specialized organizers ($100), sports racks ($75) | Custom solutions ($300+), built-in workbenches ($400+) |
| Aesthetics | Wall paint ($35), cleaning supplies ($10) | Decorative elements ($50), area rug ($80) | Designer touches ($200+), custom features ($300+) |
Here's the truth about garage transformations: you absolutely can create an elegant space on any budget. I've done beautiful makeovers for under $100, and I've also invested more when it made sense. The key is knowing where to splurge and where to save. My biggest money-saving tip? Start with a thorough deep clean and fresh paint—this costs almost nothing but creates a 70% visual improvement immediately. You'd be amazed at how different a garage looks with clean walls in a crisp white or soft gray.
Shop seasonally for the best deals. IKEA has fantastic storage solutions at reasonable prices, and their IVAR system is incredibly versatile for garage use. Amazon often has better prices on LED lighting and smaller organizational items, especially during Prime Day or Black Friday. The Home Depot runs major sales on storage systems in January (New Year organization push) and September (back-to-school season). For flooring, consider starting with just high-traffic areas rather than doing the entire garage at once—you can always expand later.
Another smart strategy is the phase approach. Month one might be decluttering and painting (minimal cost). Month two could add basic shelving. Month three might upgrade lighting. This spreads the cost over time and lets you live with each change before committing to the next, ensuring you're making choices that truly work for your lifestyle. Remember, elegant doesn't mean everything matches perfectly or comes from expensive stores—it means thoughtful, cohesive, and well-maintained.
Step-by-Step Guide to Elegant Garage Transformation for Beginners
Okay, friend, let's get into the actual transformation process. I'm breaking this down into seven manageable steps that won't overwhelm you. You can tackle these over several weekends or push through in one ambitious week—whatever works for your schedule and energy level.
Step 1: Complete Declutter and Sort (Weekend 1)
This is the hardest part emotionally but the most important. Pull everything out of your garage if weather permits, or work in sections if you need to. Create four zones: Keep, Donate, Sell, and Trash. Be ruthless! That broken bike you've been meaning to fix for three years? Be honest about whether you'll actually do it. Those duplicate tools? You only need one. The magic happens when you're brave enough to let go of what you're not actually using. I like to take before photos during this stage—you'll want them later when you're admiring your transformation!
Step 2: Deep Clean Everything (Weekend 1-2)


Once the garage is empty (or a section is clear), it's time to really clean. Sweep the floor thoroughly, then use a concrete cleaner or degreaser on any oil stains. Wipe down walls, clean light fixtures, dust corners and ceiling. If you have cobwebs or dirt buildup, use a pressure washer on a low setting for walls and floor. This step isn't glamorous, but it's absolutely essential. You cannot create an elegant space on top of dirt—it just doesn't work. Trust me, I've tried to skip this step before and always regretted it.
Step 3: Make Repairs and Paint (Weekend 2)
Address any repairs while the space is empty—patch cracks in concrete, fix any water damage, ensure doors and windows work properly. Then comes the transformative magic of paint. Choose a light, neutral color for walls—white, light gray, or soft beige all work beautifully and make the space feel larger and cleaner. Use concrete floor paint or epoxy coating if your budget allows. Better Homes & Gardens recommends semi-gloss or satin finish for garage walls because they're easier to clean and more durable than flat paint.
Step 4: Upgrade Lighting (Weekend 2-3)
Good lighting is the secret ingredient in an elegant garage. Replace old fixtures with bright LED shop lights—you want about 50 lumens per square foot for a well-lit garage. I installed linkable LED fixtures from Amazon for about $35 each, and the difference was incredible. Consider adding task lighting over workbenches and motion-sensor lights near entry doors for convenience. Proper lighting not only makes the space more functional but also more inviting and safer.
Step 5: Install Storage Solutions (Weekend 3-4)
Now for the fun part! Install your storage systems based on your planning. Start with wall-mounted solutions—pegboards, slat walls, or track systems—to maximize vertical space. Add shelving units for bins and boxes, keeping frequently used items at eye level and seasonal items higher up. The IKEA BROR shelving system is fantastic for garages and incredibly sturdy. Use clear bins so you can see contents easily, and label everything. Create specific zones for different categories, keeping related items together.
Step 6: Address Flooring Details (Weekend 4)
If you haven't already done floor coating, now's the time. Even if a full epoxy treatment isn't in your budget, consider interlocking floor tiles for high-traffic areas or where you park. These come in various colors and patterns and can be installed in an afternoon. A clean, cohesive floor dramatically elevates the entire space. You can also add a durable garage mat or runner in your entry area for a finished, elegant touch.
Step 7: Add Finishing Touches (Weekend 4-5)
This is where your garage goes from organized to actually elegant. Add thoughtful touches like a small area rug at the entry, wall-mounted hooks that are both functional and attractive, a small bench for putting on shoes, or even some simple artwork or a motivational sign. Consider a small plant (artificial if lighting is limited) or a coordinating trash can. These details seem minor but they're what makes the space feel intentional and designed rather than just utilitarian.
Best Styles and Top Product Picks
When it comes to elegant garage styles, you have wonderful options that can complement your home's overall aesthetic. Let me walk you through the four most popular approaches and some specific products that deliver real results.
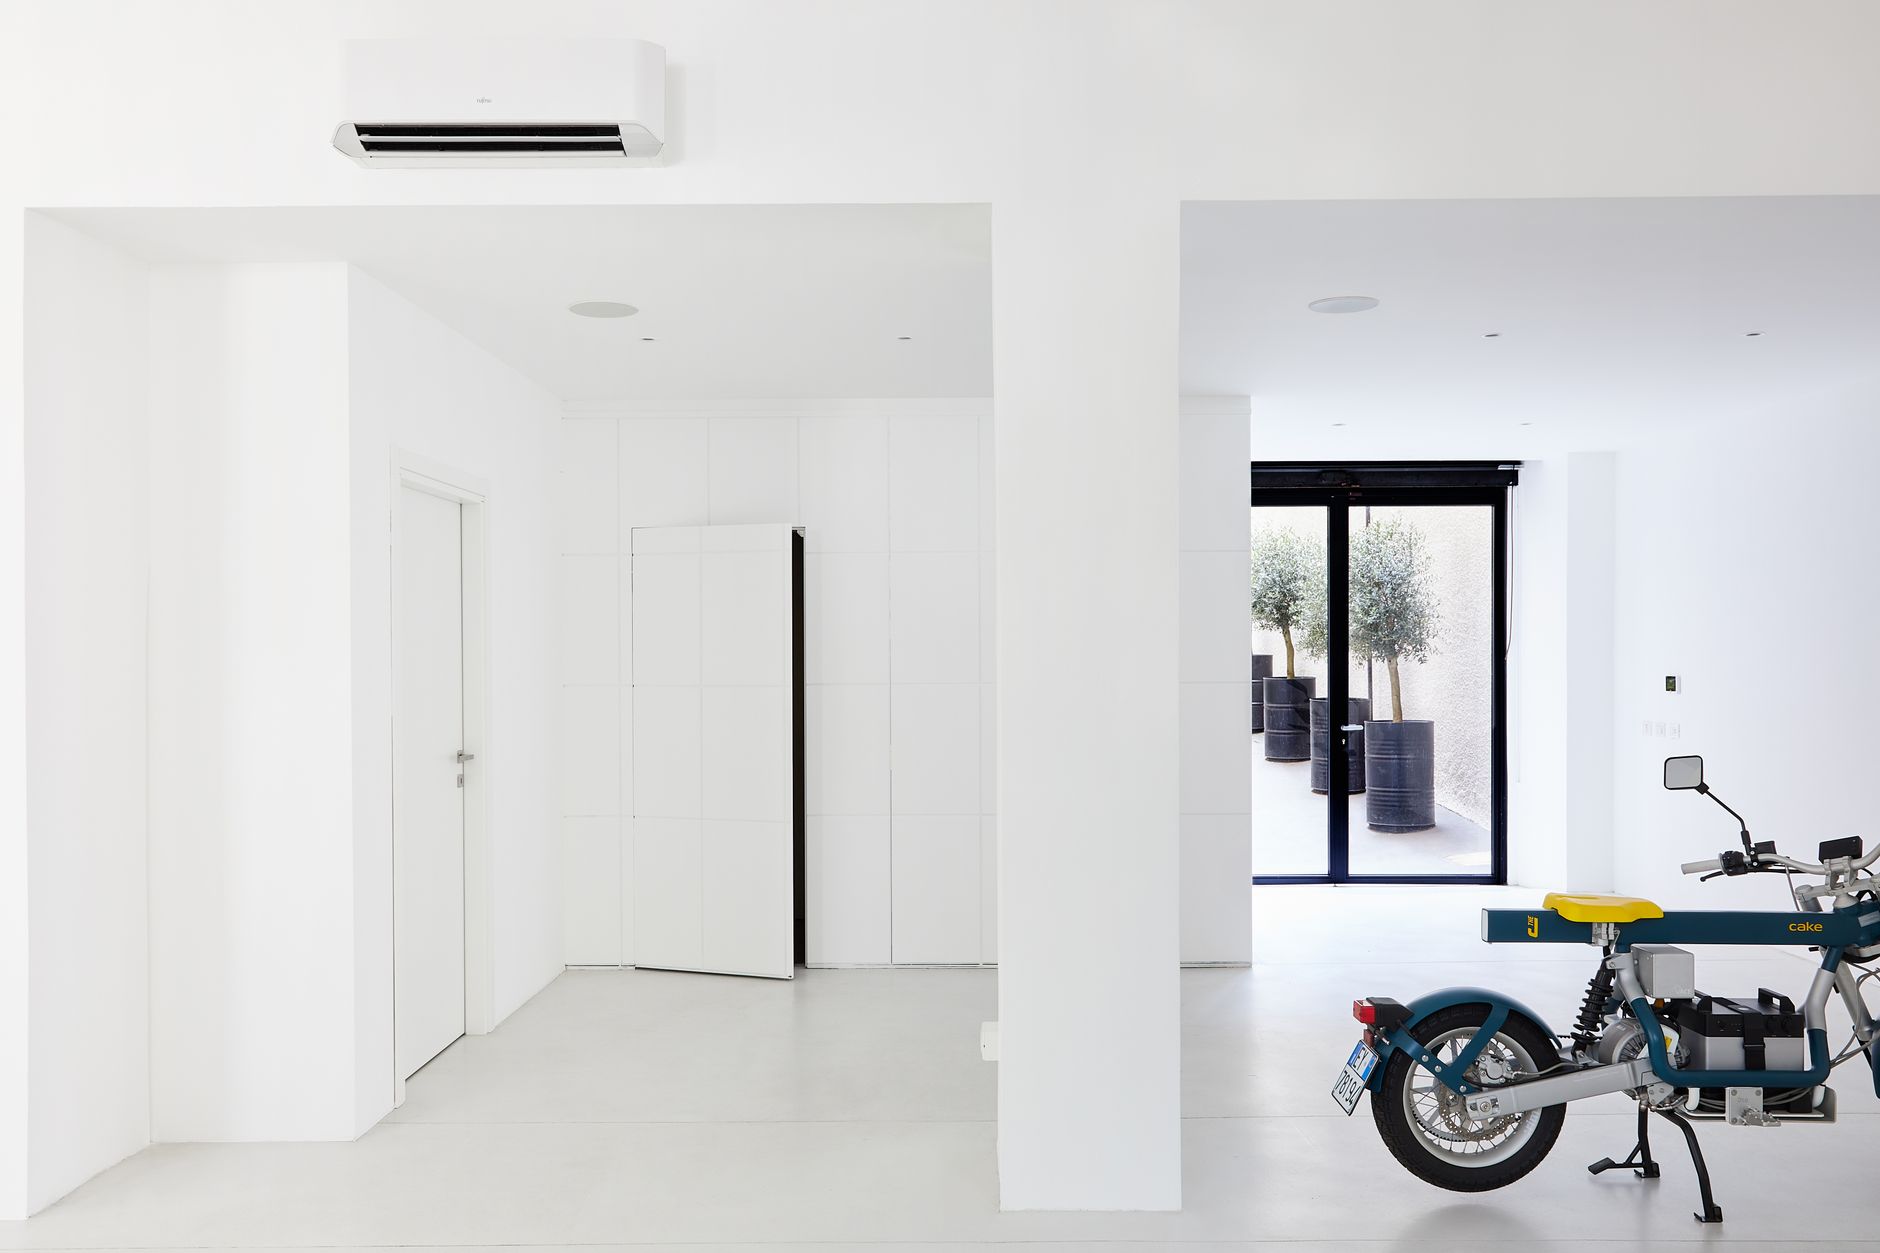
Modern Minimalist: This style features clean lines, a monochromatic color palette (usually whites, grays, and blacks), and sleek storage solutions with everything hidden behind closed doors. It's perfect if you love a spa-like, calm environment. Use white wall cabinets, gray epoxy floors, and chrome or matte black hardware for a cohesive look.
Coastal Fresh: Think whites, soft blues, and natural wood tones. This approach feels light and airy, perfect for homes with coastal or farmhouse aesthetics. Open shelving in natural wood, white walls, and pops of soft blue in storage bins create this vibe beautifully. It's surprisingly practical for garages because the light colors make the space feel larger.
Industrial Chic: Exposed elements, metal finishes, darker colors, and robust storage systems define this style. It embraces the garage's utilitarian nature while making it look intentionally designed. Black or charcoal walls, metal shelving, and concrete floors with a high-gloss finish work perfectly here.
Warm Traditional: This style uses wood tones, warm neutrals like beige or taupe, and more decorative organizational elements. It's ideal if your home has traditional architecture and you want the garage to feel like a natural extension of your living space.
Here are my top product picks that work across these styles:
Gladiator GarageWorks Wall System ($199-299 at The Home Depot): This modular system is incredibly versatile and durable. The slat wall can hold various accessories, and it looks professional without requiring professional installation.
Hypertough 4-Foot LED Shop Light 2-Pack ($44.98 at Amazon): These linkable lights provide excellent illumination and last forever. They're the best value I've found for garage lighting.
IRIS USA Clear Storage Bins with Lids ($24.99 for 6-pack at Target): Perfect for keeping items visible and organized. They stack beautifully and come in multiple sizes for different needs.
Rust-Oleum EpoxyShield Garage Floor Coating Kit ($159.99 at The Home Depot): This DIY-friendly option creates a durable, professional


