Transform Your Garage Into a Cozy Modern Space (Yes, Really)
Look, I get it — your garage is probably where old paint cans go to die and forgotten holiday decorations hang out on shelves. But here's the thing: your garage doesn't have to be this chilly, uninviting space anymore. Modern homeowners are finally waking up to the fact that garages can actually be pleasant places to spend time. Whether you're looking to create a workshop that doesn't feel like a dungeon, a space where you actually want to tinker with projects, or somewhere your family can gather that doesn't scream "concrete wasteland" — this upgrade is absolutely doable.
I've helped tons of homeowners transform their garages from forgettable afterthoughts into genuinely cozy retreats. Honestly, it's one of my favorite projects because the transformation is dramatic, the budget doesn't have to be enormous, and you actually use the space afterward. We're talking improved lighting, smart storage solutions, climate considerations, and design touches that make you want to hang out there. The best part? Most of these upgrades will add real value to your home — not just sentimental value, but actual resale appeal.
So let's roll up our sleeves and turn that tired garage into something that'll make your neighbors jealous.
What You'll Need
Before diving in, let's talk materials. Depending on how ambitious you want to get, here's what you're looking at:
- LED Shop Lights — $80-150 per fixture (The The Home Depot has excellent options)
- Epoxy Floor Coating — $300-600 for a two-car garage
- Wall Insulation Panels — $200-400
- Space Heater or Mini-Split AC — $400-1,200
- Wall Organization System (pegboards, shelving) — $150-350
- Paint (epoxy or garage-grade) — $50-100
- Weatherstripping for Door — $30-60
- Floating Workbench — $200-500
- Seating Options (stool, small sofa) — $100-400
- Rugs and Accessories — $100-250
Step-by-Step Guide
Step 1: Start With a Deep Clean and Assessment
I know this sounds obvious, but you'd be shocked how many people skip this. Clear everything out — and I mean everything. Sweep, vacuum, and honestly? Pressure wash if you can. You need to see what you're actually working with. Look at the walls for any moisture damage, check your floor condition, and assess the ceiling. This is where you decide what's salvageable and what needs replacing. Take photos. You'll want to look back at the before and after.
Step 2: Address Your Flooring Foundation
Here's where the magic starts happening, honestly. Epoxy flooring is a game-changer — it's durable, looks modern, and transforms the entire vibe of the space. Clean your concrete thoroughly first (this matters more than you'd think). Mix your epoxy according to instructions, and apply it in sections. Yes, it's a bit of work, but the result is stunning and will last for years. Better Homes & Gardens & Gardens has some fantastic guides on this if you want detailed instructions. If epoxy feels like too much, high-quality garage paint is your next-best friend.
Step 3: Upgrade Your Lighting System
This alone will transform how the space feels. Those old incandescent bulbs? Gone. LED shop lights are energy-efficient, bright, and don't create that depressing yellow glow. Install them in a grid pattern across your ceiling — aim for one fixture per 8x10 feet of space. The difference is incredible. Good lighting makes the space feel bigger, safer, and infinitely more inviting.
Step 4: Tackle Climate Control
A cozy garage needs to be comfortable year-round. If you live somewhere cold, a space heater or mini-split AC unit is worth every penny. If you're in a temperate climate, proper insulation on the walls combined with good ventilation does the trick. Weatherstrip your garage door to prevent drafts — it's cheap and actually effective. Nobody wants a cozy space that's freezing in January.
Step 5: Install Wall Organization
Pegboards, wall-mounted shelving, and tool organizers aren't just functional — they're visual. They make the space look intentional and keep clutter from piling up. Choose a system that matches your aesthetic. The Home Depot has modular options that let you customize as you go. Mount everything at a comfortable height and stick to your organizational system religiously (I know, easier said than done).
Step 6: Add Your Workbench and Seating
A floating workbench along one wall gives you a functional workspace without eating up floor space. Pair it with a rolling stool, and you've got a proper work area. Add a comfortable chair or small seating area in another corner — this is where the "cozy" really comes in. You want people to actually want to spend time here.
Step 7: Bring in Texture and Warmth
Paint an accent wall, add a runner rug, hang some industrial string lights, or display artwork that speaks to you. These finishing touches turn a functional space into one with personality. Honestly, this is the part that makes your garage feel like an extension of your home rather than just a place to park cars.
Pro Tips
Use vertical space aggressively. The more you go up, the more floor space you preserve. Wall-mounted everything — tools, supplies, cables. Your future self will thank you when you actually have room to move around.
Invest in proper lighting first. Seriously, do this before anything else. A well-lit garage instantly feels bigger, safer, and more professional. It's the foundation of any good garage upgrade.
Don't skip the flooring step. A fresh floor — whether epoxy or painted — completely changes the whole aesthetic. It's worth the effort and cost. HGTV has shown this transformation countless times, and the floor is always the MVP.
Plan for your specific use. Are you a woodworker? A mechanic? Just wanting a hangout spot? Design around your actual needs, not Pinterest dreams. The best garage is one that you'll actually use.
Add a small rug. This single detail makes the space feel intentional and cozy. It defines areas and adds warmth to cold concrete.
Consider moisture control. If you're in a humid climate, a dehumidifier is a worthwhile investment. Moisture ruins everything — tools, walls, your will to live.
Cost Breakdown
← Scroll to see full table →
| Item | Cost Range | Priority Level |
|---|---|---|
| LED Shop Lights | $80-150 | High |
| Epoxy Floor Coating | $300-600 | High |
| Space Heater/AC | $400-1,200 | Medium |
| Wall Organization | $150-350 | Medium |
| Insulation Panels | $200-400 | Medium |
| Paint | $50-100 | Low |
| Weatherstripping | $30-60 | Low |
| Workbench | $200-500 | Medium |
| Seating | $100-400 | Low |
| Accessories/Decor | $100-250 | Low |
| TOTAL | $1,610-4,010 | — |
FAQ
Q: Do I need to insulate my garage to make it cozy?
A: Not necessarily, but it helps enormously. If you're in a mild climate and just want a comfortable workspace, good ventilation and a space heater might be enough. But if you live somewhere with real winters or scorching summers, insulation is absolutely worth it. Think of it as an investment in year-round usability. Even basic foam panels on walls make a noticeable difference.
Q: Can I do this upgrade on a budget?
A: Absolutely. Start with the highest-impact items: lighting, flooring, and organization. You can tackle these for under $1,000 and see dramatic results. Then add climate control, insulation, and accessories as your budget allows. It doesn't have to happen all at once — I've seen gorgeous garages built over time, piece by piece.
Q: Will upgrading my garage actually increase my home's resale value?
- Diy Coffee Table Ideas Cheap
- Boho Home Decor Ideas Diy Budget
- Master Bedroom Makeover Ideas On A Budget
- cheap diy living room decor ideas
🔗 You Might Also Like
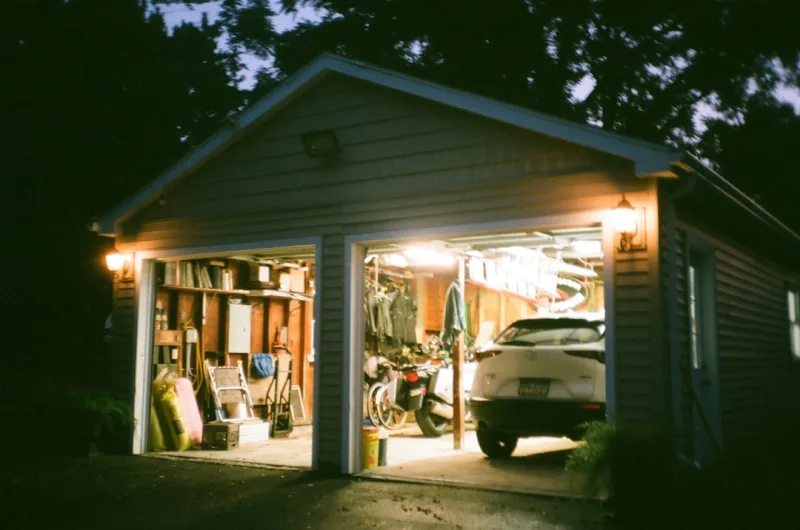
📷 Photo by Sydney Moore on Unsplash


