Listen, I get it. Your kitchen is functional, but it's not exactly making you want to spend time there. You're scrolling through Instagram seeing these gorgeous Scandinavian spaces with their clean lines, warm wood tones, and that inexplicable coziness factor — and you're thinking, "How do I even get there from my current situation?" Here's the thing: a true Scandinavian kitchen transformation doesn't require gutting your entire space or dropping a small fortune. It's actually about being intentional with your choices and understanding what makes Nordic design tick.
The Scandinavian kitchen aesthetic has evolved beautifully heading into 2026. We're seeing less of the cold, sterile "all white everything" trend and more of this warm minimalism that actually feels like a home where real people cook real meals. It's about pairing functionality with soul — mixing natural materials, strategic color choices, and thoughtful lighting to create something genuinely special. And the best part? You can absolutely do this yourself.
Over the last few years, I've helped friends transform their kitchens using these principles, and I'm excited to walk you through exactly what worked. Whether you're starting from scratch or refreshing an existing space, this guide covers everything you need to nail that Swedish-inspired kitchen vibe.
What You'll Need
Before we dive into the transformation, let's talk materials and what you're actually spending. I've sourced these items from trusted retailers like The The Home Depot and Better Homes & Gardens & Gardens to keep things accessible.
Materials & Estimated Costs:
- Paint (Benjamin Moore or Sherwin-Williams): $35-55 per gallon (you'll likely need 2-3 gallons)
- Peel-and-Stick Backsplash Tiles (from The Home Depot): $30-80 per sheet
- Wooden Open Shelving Boards (pine or birch): $50-150 per shelf
- Floating Shelf Hardware: $15-40 per set
- Modern Cabinet Hardware (knobs/pulls): $40-120 for a full set
- Pendant Lighting Fixtures: $60-200 each (budget for 3-4)
- Kitchen Textiles (linen towels, runners): $50-100
- Natural Wood Cutting Boards & Serving Pieces: $30-80
- Matte Black or Brushed Nickel Faucet: $150-350
- Plants & Planters: $40-100
- Paint Supplies (brushes, rollers, tape, primer): $30-50
Step-by-Step Guide
Step 1: Choose Your Color Palette (The Foundation)
This is where everything starts. Scandinavian kitchens typically live in a pretty specific color range, and honestly, understanding this is half the battle. Think soft whites, warm grays, muted blues, and earthy creams. For 2026, we're leaning into warmer neutrals — creamy whites instead of stark whites, and soft sage greens as accent colors.
I'd recommend picking your primary wall color first. Look at Benjamin Moore's "Chantilly Lace" or Sherwin-Williams "Alabaster" if you want that classic Scandinavian base. They're not boring — they're just... right. Then choose one accent color. Maybe a soft blue-gray for an accent wall or cabinet doors. Test your colors first by getting sample jars and painting large sections of your wall. Live with them for a few days. Seriously.
Step 2: Paint Your Walls & Cabinets
Start by prepping your space like your life depends on it. Remove cabinet hardware, cover your countertops, and tape everything off properly. This is the unglamorous part, but it matters. Use quality primer — it makes a massive difference with coverage and longevity.
For walls, two coats of your chosen Scandinavian-appropriate paint should do it. For cabinets, you've got options: paint them directly (requires sanding and primer first), or keep them their natural color and paint just the walls to freshen things up. If you're painting cabinets, this is genuinely where patience wins. Take your time between coats. A professional finish comes from multiple thin layers, not fewer thick ones.
Step 3: Update Your Hardware & Fixtures
 Budget Apartment Renovation: DIY Hacks That Actually Work
This is quick but impactful. Swap out those dated cabinet knobs and drawer pulls for something with cleaner lines. Scandinavian hardware tends to be minimal — think subtle leather pulls or simple matte black knobs. It's a small change that immediately modernizes your space. Most hardware from The Home Depot is easy to install with just a drill.
Next, tackle your faucet if it's looking tired. A matte black or brushed nickel fixture instantly elevates your sink area and brings that intentional Nordic vibe.
Step 4: Install Lighting & Remove Upper Cabinets (Optional but Impactful)
Lighting is everything in Scandinavian design. It's not just functional — it's emotional. Consider pendant lights over your island or sink. Look for fixtures with simple, geometric shapes. Maybe something in warm brass, matte black, or natural wood.
Here's something that's trending hard in 2026: removing upper cabinets on at least one wall and replacing them with open shelving or just blank wall space. I know it sounds scary if you need storage, but hear me out. Even removing 50% of your upper cabinets creates this breathing room that makes your kitchen feel bigger and less cluttered. If you go the open shelving route, float those shelves at varying heights and style them with beautiful natural wood pieces, white dishware, and plenty of negative space.
Step 5: Add Your Backsplash
Peel-and-stick backsplash tiles from The Home Depot have come such a long way. For a Scandinavian kitchen, stick with simple geometrics or pure white subway tiles. These tiles are forgiving for DIYers and honestly, they look fantastic. Just make sure your wall is clean and dry before application.
Step 6: Style & Accessorize
This is where your personality enters the space. Add a few potted plants — Scandinavian kitchens absolutely love greenery. Use natural linen kitchen towels. Display beautiful wooden cutting boards or ceramic pieces on your open shelving. Keep it minimal, but make sure what's visible is something you actually love. When Better Homes & Gardens talks about Scandinavian style, they emphasize this idea that every item should either serve a purpose or bring you joy.
Pro Tips
- Embrace negative space: Resist the urge to fill every inch. Empty wall space is your friend in Scandinavian design. It creates calm.
- Layer your lighting: Overhead fixtures alone look harsh. Add pendant lights, under-cabinet lighting, and maybe even a small table lamp on your counter for ambiance.
- Use natural materials strategically: Wood, wool, linen, leather — these textures add warmth that paint alone can't achieve. Bring them in through textiles, shelving, and accessories.
- Quality over quantity: Buy fewer things that you absolutely love rather than filling your space with "okay" items. This is the Scandinavian way.
- Consider your grout color: If you're doing backsplash tiles, light grout reads cleaner and more Scandinavian than dark grout. It's a small detail that changes everything.
- Don't skip the hardware installation: Measure twice, drill once. Quality hardware installation keeps everything looking intentional.
Cost Breakdown
← Scroll to see full table →
| Item | Estimated Cost | Priority Level |
|---|---|---|
| Paint & Supplies | $100-150 | High |
| Cabinet Hardware | $80-150 | High |
| Pendant Lighting (3-4 fixtures) | $200-600 | High |
| Backsplash Tiles | $75-150 | Medium |
| Faucet | $150-350 | Medium |
| Open Shelving & Hardware | $150-300 | Medium |
| Textiles & Accessories | $100-200 | Low |
| Total Budget | $855-1,900 | — |
FAQ
Q: Can I do a Scandinavian kitchen transformation without removing upper cabinets?
A: Absolutely. Open shelving is trendy, but if you need that storage, it's completely fine to keep your upper cabinets. Just paint them to match your color scheme and update the hardware. The paint alone does wonders for creating a fresh, cohesive look. Focus on lighting, flooring touches, and styling your countertops instead.
Q
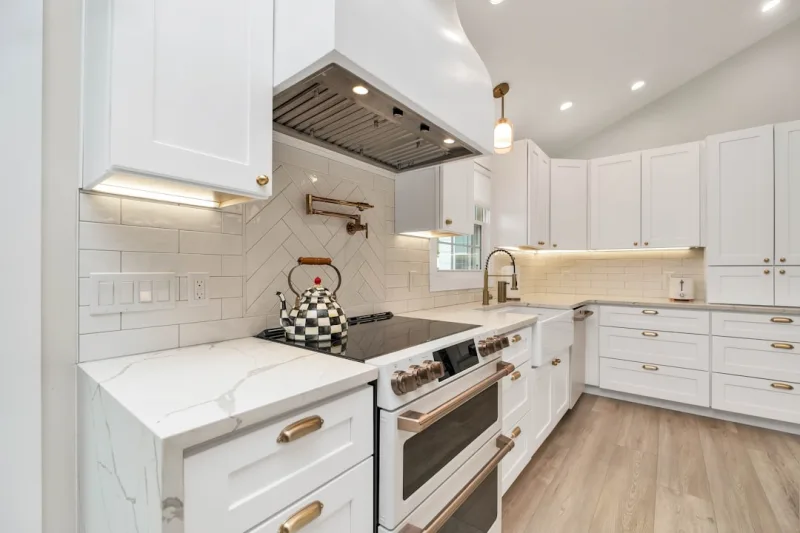
📷 Photo by Zac Gudakov on Unsplash


