DIY Fire Pit Ideas: Budget-Friendly Backyard Designs That Actually Look Great
Look, I get it. You want a cozy gathering spot where friends can hang out, roast marshmallows, and enjoy those golden-hour summer nights — but you don't want to drop thousands on it. Here's the thing: you absolutely don't have to. Some of the best-looking fire pits I've seen came from resourceful homeowners who decided to build their own. The satisfaction alone? That's priceless.
I've been designing and building backyard spaces for years, and honestly, the budget DIY route is where the magic happens. You get creative, you learn new skills, and you end up with something uniquely yours — not some cookie-cutter setup everyone else has. Plus, when people ask "where'd you get this?" and you say "I built it," there's no feeling quite like it.
So let's talk about creating a fire pit that won't drain your bank account. We're talking real solutions here — stone rings, concrete blocks, steel rings — whatever works for your space and your wallet.
What You'll Need
Before you get started, gather these materials. The total cost really depends on which style you choose, but I've designed these options to be genuinely affordable.
- Concrete blocks or cinder blocks — $1-2 each (you'll need about 20-30 depending on diameter) — grab these at The The Home Depot or your local landscape supply place
- Steel fire ring — $40-80 on Amazon or The Home Depot (totally optional but makes things safer)
- Level — $15-30 if you don't have one
- Landscape fabric — $10-15 (prevents weeds from growing up through your pit)
- Sand or pea gravel — $20-30 for a large bag
- Shovel and work gloves — $20-40 total if purchasing new
- Firewood — $50-100 depending on your local market (not for construction, but you'll need it eventually!)
- Optional: Retaining wall blocks or natural stone — $2-5 each for a more finished look
The beauty here? Most people already have a shovel and gloves lying around. You can start with what you've got and upgrade as you go.
Step-by-Step Guide
Step 1: Choose Your Location
This is everything. You want a spot that's at least 12-15 feet away from your house, trees, and anything flammable. Check your local fire codes — seriously, just do it. Some municipalities have specific regulations, and you don't want to deal with that headache. Pick a relatively level area or be prepared to do some leveling work. I always recommend somewhere that gets decent drainage so water doesn't pool around it after rain.
Step 2: Mark Your Circle
Grab a rope or hose and lay it out in a circle to visualize your pit. Most home fire pits are around 3-4 feet in diameter — that's perfect for a small group. Once you're happy with the size, mark the outline with spray paint or flour. Don't skip this step; it saves you from wasting materials.
Step 3: Prepare the Base
Remove any grass, weeds, or debris from inside your circle — dig down about 4-6 inches. This is where a good shovel really earns its keep. Level everything out as much as you can. If you've got major slopes, you might need to do some serious excavation, but honestly, slight variations won't ruin anything.
Step 4: Lay Down Landscape Fabric
 DIY Apartment Makeover: Paint, Shelves & Lighting Hacks
This is a game-changer for preventing weeds. Cut a piece of landscape fabric to fit your base area and lay it down. It keeps those annoying weeds from taking over your fire pit area. Trust me on this one.
Step 5: Add Your Base Material
Spread sand or pea gravel about 2-3 inches thick over that landscape fabric. This creates a nice, level foundation and helps with drainage. Level it out as best you can — your eyes are usually good enough for this.
Step 6: Build Your Ring
Now for the fun part. Stack your concrete blocks in a circle. If you're using standard 8x8x16 inch blocks, start with them lying horizontally. Stack two layers high for stability — three if you want it taller and more dramatic. No mortar needed; gravity does the work. Just make sure each block is seated well on the layer below.
If you're using natural stone or retaining wall blocks, try to fit them together like a puzzle — the tighter, the better. Don't stress about perfection; rustic is in right now anyway.
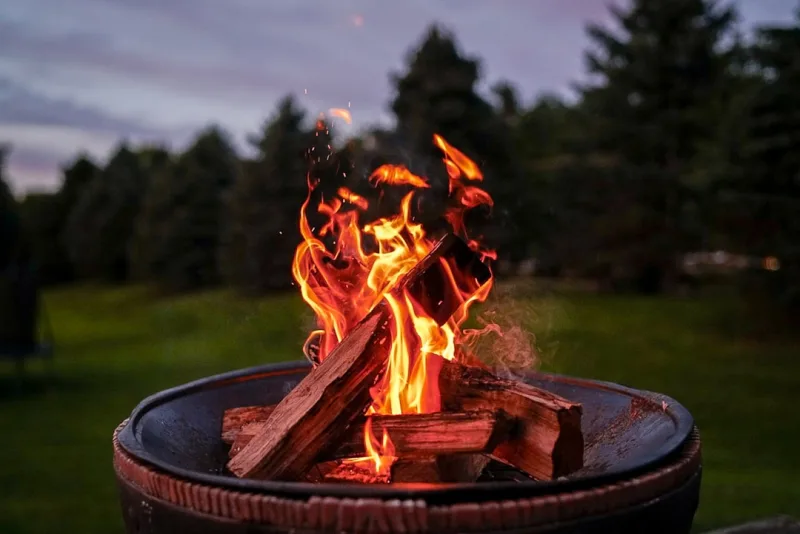
Step 7: Add a Steel Ring (Optional but Recommended)
If you grabbed a steel fire ring, place it inside your block ring. This protects the blocks from intense heat and actually extends the life of your pit significantly. Better Homes & Gardens & Gardens actually recommends this approach for longevity. The ring sits inside and contains your fire more effectively.
Step 8: Create a Seating Area
This is where it gets personalized. Some people add outdoor seating right around the pit. Others create a larger circular area with mulch or gravel. I like to add flat pavers or a small retaining wall on the outer edge — gives you natural seating spots and makes the whole setup look intentional.
Pro Tips
- Start small and expand later. Build a basic pit now, and you can always add comfortable seating or additional features next season. This approach spreads out your spending and lets you see how you actually use the space.
- Consider wind patterns. Watch where smoke tends to drift in your backyard. Position your pit so prevailing winds blow the smoke away from your patio or house. Nothing ruins a gathering faster than everyone getting smoked out.
- Check before you dig. Seriously — call 811 before digging. Underground utilities exist, and hitting one is a nightmare nobody wants.
- Keep a fire extinguisher nearby. Not fun to think about, but responsible. Keep one within reach when you're using the pit.
- Go with darker stone if possible. Darker materials look more sophisticated and hide soot better than light-colored stone. It's a small detail that makes a big visual difference.
- HGTV shows tons of fire pit renovations. Watch a few episodes for inspiration before you build — honestly, seeing finished projects helps you figure out your own aesthetic.
- Add landscape lighting around the perimeter. For about $30-50, solar stakes completely transform the ambiance once the sun goes down. Game changer.
Cost Breakdown
← Scroll to see full table →
| Item | Quantity | Unit Price | Total |
|---|---|---|---|
| Concrete Blocks (8x8x16) | 24 blocks | $1.50 | $36 |
| Landscape Fabric | 1 roll | $12 | $12 |
| Sand/Pea Gravel | 2 bags | $15 | $30 |
| Steel Fire Ring | 1 | $65 | $65 |


