DIY Bedroom Closet Organization Ideas: Transform Your Space Like a Pro
Your bedroom closet is one of the most personal spaces in your home, yet it's often the most disorganized. Whether you're dealing with overflowing hangers, mystery boxes, or a pile of clothes on the floor—we've all been there—a cluttered closet can add unnecessary stress to your daily routine. The good news? You don't need to hire a professional organizer or spend thousands of dollars to achieve the closet of your dreams. With some smart DIY strategies and practical solutions, you can transform your bedroom closet into a functional, beautiful space that makes getting dressed a pleasure rather than a chore.
This comprehensive guide will walk you through proven bedroom closet organization ideas that work for any budget, space size, or lifestyle. Whether you have a small reach-in closet or a spacious walk-in—these techniques work across the board—these methods will help you maximize every inch and maintain your organized system for years to come.
What You'll Need for Your Closet Organization Project
Before diving into the organization process, gather these essential supplies and tools. Having everything on hand will make the project move smoothly and efficiently. Trust me, nothing derails progress faster than realizing you're missing something halfway through.
- Measuring tape: Essential for measuring your closet dimensions and shelf heights
- Shelf dividers: Prevent stacks from toppling over and keep items separated
- Hanging organizers: Over-the-door options, hanging shelves, and shoe racks maximize vertical space
- Storage bins and boxes: Clear containers let you see contents without opening them
- Matching hangers: They create a streamlined look and use less space than wire hangers
- Hooks and adhesive strips: Perfect for purses, belts, and accessories
- Labels and label maker: Keep your system organized long-term with clear identification
- Vacuum storage bags: Great for seasonal clothing and space-saving
- Drawer dividers: Organize small items and accessories
- Step stool or ladder: Safely access upper shelves
- Screwdriver and drill: For installing additional shelving or hardware
- Trash bags: For the inevitable donation and discard pile
Step-by-Step Guide to Organizing Your Bedroom Closet
Step 1: Empty Everything and Assess
The foundation of any successful organization project is starting with a completely empty closet. Remove every item—and yes, we mean everything. Check the shelves, the floor, and behind any boxes. This might feel overwhelming at first, but it's absolutely necessary for creating a functional system that actually works.
Once everything is removed, take time to assess your closet space. Measure the width, depth, and height of your closet. Note any awkward angles, windows, or architectural features that might affect your organization system. Clean the shelves, vacuum the floor, and wipe down any dust or debris. This is also a perfect time to add a fresh coat of paint if desired—or install additional lighting to brighten the space. A well-lit closet makes all the difference when you're trying to match outfits in the morning.
Step 2: Declutter with Purpose
Now comes the tough love part: decluttering. Look at each item and honestly ask yourself whether you wear it, love it, and it fits your current lifestyle. Create three piles: keep, donate, and discard. Be ruthless with items that are stained, broken, or haven't been worn in over a year. That trendy top from 2015? Unless you genuinely wear it, it's taking up valuable real estate.
A helpful rule is the hanger trick: turn all hangers backward at the start of a season, then turn them forward as you wear items. After three months, anything still backward can likely go. This gives you real data about what you actually wear versus what you think you wear—and the difference is often eye-opening.
Step 3: Categorize Your Remaining Items
Group your remaining clothing and accessories by category. Common categories include work clothes, casual wear, workout gear, dresses, sweaters, jeans, shoes, belts, scarves, and accessories. This organizational structure makes it easier to find items and maintain your system long-term.
Consider your daily routine when categorizing. If you work in business casual attire, make sure those clothes are easily accessible. If you hit the gym five days a week, keep workout gear front and center. Your organization system should support your actual lifestyle—not the one you wish you had.
Step 4: Invest in the Right Storage Solutions
With your categories established, determine what storage solutions work best for each group. Hanging rods work well for dresses, blouses, and pants. Shelves are ideal for sweaters, jeans, and t-shirts that you want to see at a glance. Drawer dividers help organize undergarments, socks, and accessories. You can find quality organizers at The The Home Depot that fit most budgets.
Consider adding a second hanging rod if you have room. Many people double their hanging capacity by installing rods at standard height and another eighteen inches below it. This works perfectly for shorter items like folded pants and shirts—it's honestly one of the best investments you can make in a tight closet.
Step 5: Arrange Items by Frequency of Use
Place your most frequently worn items at eye level and within arm's reach. Seasonal items and special occasion clothing can go higher or lower. Everyday work clothes should be easily accessible, while that formal dress you wear twice a year can go on the top shelf.
Arrange hanging items by category and then by color within that category. This creates a visually pleasing rainbow effect and makes it incredibly easy to find what you're looking for. The same principle applies to folded items on shelves—you'd be amazed how much more functional your closet becomes when everything follows a logical color order.
Step 6: Label Everything
Once everything is in its place, create clear labels for your storage bins, shelves, and drawers. A simple label maker from any office supply store makes this easy and keeps your system organized as family members or roommates use the space. Labels also help you maintain the system over time—they serve as gentle reminders for everyone sharing your home.
Pro Tips for Maximum Closet Efficiency
Use Vertical Space Aggressively
Most people underutilize their vertical space—it's honestly one of the biggest missed opportunities I see. Install shelves from floor to ceiling if possible, or add a second hanging rod. Tall, narrow storage units fit perfectly in closet corners. Stack storage bins on top of each other. The more you build upward, the more storage capacity you create.
Install a Full-Length Mirror
 Boho DIY Room Makeover: Full Revamp Under $200
A full-length mirror on the inside of your closet door makes outfit selection easier and prevents the common problem of realizing something doesn't look right after you've left home. This simple addition saves time and reduces closet returns when you change outfits—it's a game-changer, honestly.
Create a Capsule Wardrobe System
Organize your clothing into seasonal capsule wardrobes with pieces that mix and match easily. This makes getting dressed simpler and helps you see gaps in your wardrobe. Better Homes & Gardens & Gardens offers excellent resources on capsule wardrobe building that integrate beautifully with closet organization. The concept isn't revolutionary, but it works.
Invest in Quality Hangers
Thin, matching velvet or wooden hangers take up significantly less space than plastic or wire hangers. They prevent clothes from slipping and create a uniform, organized appearance. This small investment yields big returns in both space and aesthetics—your closet will actually look like you have your life together.
Use Clear Storage Containers
Clear bins let you see contents without opening them, making it easy to find what you need. Label each container with its contents and rotation date. This system works particularly well for seasonal clothing and special occasion items—no more forgetting what's in that mystery box on the top shelf.
Implement a One-In-One-Out Rule
To maintain your organized closet long-term, establish a simple rule: whenever you bring something new into your closet, one old item must leave. This prevents the gradual creep of clutter that eventually leads back to chaos. It's the difference between a closet that stays organized and one that slowly devolves into a disaster.
Add Lighting If Needed
A poorly lit closet makes organization harder and makes it difficult to see colors and match items. Consider adding battery-operated LED strips or a small closet light. HGTV often features lighting solutions that are easy to install and dramatically improve functionality—sometimes the simplest upgrades make the biggest difference.
Common Closet Organization Mistakes to Avoid
Mistake 1: Organizing Before Decluttering
Many people buy beautiful storage solutions before getting rid of items they don't need. This approach usually fails because you're just organizing clutter. Always declutter first, then purchase storage solutions sized appropriately for what you're actually keeping. I've seen this mistake more times than I can count.
Mistake 2: Ignoring Your Actual Lifestyle
Don't organize your closet based on what you think you should wear or what someone else thinks is important. If you work from home and wear yoga pants every day, your organization system should reflect that reality, not pretend you're a business formal dresser. Your closet should work for you—not against you.
Mistake 3: Overcrowding Shelves and Hanging Rods
Packing shelves so tightly that items topple when you remove one piece defeats the purpose of organization. Leave breathing room. A slightly less full closet is far more functional than one where everything is crammed together. You should be able to remove any item without disturbing others—that's the whole point.
Mistake 4: Forgetting About Accessibility
Don't store everyday items where you need a step stool to reach them, or tuck them behind other items. Accessibility should drive your placement decisions. Easy access to frequently worn items saves time and frustration daily—it's what separates a truly functional closet from a pretty but impractical one.
Mistake 5: Skipping the Maintenance Plan
Many people organize their closet beautifully, then it gradually deteriorates because they don't maintain the system. Schedule a fifteen-minute weekly tidying session to prevent backsliding. This small investment prevents the need for major reorganization later—trust me, it's much easier than starting over.
Cost Breakdown for DIY Closet Organization
← Scroll to see full table →
| Item | Quantity | Average Cost | Total Cost |
|---|---|---|---|
| Matching Hangers (50 pack) | 2 | $20 | $40 |
| Shelf Dividers | 4 | $8 | $32 |
| Clear Storage Bins | 6 | $15 | $90 |
| Hanging Organizers | 2 | $12 | $24 |
| Drawer Dividers | 2 | $10 | $20 |
| Hooks and Adhesive Strips | 1 | $15 | $15 |
| Label Maker and Labels | 1 | $18 | $18 |
| Vacuum Storage Bags | 1 pack | $12 | $12 |
| LED Light Strip (Optional) | 1 | $25 | $25 |
| Hanging Rod and Hardware (if needed) | 1 | $30 | $30 |
| TOTAL (Basic Setup) | $276 |
The cost breakdown above represents a comprehensive organization system for an average bedroom closet. Basic setups without the hanging rod or LED lights can cost as little as $150 to $200. Premium versions with custom shelving, high-end hangers, and complete systems can reach $500 to $1000 or more. The key is to start with essentials and add items as needed based on your specific closet and budget—you don't need everything at once.
Frequently Asked Questions About Closet Organization
Q: How often should I reorganize my closet?
A full reorganization typically happens twice yearly with seasonal changes. However
- cheap diy living room decor ideas
- diy apartment decor ideas budget
- DIY Bedroom Transformation on a Budget
- DIY Bedroom Decor Ideas for Small Rooms
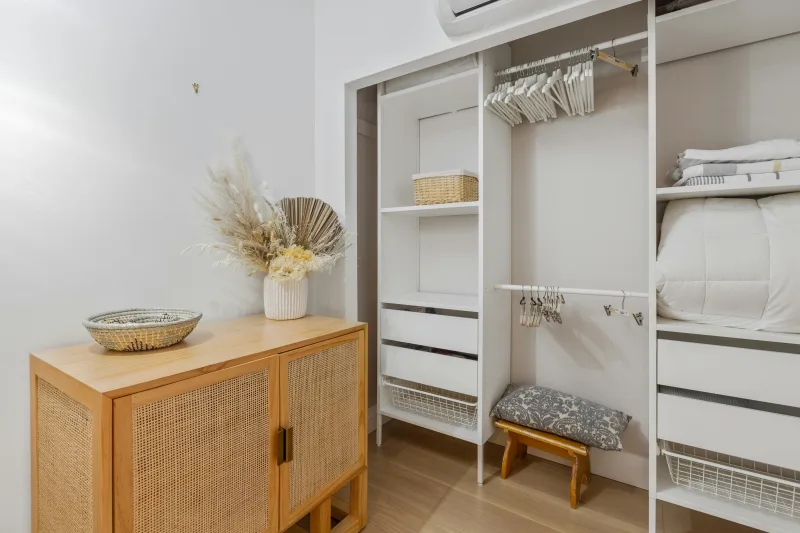
📷 Photo by Point3D Commercial Imaging Ltd. on Unsplash


