Smart Balcony Setup for Cozy Homes: Your Guide to Creating the Perfect Outdoor Retreat
You know that feeling when you finally step outside onto your balcony with a warm cup of coffee, and everything just feels right? That's the moment we're going for here. Your balcony doesn't have to be some fancy showpiece that's too pristine to actually enjoy — it should be functional, comfortable, and honestly, a place you want to spend time in. I've been working with homeowners for years who think their small outdoor space is limited in potential, but I'm telling you, it's not.
Here's the thing: a smart balcony setup isn't complicated. It's about understanding your space, choosing pieces that actually work together, and making intentional decisions about comfort and style. Whether you're working with a tiny urban balcony or something slightly more spacious, the principles are the same. We're talking about layering comfort, adding smart storage solutions, and creating an atmosphere that makes you want to be outside.
In this guide, I'm going to walk you through everything you need to know to transform your balcony into a cozy haven. We'll cover what materials and furniture pieces work best, how to install them properly, and some pro tips I've picked up along the way. Let's get started.
What You'll Need
Before we dive into the setup, let's talk about what's actually going to make your balcony work. You don't need to buy everything at once — this is more of a master list to help you prioritize based on your space and budget.
Furniture & Fixtures
- Compact outdoor sofa or loveseat — $250–$600 (The The Home Depot has solid mid-range options)
- Side table or nesting tables — $75–$200
- Outdoor rug (weather-resistant) — $80–$250
- String lights or LED strips — $30–$100
- Outdoor throw pillows (set of 2-4) — $60–$150
- Wall-mounted shelving unit — $100–$300
- Compact plant stand or ladder shelf — $50–$150
Smart Tech & Comfort Items
- Weatherproof smart speaker — $50–$150
- Solar-powered pathway lights — $25–$80
- Outdoor heating lamp or fire pit (propane) — $100–$400
- Retractable awning or shade sail — $200–$600
- Smart outdoor thermostat or temperature monitor — $40–$120
Greenery & Planters
- Large planters (set of 3-5) — $100–$300
- Herb and flower seeds or starter plants — $30–$100
- Vertical garden wall system — $150–$400
Accessories & Extras
- Outdoor cushions and storage bench — $120–$350
- Privacy screen or railing planter boxes — $80–$250
- Lanterns or outdoor candles — $30–$100
Step-by-Step Guide
Step 1: Assess Your Space and Light
This is crucial, and honestly, people often skip it. Spend a few days observing your balcony. How much direct sunlight does it get? Is it shaded most of the day? Does wind buffet it in the afternoon? These aren't small details — they're going to determine what plants survive, whether string lights actually look good in natural light, and if you need that shade solution we talked about. Take some photos at different times of day. Better Homes & Gardens & Gardens has some great resources on understanding outdoor light conditions if you want to dig deeper.
Step 2: Define Your Layout and Traffic Flow
Even with a compact space, you need to think about how people move through it. If you're designing a 6x8 balcony, you don't want to create an obstacle course. Start by sketching out where your seating will go — typically against the interior wall or one side. Leave clear sightlines from your door. This isn't interior design overthinking; it's practical. You want to be able to step outside without immediately bumping into something.
Step 3: Install Flooring Solution
I recommend starting with a quality outdoor rug. It anchors the space, adds warmth, and defines your seating area. Measure your seating arrangement and choose a rug that sits partially under your furniture — this creates visual cohesion. If your balcony is concrete and you want something more permanent, consider interlocking deck tiles (around $50–$150 for a small balcony). They're DIY-friendly and add texture.
Step 4: Position Your Seating
Place your sofa or chairs first. This is your anchor point. If you have limited space, consider a loveseat instead of a full sofa, or look for pieces with built-in storage underneath. Add your side tables next — these don't need to be huge. A small 18-inch table is perfect for holding your coffee mug and a book. Leave breathing room around your seating area.
Step 5: Add Shade and Climate Control
Depending on your balcony's exposure, you might want a retractable awning or a shade sail. These are game-changers in summer and aren't as permanent as you might think. If you live somewhere that gets chilly, consider a propane heating lamp (mounted safely to your railing or ceiling). The Home Depot carries several models that are both functional and aesthetically pleasing. Never underestimate how much comfort matters — if your balcony is too hot or cold, you won't use it.
Step 6: Install Lighting
This is where the magic happens. String lights create instant coziness. Drape them along your railing or overhead if your landlord allows it. Layer in some solar pathway lights around the perimeter, and add a weatherproof smart speaker with ambient music capability. You can set the whole mood with just a few strategic light placements. HGTV has done some excellent features on outdoor lighting layering — definitely worth checking out.
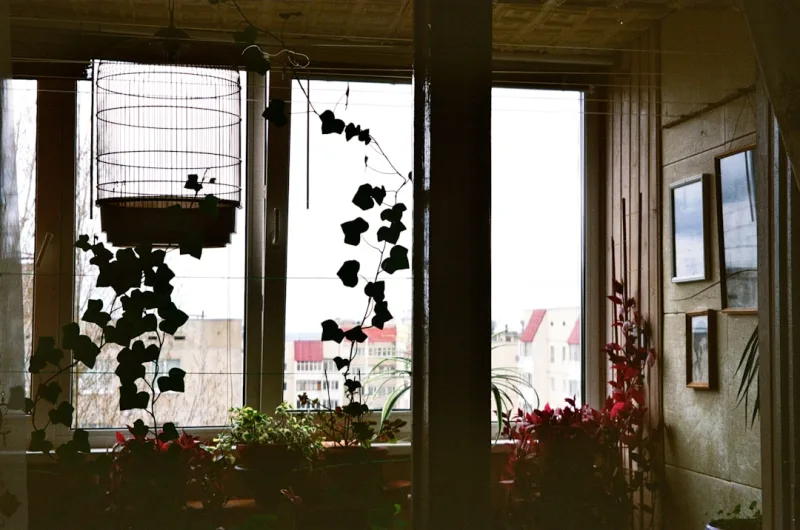
Step 7: Incorporate Vertical Greenery
 Budget Apartment Renovation: DIY Hacks That Actually Work
Wall-mounted shelving and vertical garden systems are your secret weapons for small spaces. They don't eat up precious floor space, and they instantly make your balcony feel alive. Add planters with herbs (basil, mint), trailing flowers, or low-maintenance greens like pothos. The vertical element draws the eye upward and makes even cramped balconies feel larger.
Step 8: Layer in Comfort Items
Throw pillows, blankets, and outdoor cushions transform a bare seating area into somewhere you actually want to curl up. Choose fabrics that are weather-resistant and colors that complement your home's exterior. I always recommend having at least two throw blankets on a storage bench nearby — trust me, you'll use them more than you think.
Step 9: Final Touches and Styling
Add lanterns, outdoor candles, or a small water feature if space allows. These finishing touches make your balcony feel intentional and designed, not just furnished. Don't overcrowd — negative space is your friend here.
Pro Tips
Choose furniture with purpose. Every piece should earn its spot. If it doesn't provide seating, storage, or visual appeal, it shouldn't be there. I'm particularly fond of storage benches that do double duty as seating.
Invest in quality outdoor fabric. Cheap outdoor cushions fade and deteriorate within a season. Spend the extra $20–$30 per cushion for solution-dyed acrylic fabrics that actually last.
Use mirrors strategically. A weather-resistant mirror placed opposite your seating makes small balconies feel twice as large. Seriously, it's incredible how much this works.
Layer your lighting. Never rely on just one light source. Mix string lights, pathway lights, and a smart bulb system to create depth and atmosphere at different times of day.
Plan for weather protection. Even weather-resistant furniture needs some TLC. Get waterproof storage covers for off-season storage, or invest in a high-quality outdoor furniture cover if your space is exposed.
Start small and build gradually. You don't need to buy everything at once. Pick your must-haves first — seating and lighting — then add greenery and accessories as budget allows.
Cost Breakdown
← Scroll to see full table →
| Category | Budget-Friendly | Mid-Range | Premium |
|---|---|---|---|
| Seating (sofa/loveseat) | $250 | $450 | $800+ |
| Outdoor Rug | $80 | $150 | $300+ |
| Lighting (string + pathway) | $55 | $100 |


