Cheap DIY Bedroom Shelves: Budget-Friendly Ideas That Actually Look Great
Look, I get it. Your bedroom feels cluttered, you need storage, but the thought of dropping a couple hundred bucks on shelving makes you want to scream. Here's the thing — you don't have to. I've spent years helping people transform their spaces on a shoestring budget, and bedroom shelves are honestly one of the easiest wins you can tackle yourself. We're talking about creating something functional and stylish for way less than you'd spend at any furniture store.
The best part? You probably already have some of the stuff you need lying around. And the rest? We're hitting up The The Home Depot and a few other smart spots to grab materials for under $50. No fancy tools required, no advanced carpentry skills needed. Just a little creativity and maybe a Sunday afternoon.
Let me walk you through my favorite cheap DIY bedroom shelf ideas that actually hold up — literally and aesthetically. Whether you're going minimalist, rustic, or modern, we've got options.
What You'll Need
Here's a realistic shopping list for basic floating shelves (the most budget-friendly approach). Prices vary by location, but these are ballpark figures you'll see:
- 1x10 or 1x12 Pine Board ($15-25 per 8-ft board from The Home Depot) — honestly, pine is perfect for beginners and takes stain beautifully
- Floating Shelf Brackets ($12-20 per pair) — get heavy-duty ones, trust me
- Wall Anchors or Toggle Bolts ($5-8 per pack) — critical if you're not hitting studs
- Wood Stain or Paint ($8-12) — optional but transforms the look
- Sandpaper Assortment ($4-6) — prep work matters
- Wood Screws and Fasteners ($5-7) — grab a variety pack
- Level ($10-15) — don't skip this unless you want wonky shelves
- Measuring Tape ($5-8) — get one you actually like using
Total estimated cost: $65-100 for one shelf unit with multiple shelves. That's genuinely cheaper than most ready-made options, and way more personal.
Step-by-Step Guide
Step 1: Measure Your Wall and Plan Placement
This is where people get lazy and regret it. Take your time here. Figure out where your shelf will go — above a dresser? Next to your bed? Consider natural light, eye level, and what you're actually storing. I usually aim for shelves around 50-60 inches off the ground as a starting point, but adjust based on your space.
Mark your wall lightly with a pencil. Use that level to make sure your marks are actually level. A tilted shelf drives me absolutely crazy.
Step 2: Find the Studs (or Plan for Anchors)
Use a stud finder — they're like $15 and seriously worth it — or do the knock test if you're feeling old-school. If you hit studs, fantastic. If not, that's fine too. Wall anchors exist for a reason. Just make sure you're getting heavy-duty ones that can handle actual weight. Better Homes & Gardens & Gardens has a solid guide on this if you need visual help.
Step 3: Cut and Prep Your Wood
If The Home Depot will cut your board for free (they often do), take advantage. Otherwise, grab your saw or hire it out — no shame in that game. I usually go for 24-36 inch shelves because they look balanced and don't overwhelm a bedroom.
Sand down all the edges and surfaces. Rough wood looks... well, rough. A quick sand with 120-grit paper smooths everything out and preps it for stain or paint.
Step 4: Stain or Paint (Optional But Recommended)
This is honestly where the magic happens. Raw pine can look a little bland. Hit it with a stain — dark walnut is my go-to because it feels upscale without trying — or paint it white for a clean, modern vibe. Two coats usually does it. Let it dry completely before moving forward.
Step 5: Install the Brackets
Mount your brackets to the wall first using your marked spots and level. Make sure they're secure — wiggle test them. Now slide that beautiful wood shelf onto the brackets and check that it's level again. Secure from underneath if your brackets allow it.
Step 6: Style and Secure Your Shelf Life
Add your stuff! Books, plants, photos, decorative boxes — whatever makes your bedroom feel like yours. Step back and admire. You literally just built this.
Pro Tips
 Budget Apartment Renovation: DIY Hacks That Actually Work
Mix materials for visual interest: I'm obsessed with combining wood shelves with metal brackets, or stacking books with plants and small framed photos. HGTV does this beautifully all the time. Creates layers and feels curated instead of just... stored.
Embrace the gaps: Don't cram everything on your shelves. Negative space looks intentional. Trust me on this. It also makes cleaning way easier.
Use the underside: Stick some adhesive hooks under your shelf for hanging small bags, scarves, or headphones. Nobody thinks to do this, but it's genius space-saving.
Paint the wall behind it: If your shelf is in a prominent spot, consider painting that wall a complementary color. Suddenly your basic shelf setup looks like a styled magazine spread.
Go uneven with purpose: Stagger shelves at different heights instead of lining them up in a boring grid. It's more visually dynamic and honestly easier to install at different stud locations.
Cost Breakdown
← Scroll to see full table →
| Item | Quantity | Cost Per Unit | Total |
|---|---|---|---|
| Pine Board (1x10) | 1 | $20 | $20 |
| Floating Shelf Brackets | 2 pairs | $16 | $32 |
| Wall Anchors | 1 pack | $6 | $6 |
| Wood Stain | 1 | $10 | $10 |
| Sandpaper | 1 pack | $5 | $5 |
| Hardware (screws, fasteners) | 1 pack | $6 | $6 |
| Level (if needed) | 1 | $12 | $12 |
| Measuring Tape (if needed) | 1 | $6 | $6 |
| TOTAL | $97 | ||
This covers one floating shelf. Additional shelves use less material, so your per-unit cost drops significantly with multiple shelves.
FAQ
Q: Do I really need studs to hang shelves safely?
A: Not necessarily, but studs are the strongest option. If you're using wall anchors instead, make sure they're rated for at least 25-50 pounds. Toggle bolts are seriously robust. Just don't overload your shelves with encyclopedias and you'll be fine. Be honest about weight — books are heavier than you think.
Q: Can I use reclaimed wood or pallet wood instead?
A: Absolutely! This actually makes your project even cheaper. Pallet wood is free most of the time. Just sand it really well and check for splinters. The rustic look is having a major moment right now. Pinterest will tell you the same thing. Just ensure your pallets aren't treated with harmful chemicals.
Q: What if I mess up the drilling or the shelf doesn't look level?
A: Honestly? Fill the holes with spackle, sand smooth, and try again. Paint covers a multitude of DIY sins. The beauty of bedroom shelves is that if something goes sideways, you're not looking at a structural failure — you're looking at a redo that costs almost nothing. I've definitely repositioned shelves after changing my mind about placement. It happens.
Conclusion
Creating beautiful, functional bedroom shelves on a budget isn't just possible — it's actually one of the most rewarding DIY projects you can do. You're not dropping serious cash, you're building something with your hands, and your bedroom instantly feels more intentional and organized. That's a win across the board.
The designs are endlessly customizable. The materials are affordable. The skills required? Honestly minimal. Whether you're going for a minimalist look, a cozy bookworm aesthetic, or something totally unique to your style, these shelves become a blank canvas.
Ready to get started? Head to The Home Depot this weekend, grab your supplies, and commit to a few hours of transformation. Your bedroom — and your wallet — will thank you. Start with one shelf if you're nervous. See how good it looks. Then build two more. You've got this.
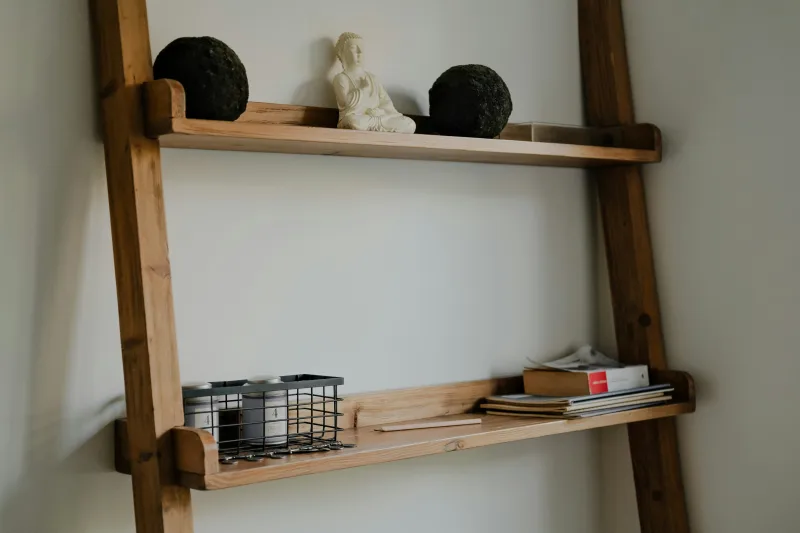
📷 Photo by Dmitry Kropachev on Unsplash


