Modern Kitchen Storage That Looks Expensive: A Budget-Friendly Guide to Luxury Organization
Look, I get it. You walk into those high-end kitchen design showrooms and see sleek, minimalist storage solutions with price tags that make your wallet cry. But here's the thing — you absolutely can recreate that expensive, curated aesthetic without dropping thousands of dollars. I've spent years figuring out which storage tricks actually deliver that premium look, and I'm excited to share them with you.
The secret isn't about buying luxury brands or custom cabinetry (though hey, if that's your thing, more power to you). It's about strategic choices, smart materials, and understanding what makes storage feel expensive. Honestly, most people don't realize that a well-organized kitchen with intentional styling reads as expensive immediately — even if you've sourced everything from places like The The Home Depot or IKEA.
So whether you're working with a dated kitchen or just want to elevate what you already have, let me walk you through creating storage solutions that look like they belong in a design magazine. We're talking open shelving with that gallery-wall vibe, hidden compartments that whisper sophistication, and organizational systems that are as pretty as they are practical.
What You'll Need
Before we dive into the actual building and styling, let's talk materials. These are the pieces that'll transform your kitchen from "cluttered" to "intentional luxury."
- Floating shelves (walnut or white oak veneer) — $40-$80 per shelf, The Home Depot
- Stainless steel or brushed brass shelf brackets — $15-$30 per pair
- Open-back cabinet boxes (light natural wood) — $50-$120 each
- Woven rattan storage baskets (various sizes) — $20-$60 each
- Clear glass containers with airtight lids (ceramic or wooden tops) — $8-$15 each
- Elegant hardware (pulls and knobs) — $5-$20 per piece
- Vertical dividers for cabinets — $10-$25
- Paint (high-quality semi-gloss interior) — $30-$50 per gallon
- Wood filler and sandpaper — $8-$12
- Measuring tape, level, drill, and wall anchors — $50-$100 (if starting from scratch)
- Decorative items (small plants, cookbooks, vintage containers) — Budget $50-$100
Step-by-Step Guide
Step 1: Assess Your Space and Create a Vision Board
Start by really looking at your kitchen. What do you actually need to store? Are we talking pots and pans, pantry items, dishes, or a combination? Create a Pinterest board or Instagram collection of kitchens that speak to you. I always do this before any project — it clarifies your instincts and keeps you from getting sidetracked by trends that don't match your lifestyle.
Step 2: Install Floating Shelves with Statement Brackets
Here's where the magic happens. Floating shelves instantly read as expensive because they feel architectural. Head to The Home Depot and grab walnut or light oak shelves — these woods have that warm, designer feel without the designer price tag. Pair them with brushed brass or matte black steel brackets for serious visual impact.
Measure twice, install once — use a stud finder and proper anchors. If you're hitting studs, even better. Make sure your shelves are perfectly level; nothing screams "budget" like slightly tilted shelving. Leave breathing room between items (we'll talk about styling in a moment) so it feels intentional, not cramped.
Step 3: Replace Cabinet Hardware
This is genuinely the easiest upgrade with outsized impact. Swapping out old cabinet handles for modern ones — think minimal, geometric designs in brushed brass or matte black — transforms everything immediately. You're literally spending $50-$200 depending on how many cabinets you have, and suddenly your kitchen feels completely different. Better Homes & Gardens & Gardens has great resources on which hardware styles work with different aesthetics.
Step 4: Implement Deep Cabinet Organization
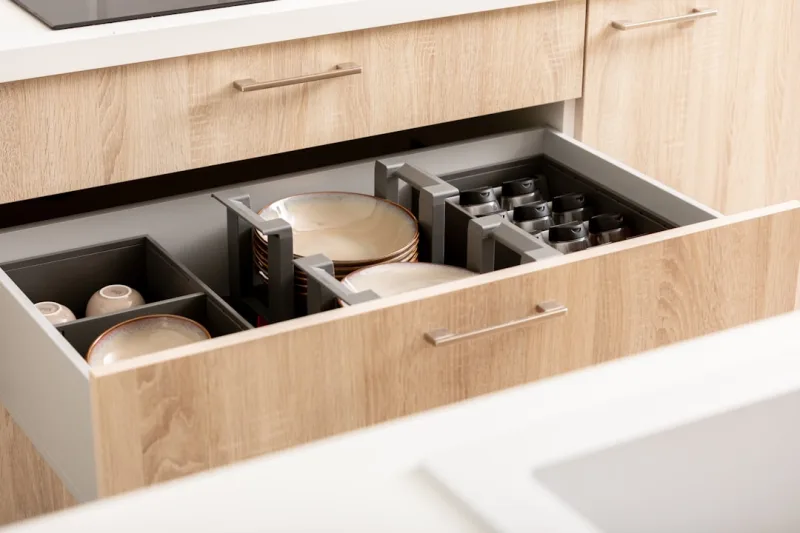
Don't skip this step. Expensive-looking kitchens have organized insides too. Install vertical dividers in your cabinets to separate baking sheets and cutting boards. Use pull-out organizers for lower cabinets so you're not reaching blindly into the darkness. Drawer dividers keep utensils neat and accessible. This infrastructure matters — it makes your kitchen function better, which ironically makes it look better.
Step 5: Style with Intention and Restraint
Okay, here's where personality meets precision. Transfer dry goods into those gorgeous glass containers with wooden or ceramic lids. Group similar items together — baking supplies in one zone, pasta and grains in another. Add maybe two small potted herbs or a single stacked cookbook collection to floating shelves. That's it. Luxury kitchens are edited, not cluttered.
Use rattan baskets for items you want hidden but accessible. Store things vertically when possible. Think about negative space the way a designer would — it's as much about what you don't display as what you do.
Step 6: Paint or Refinish Existing Cabinets
 Budget Apartment Renovation: DIY Hacks That Actually Work
If your cabinets are outdated or dingy, a fresh coat of quality paint completely revitalizes them. Soft whites, warm creams, sage green, and deep navy are all trending right now and look inherently expensive. Use semi-gloss or satin finish for durability and that subtle sheen that reads as refined. HGTV has fantastic tutorials on cabinet painting if you need detailed guidance on prep work and technique.
Pro Tips
Embrace the "Less is More" Philosophy: This is honestly the biggest difference between expensive-looking kitchens and cluttered ones. Every item visible should either be functional or beautiful — ideally both. If you love displaying things, that's fine, but group them thoughtfully rather than scattering them randomly.
Lighting Changes Everything: Install under-cabinet lighting (even simple LED strips from The Home Depot work great). This highlights your organization, creates ambiance, and makes everything feel more intentional and luxury.
Invest in Quality Where It Shows: You don't need expensive cabinets, but your visible hardware, shelving materials, and styling pieces should feel substantial. Don't cheap out on brackets or handles — these details are what your eye lands on.
Color Consistency: Limit your hardware and accent colors to two or three throughout the space. Too many finishes (mixing brass, chrome, and black, for example) makes things feel chaotic rather than curated.
The Power of Negative Space: Seriously, stop filling every shelf. White or light wood showing through is sophisticated and calming. It's the opposite of what our brains tell us to do, but it's what separates expensive-looking from cluttered.
Cost Breakdown
← Scroll to see full table →
| Item | Quantity | Unit Price | Total Cost |
|---|---|---|---|
| Floating Shelves | 3 | $60 | $180 |
| Shelf Brackets | 6 pairs | $22 | $132 |
| Cabinet Hardware | 12 pieces | $12 | $144 |
| Rattan Storage Baskets | 4 | $40 | $160 |
| Glass Storage Containers | 8 | $11 | $88 |
| Cabinet Paint & Supplies | 1 project | $75 | $75 |
| Vertical Dividers | 4 | $15 | $60 |
| Decorative Styling Items | Varies | Varies | $80 |
| Total Project Cost | $919 | ||
Note: This assumes you already have basic tools. Prices vary by location and source. Budget can be reduced by prioritizing just shelving and hardware upgrades, or increased with high-end finishes.
FAQ
Q: Will floating shelves damage my walls?
A: Not if you install them properly. Use appropriate wall anchors for drywall, or better yet, hit the studs in your walls. A stud finder costs about $15 and takes the guesswork out of it. Heavy shelves (loaded with dishes or books) absolutely need studs, but lighter display shelves with decorative items can work with quality anchors.
Q: How do I style open shelving without it looking messy?
A: Think in groups of three and use odd numbers. Stack cookbooks vertically, add a small plant, and maybe one beautiful serving piece. Leave space between groupings so the eye can rest. Honestly, if you're worried about it looking cluttered, you're probably overthinking it — go minimal instead. Five to seven beautiful items per shelf is plenty.
Q: What's the cheapest way to update cabinets if I can't paint them?
A: Swap the hardware. Seriously, that alone costs $100-$200 total and transforms how your kitchen looks. Add open shelving in front of the cabinets for visual interest, or


