Farmhouse Closet Storage on a Budget: Transform Your Space Without Breaking the Bank
Look, I get it. You're scrolling through Pinterest at 11 PM, seeing those gorgeous farmhouse closets with their perfectly arranged baskets, vintage vibes, and enough storage for a small country, and you're thinking... "Yeah, that's not happening on my budget." But here's the thing — farmhouse style is actually one of the most budget-friendly aesthetics out there. It thrives on repurposed materials, natural wood, and that oh-so-charming worn look that basically means you don't need everything to be pristine.
I've helped dozens of friends tackle their closet chaos on seriously tight budgets, and honestly, some of my favorite storage solutions came from random finds at thrift stores and HomeGoods. The farmhouse aesthetic is literally designed to work with mismatched, weathered, and unconventional pieces — which means you're not starting from a disadvantage, you're starting with an advantage.
So let's talk about transforming your closet into a functional, beautiful, farmhouse-inspired space without maxing out your credit card. We're going to cover everything from the budget-friendly materials you'll need to the step-by-step process that'll have you wondering why you didn't do this sooner.
What You'll Need
Before we dive into the good stuff, let's gather your materials. I've kept these prices realistic — you might find some items cheaper depending on sales, and honestly, that's half the fun of budget decorating.
- Wooden crates or boxes (3-4 units) — $15-30 total. Check The The Home Depot or Facebook Marketplace
- Wooden dowels or closet rod extenders — $8-12
- Wire baskets (various sizes, 5-6 pieces) — $20-40. Target and Walmart have great options
- Wood shelving boards (1x10 or 1x12 lumber, 8-foot) — $12-18 per board
- Shelf brackets (metal, farmhouse-style) — $15-25 for a set
- White or cream paint (or stain if you prefer natural wood) — $8-15
- Wooden labels or label maker — $5-10
- Hooks and hardware (galvanized or black metal) — $10-20
- Rope or twine — $3-5
- Basic tools (drill, screwdriver, level) — You probably have these already
Total estimated cost: $100-175, depending on your closet size and how many pieces you already own. Not bad for a complete transformation, right?
Step-by-Step Guide
Step 1: Purge and Plan Your Layout
Before you buy a single thing, empty your closet completely — yes, all of it. This is the time to be honest about what you actually wear. I'm talking that weird sweater you bought in 2019 that still has the tags on. Get rid of it. Once you've cleared out about 30-40 percent of your stuff (and it feels so good, trust me), measure your closet space. Write down your dimensions — height, width, depth. This will determine how many shelves and baskets you can realistically fit. Take some photos too; I always reference mine when I'm shopping to make sure I'm getting the right sizes.
Step 2: Paint and Prep Your Surfaces
If your closet has rough walls or needs brightening up, a fresh coat of paint does wonders. Crisp white, soft cream, or even a pale sage works beautifully with farmhouse style. You don't need to spend a ton here — grab a basic interior paint from The Home Depot or a similar store. One coat is usually enough, especially in a small closet space. While the paint dries, start working on any wooden pieces you've picked up — crates, shelving boards, whatever. A light sanding and a whitewash or natural stain brings out that authentic farmhouse character. Honestly, the imperfections are what make it look intentional.
Step 3: Install Your Shelving System
This is where things get real, but don't panic — you've got this. Measure and mark where your shelves will go using a level (seriously, don't skip this step). Install your brackets according to your measurements, making sure they're secure. Then lay your wooden shelving boards across the brackets. If you're not comfortable drilling into walls, removable shelving systems are available and honestly work just fine. Better Homes & Gardens & Gardens has some great tutorials if you need a visual reference.
Step 4: Organize with Baskets and Crates
Now for the fun part. Place your wire baskets and wooden crates on your shelves and lower closet space. This is where you start grouping items — sweaters together, jeans in another basket, out-of-season items in larger crates. The beauty of basket storage is that it hides the clutter while keeping everything accessible. Pro move: line your wire baskets with linen or vintage fabric to make them look even more farmhouse and protect your clothes from snagging.
Step 5: Add Hanging Solutions
 Budget Apartment Renovation: DIY Hacks That Actually Work
Install hooks on the closet door or side walls for hats, scarves, belts, and bags. If your closet rod is overcrowded, add an extra rod below the main one using dowels and brackets — it's seriously simple and doubles your hanging space. Use cascading hangers to stack multiple items vertically. These small changes make a huge difference in functionality.
Step 6: Label and Style
This is the detail work that makes everything feel intentional. Use wooden labels or a label maker to identify what's in each basket. It looks great and keeps everything where it needs to be (hello, accountability). Tuck some rolled-up vintage linens in a corner, add a small vase of dried flowers on one shelf — little touches that make your closet feel like a room, not just a storage space.
Pro Tips
Hunt the Thrift Stores: Some of my best farmhouse finds came from Goodwill and local antique shops. Wooden boxes, vintage baskets, old metal hooks — these places are goldmines if you take time to dig. Plus, you're shopping sustainably, and honestly, nothing says farmhouse like repurposed goods.
Mix and Match Your Materials: Farmhouse style celebrates imperfection. Pair wooden crates with wire baskets, mix stained wood with painted pieces. The eclectic vibe is exactly what makes it charming. I've seen closets where mismatched baskets somehow look more intentional than anything perfectly coordinated.
Use Vertical Space Aggressively: Closets are surprisingly vertical. Install shelves all the way up to the ceiling if possible. Stack baskets. Use over-the-door organizers. Every inch of wall space is potential storage. HGTV features tons of before-and-afters showing how much difference vertical storage makes.
Keep Seasonal Rotation in Mind: Store out-of-season items in labeled bins up high or in the back. This clears space for what you're actually wearing now and keeps things sane. I label mine with the season so there's zero confusion when spring rolls around.
Invest in Quality Basics: If you're going to splurge on anything, spend a bit more on one or two large storage pieces that are built to last. Everything else can be budget picks. It balances out and your storage actually holds up.
Cost Breakdown
← Scroll to see full table →
| Item | Quantity | Price Per Unit | Total Cost |
|---|---|---|---|
| Wooden Crates | 4 | $5-8 | $20-32 |
| Wire Baskets (various sizes) | 6 | $4-8 | $24-48 |
| Wood Shelving Boards | 2 | $12-18 | $24-36 |
| Shelf Brackets | 1 set | $15-25 | $15-25 |
| Paint/Stain | 1 | $8-15 | $8-15 |
| Hooks & Hardware | 1 set | $10-20 | $10-20 |
| Wooden Labels | 1 set | $5-10 | $5-10 |
| Rope/Twine | 1 | $3-5 | $3-5 |
| TOTAL ESTIMATED COST | $109-191 | ||
Frequently Asked Questions
Q: Do I need to hire someone to install shelves?
A: Honestly? Not necessarily. If you're comfortable using a drill and can follow instructions, DIY is totally doable. There are tons of YouTube tutorials showing exactly how to do it safely. That said, if you're not confident with tools, call a handyman — spending $50-100 on installation is worth peace of mind and avoiding disaster. Just budget for
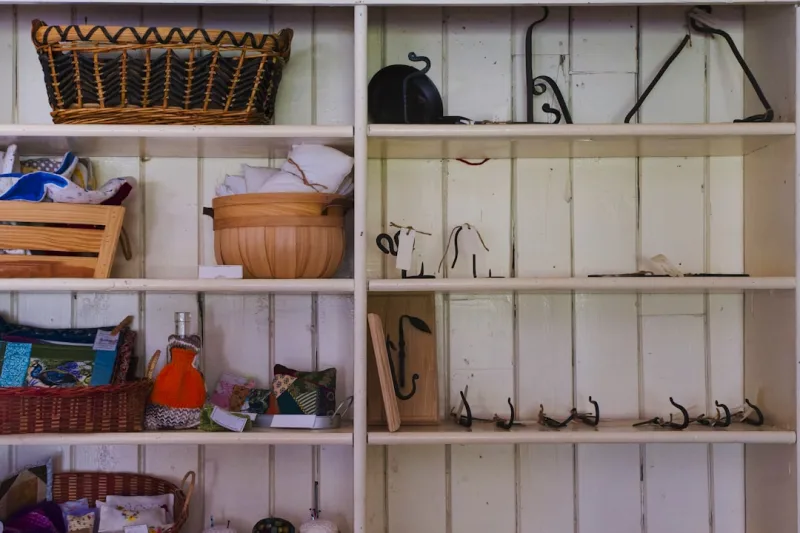
📷 Photo by Eric Prouzet on Unsplash


