Cozy Bedroom DIY Ideas on a Budget: Create Your Perfect Retreat Without Breaking the Bank
Your bedroom should be your personal sanctuary—that one sacred space where you can finally escape the relentless stress of daily life and actually recharge your mind and body. But here's the thing: creating that picture-perfect cozy bedroom often feels like it requires thousands of dollars, professional decorators, and somehow direct access to the pages of Architectural Digest. I'm here to tell you that's simply not true. You absolutely don't need a designer's budget or fancy credentials to transform your bedroom into a warm, inviting haven that makes you never want to leave.
With the right DIY mindset and budget-conscious choices, anyone can create a bedroom that genuinely feels like a luxurious retreat. In today's economy—where we're all being mindful about our spending—DIY bedroom projects have absolutely exploded in popularity. Soft lighting solutions, textured wall treatments, handmade decorative elements—there are countless ways to add warmth and real character to your sleeping space without stretching your finances to the breaking point. Whether you're working with a genuinely tight budget or simply want to make every dollar count, this guide will walk you through proven strategies and creative ideas that deliver serious impact without serious expense.
And here's the best part? Most of these projects require just basic tools and materials you probably already have lying around your house, making them totally accessible whether you're a complete beginner or a seasoned DIYer. Let's explore how you can create the bedroom of your dreams while keeping your wallet—and your sanity—intact.
What You'll Need: Budget-Friendly Materials and Tools
Before you dive headfirst into your cozy bedroom transformation, let's gather the essentials. Most of these items are genuinely affordable and easy to find at The The Home Depot, your local craft stores, and online retailers. Here's your complete shopping list:
Essential Materials for Budget Cozy Bedroom Projects
- Soft throw blankets - $8-$25 per blanket (Target, Walmart)
- String lights or fairy lights - $10-$20 per set (Amazon, Dollar Tree)
- Paint (interior latex) - $25-$35 per gallon (most walls require 1-2 gallons)
- Adhesive wallpaper or peel-and-stick wall decals - $12-$30 per roll
- Floor pouf or ottoman - $15-$40 (DIY with fabric scraps and filling)
- Floating shelf supplies - $20-$40 for brackets and wood
- Curtains or fabric panels - $15-$30 per panel
- Soft area rug - $25-$60 for quality budget options
- Picture frames for gallery wall - $5-$15 per frame
- Pillow covers - $8-$20 each (or make DIY covers for $3-$5)
- LED bulbs (warm white, 2700K) - $5-$12 per bulb
- Wood stain or chalk paint - $8-$15 per can
- Fabric for upholstering headboard - $10-$20 for 2-3 yards
- Hooks and hardware - $1-$5 per item
- Decorative pillows (or DIY materials) - $10-$25 each
Basic Tools You'll Need
- Drill and drill bits
- Hammer
- Screwdriver set (Phillips and flathead)
- Level
- Measuring tape
- Paint roller and brush
- Paintbrushes (various sizes)
- Sewing kit (needle, thread, scissors)
- Saw (hand saw or power saw for shelving projects)
- Stud finder (optional but helpful)
Step-by-Step Instructions for Creating Your Cozy Bedroom
Project 1: Paint Accent Wall for Warmth and Depth
Time Required: 2-3 hours | Cost: $25-$40
- Choose Your Color: This is where it gets fun. Select a warm color palette that genuinely promotes relaxation—think soft beiges, warm grays, muted terracotta, sage green, or dusty blue. I love consulting HGTV.com" target="_blank" rel="noopener">HGTV color guides for inspiration and trending cozy palettes that actually work in real homes.
- Prepare the Room: Move furniture away from the wall you're painting. Cover your floor with drop cloths and tape off baseboards, ceiling edges, and any fixtures with painter's tape. Trust me—this step saves hours of cleanup time.
- Prime if Necessary: If you're making a dramatic color change or working over dark walls, apply a primer first. It ensures better color coverage and protects your wall underneath.
- Apply Paint: Use a paint roller for large areas and a brush for tight edges. Apply two coats for even coverage, allowing 2-4 hours between coats for proper drying time.
- Remove Tape: Once the paint is completely dry (usually 24 hours), carefully remove painter's tape. You'll get those crisp, clean lines you're after.
- Add Finishing Touches: Hang artwork, floating shelves, or a decorative mirror on your newly painted accent wall to complete the transformation.
Project 2: DIY Upholstered Headboard
Time Required: 3-4 hours | Cost: $35-$75
- Source Your Materials: Grab plywood (half-inch thickness), batting, fabric, and wood stain from The Home Depot. A standard queen headboard requires one 4x8-foot sheet cut to size—and the staff there can usually cut it for you.
- Cut Plywood: Cut your plywood to headboard dimensions (typically 48-60 inches tall and the width of your bed frame). I always suggest rounded edges for a softer, more polished appearance.
- Stain or Paint: Apply wood stain to the plywood edges for that finished, professional look. Allow complete drying time—at least 8 hours minimum.
- Layer Batting: Attach batting to the plywood using spray adhesive or a staple gun. This creates the padded effect that makes your headboard inviting and adds actual comfort.
- Apply Fabric: Choose upholstery fabric or heavy cotton—whatever speaks to you. Wrap it around the plywood, pulling it taut, and staple the back. Use a staple gun to secure fabric every 2-3 inches for even distribution.
- Install Hardware: Mount the headboard to wall studs using L-brackets and heavy-duty screws. Use a stud finder to locate secure mounting points—this is genuinely important for safety and stability.
- Add Decorative Nails: Optional but oh-so-worth-it: Use decorative upholstery nails around the edges for a designer-level finish that elevates the entire look.
Project 3: Floating Shelf Installation for Storage and Display
Time Required: 1-2 hours per shelf | Cost: $20-$40 per shelf
- Choose Location: Decide where shelves make the most sense—above the nightstand, across a feature wall, or beside the bed. I like to step back and visualize the space first.
- Find Studs: Use a stud finder to locate wall studs. Mark them lightly with a pencil. This step is crucial because it ensures your shelves can actually support weight safely—no crashing down at 2 AM.
- Install Brackets: Install floating shelf brackets into wall studs using heavy-duty screws. Use a level tool to ensure brackets are perfectly level. There's nothing worse than a crooked shelf.
- Prepare Wood: Cut wood to your desired length. Sand the edges smooth and apply stain or paint to match your entire décor scheme.
- Mount Shelf: Carefully place wood on brackets, ensuring it sits flush and perfectly level. Secure from underneath if needed.
- Style Your Shelf: This is where your creativity shines. Arrange decorative items, plants, books, and personal photos. Layer items at varying heights for visual interest and dimension.
Project 4: Create Soft Lighting with String Lights
Time Required: 30 minutes | Cost: $10-$25
- Select Lighting: Choose warm white LED string lights (2700K color temperature) for the absolute coziest feel possible. Fairy lights, globe lights, and Edison bulbs all work beautifully and instantly transform the space.
- Plan Placement: Drape lights above the headboard, around a window frame, or along a shelf edge. Warm lights create instant ambiance—it's like magic in plug form.
- Install Hooks or Clips: Use adhesive hooks, nails, or clips to secure lights in place. Make sure your electrical cord actually reaches your nearest outlet without creating a fire hazard.
- Secure Cord: Use cord covers or tape to hide the electrical cord along baseboards or wall edges for a neat, finished appearance.
- Test and Enjoy: Turn on your new lighting and adjust brightness levels as needed. Consider a dimmer switch for additional ambiance control—trust me, this makes a difference.
Project 5: DIY Pillow Covers and Decorative Pillows
 Budget Apartment Renovation: DIY Hacks That Actually Work
Time Required: 1-2 hours per cover | Cost: $3-$8 per cover
- Choose Fabric: Select soft, cozy fabrics like cotton, linen, or flannel from your local fabric stores. Hunt for sales or remnants to stretch your budget even further.
- Measure and Cut: Measure your pillow size and add half-inch seam allowance on all sides. Cut two matching fabric pieces with sharp scissors.
- Sew Seams: Place fabric pieces right-sides together. Sew three complete sides, leaving one side open for inserting the pillow.
- Finish Edges: Use a zigzag stitch to prevent fabric fraying. This small step dramatically extends the life of your covers.
- Insert Pillow: Turn cover right-side out and insert your pillow form or existing pillow.
- Close Opening: Fold raw edges inward and hand-stitch the opening closed using a ladder stitch for an invisible seam that looks professionally finished.
- Layer and Arrange: Mix and match pillow sizes and textures for visual depth and maximum coziness factor.
Pro Tips and Expert Advice for Maximum Impact
Tip 1: Master the Art of Layering Textures
The real secret to a truly cozy bedroom—and I've learned this the hard way—is layering different textures throughout the space. Combine soft velvet pillows with crisp linen sheets, chunky knit blankets, and smooth silk touches. This combination creates visual interest and literally invites you to nestle in. Visit Better Homes & Gardens & Gardens for texture combination inspiration and seasonal layering guides that actually work.
Tip 2: Use Warm Lighting Strategically
Here's something I've discovered: lighting absolutely makes or breaks bedroom ambiance. Replace harsh overhead bulbs with warm white LEDs (2700K-3000K temperature). Install dimmer switches on existing fixtures to control light intensity throughout the day. Warm lighting promotes melatonin production, helping you sleep better while making the room feel immediately cozier and more inviting.
Tip 3: Invest in Quality Bedding as Your Foundation
High-quality sheets
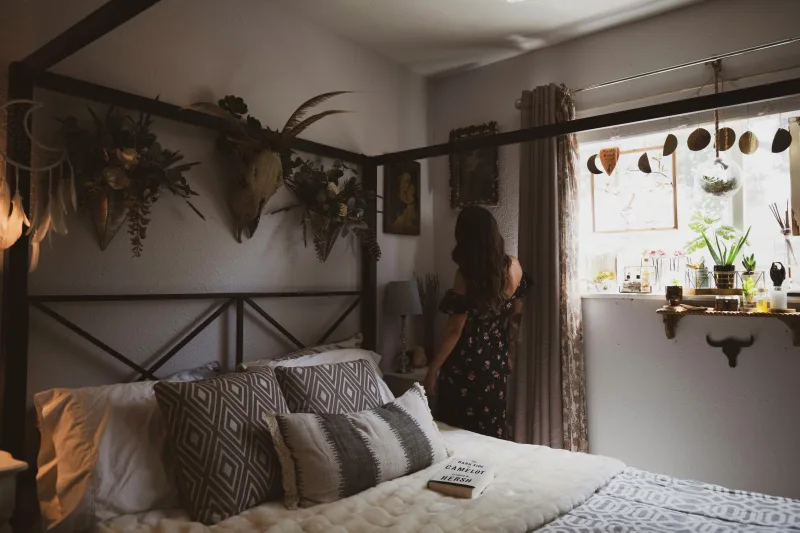
📷 Photo by Ashley Byrd on Unsplash


