Aesthetic Closet Storage for Beginners: Transform Your Space Without Breaking the Bank
Here's the thing — your closet doesn't have to look like a chaotic disaster zone. I get it. You're busy, you've got a million other projects on your plate, and honestly, the idea of overhauling your entire closet storage system sounds absolutely exhausting. But what if I told you that you could create an aesthetic, organized closet that actually makes getting dressed enjoyable? And — this is the kicker — you can do it in a weekend without spending a fortune.
I've been there, staring at piles of clothes, wondering where everything goes. The beautiful thing about aesthetic closet storage is that it's not just about looking pretty (though that's a fantastic bonus). It's about creating a system that works for your actual life. You'll spend less time searching for that one top you swear you own, and more time enjoying a space that genuinely feels good.
Whether you're renting or own your home, live in a tiny studio or a sprawling master bedroom, this guide is for you. We're going to walk through exactly how to build a closet storage system that's both functional and beautiful — no professional organizer needed.
What You'll Need
Before you dive in, let's talk about materials. The beauty of a beginner-friendly aesthetic closet is that you probably already have some of these items lying around. If not, they're all readily available at local retailers like The The Home Depot or specialty shops.
- Velvet Hangers (Set of 50): $15-25 — Trust me, these are game-changers. They look elegant and actually prevent clothes from sliding off.
- Storage Bins (Clear, Stackable): $30-50 — Get at least 3-4 bins. Clear ones let you see what's inside without opening them.
- Shelf Dividers (Metal or Wood): $10-20 — These prevent folded clothes from toppling over like dominos.
- Hanging Organizer (Over-the-door): $15-25 — Perfect for shoes, scarves, or smaller items.
- Labels and Label Maker: $10-30 — A label maker feels bougie but honestly speeds everything up.
- Drawer Dividers (Bamboo): $12-18 — These keep drawers tidy and looking intentional.
- Slim Cascading Hangers: $20-35 — Space-savers that hold multiple pieces without bulk.
- Decorative Baskets (2-3): $25-40 — For off-season storage or rolled items.
- Wooden Shelf Risers: $15-25 — Double your vertical space instantly.
Estimated Total Investment: $150-270
Step-by-Step Guide
Step 1: Declutter Like Your Life Depends On It
I can't stress this enough — before you organize a single item, you need to declutter. Pull everything out of your closet. Yes, everything. And I mean everything, including that sweater you've been meaning to fix for two years. Ask yourself the hard questions: Do I actually wear this? Does it make me feel good? Does it fit my current lifestyle?
Donate or sell anything that doesn't spark joy or serve a purpose. This step alone will make everything that follows exponentially easier. You can't organize clutter — you just hide it better. Trust me on this one.
Step 2: Measure and Plan Your Layout
Grab a measuring tape and document your closet dimensions. Height of shelves, width of the rod, depth of hanging space — all of it matters. Take photos too. This is where you'll sketch out your vision. Are most of your clothes hanging or folded? Do you have a ton of shoes or barely any? Your layout should reflect your actual wardrobe, not some Pinterest fantasy that doesn't match reality.
Step 3: Invest in Quality Hangers and Replace Everything
This is non-negotiable. Mismatched wire hangers look chaotic and take up way more space than you'd think. Swap them all out for matching velvet or wooden hangers. Yes, it's an expense, but the visual impact is immediate and honestly, it's therapeutic. Your clothes deserve real hangers, and your closet deserves to look intentional.
Step 4: Organize by Category and Color
Group similar items together — all pants, all tops, all dresses. Then, within each category, organize by color. Light to dark works beautifully and creates this gorgeous, rainbow-ish effect that feels both organized and aesthetic. Your morning routine will be smoother because your brain can literally see everything at a glance.
Step 5: Maximize Vertical Space with Shelf Risers and Cascading Hangers
 Budget Apartment Renovation: DIY Hacks That Actually Work
If you've got shelves, add risers to create upper and lower zones. Use cascading hangers for items like camisoles, tank tops, or lightweight tees — they'll take up a fraction of the space. This is especially crucial for smaller closets. Every inch counts.
Step 6: Create Designated Zones for Different Item Types
Assign specific areas for everyday wear, special occasions, workout clothes, and seasonal items. Use your clear bins for off-season storage — label them clearly. Your hanging organizer can hold belts, scarves, or shoes. Baskets work beautifully for rolled items or awkward pieces that don't hang well.
Step 7: Add the Finishing Touches
Label everything. Add a decorative basket for accessories. Hang a small mirror if you've got room. Maybe add a small LED strip light to make everything feel brighter and more intentional. These finishing touches don't cost much but they transform the space from "organized" to "magazine-worthy."
Pro Tips
Fold Heavy Items, Hang Lighter Ones: This isn't just about aesthetics — it's practical. Heavy sweaters and jeans don't wrinkle as badly folded, while lightweight shirts and dresses hang beautifully without taking up shelf space.
Try the Hanger Trick: Put all your hangers facing backward. When you wear something and hang it back, face the hanger forward. After a month, you'll instantly see what you're actually wearing versus what's just taking up space. It's eye-opening, honestly.
Use Drawer Dividers Religiously: Even one drawer that's messy throws off your whole vibe. Bamboo dividers are affordable and they keep socks, underwear, and accessories from becoming a jumbled mess. Better Homes & Gardens & Gardens has solid recommendations on this.
Invest in Clear Bins — Not Opaque Ones: Opaque bins mean you forget what's inside. I've made this mistake. Clear is always better, especially for off-season storage or less-used items.
Create an Accessories Station: Belts, scarves, jewelry — have a dedicated spot. An over-the-door organizer or a small basket makes all the difference. You're more likely to actually use accessories when they're visible and accessible.
Keep It Maintenance-Friendly: The best closet organization system is one you'll actually maintain. Don't create something so complicated that you give up after two weeks. Keep it simple enough that it requires minimal effort to keep looking good.
Cost Breakdown
← Scroll to see full table →
| Item | Quantity | Price Range | Total |
|---|---|---|---|
| Velvet Hangers | 50 pack | $15-25 | $20 |
| Storage Bins (Clear) | 4 bins | $30-50 | $40 |
| Shelf Dividers | 2 sets | $10-20 | $15 |
| Over-the-Door Organizer | 1 | $15-25 | $20 |
| Labels & Label Maker | 1 | $10-30 | $25 |
| Drawer Dividers (Bamboo) | 2 sets | $12-18 | $15 |
| Cascading Hangers | 10 pack | $20-35 | $28 |
| Decorative Baskets | 3 | $25-40 | $35 |
| Shelf Risers | 2 pairs | $15-25 | $20 |
| Total Investment: | $218 | ||
FAQ
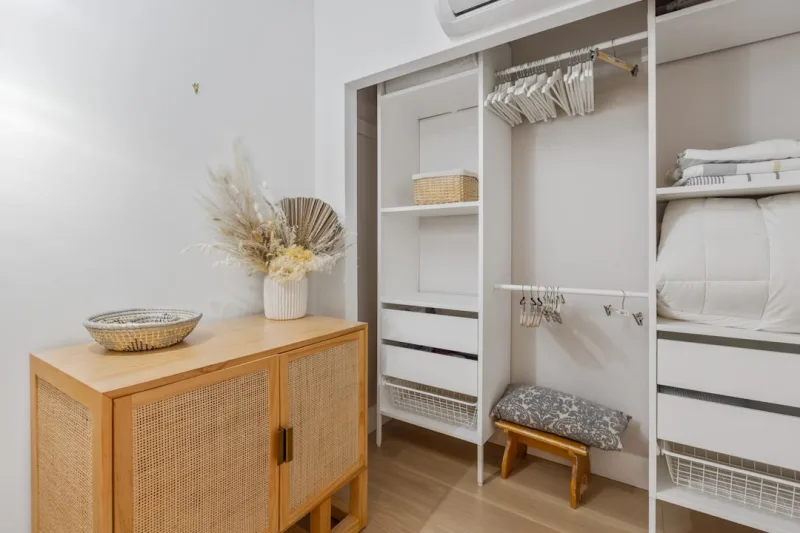
📷 Photo by Point3D Commercial Imaging Ltd. on Unsplash


